DIY Drawing Salve for Stings, Bites & Splinters
When it comes to building a natural first aid kit, this DIY drawing salve is a must-have! It is a wonderful natural remedy for drawing out bug bites, stings, and even deep splinters.
What’s a Drawing Salve?
A charcoal drawing salve is named for its ability to draw things out of the skin. The active ingredients combine to have a drawing effect when applied topically. So, when foreign substances, toxins, and unwanted particles make their way deep into the skin, drawing salve will help bring them back to the skin’s surface.
Healing salve has been used as a traditional remedy for hundreds of years. Common uses for drawing salve include applying to bee stings, bites—including insect bites, spider bites or mosquito bites—deep splinters, or metal splinters.
Why Is Drawing Salve a Must-Have for a Natural First Aid Kit?
A few years ago was our first year making this homemade drawing salve recipe which I wanted to have on hand just in case. Unfortunately, “just in case” turned into being used many times by almost every member of our family.

The first application was for ticks. Last year was a terrible season for ticks and every time we found one on any of us, we’d apply a thick layer of drawing salve on the spot where the tick was, cover it with a bandage, and let it sit overnight. This helped significantly with the healing process for any skin irritations caused by the tick.
After tick season wound down, then came the bees. After not having been stung by a bee since childhood, last year was the year of the bee sting in our house. Several stings happened and each time, we immediately applied this drawing salve to the sting. It made for an extremely quick healing process and very minimal reactions.
What Difference Does Drawing Salve Make?
Our experience with bees that summer made us recall the first summer my husband, Jim, took up backyard beekeeping while living in the suburbs.
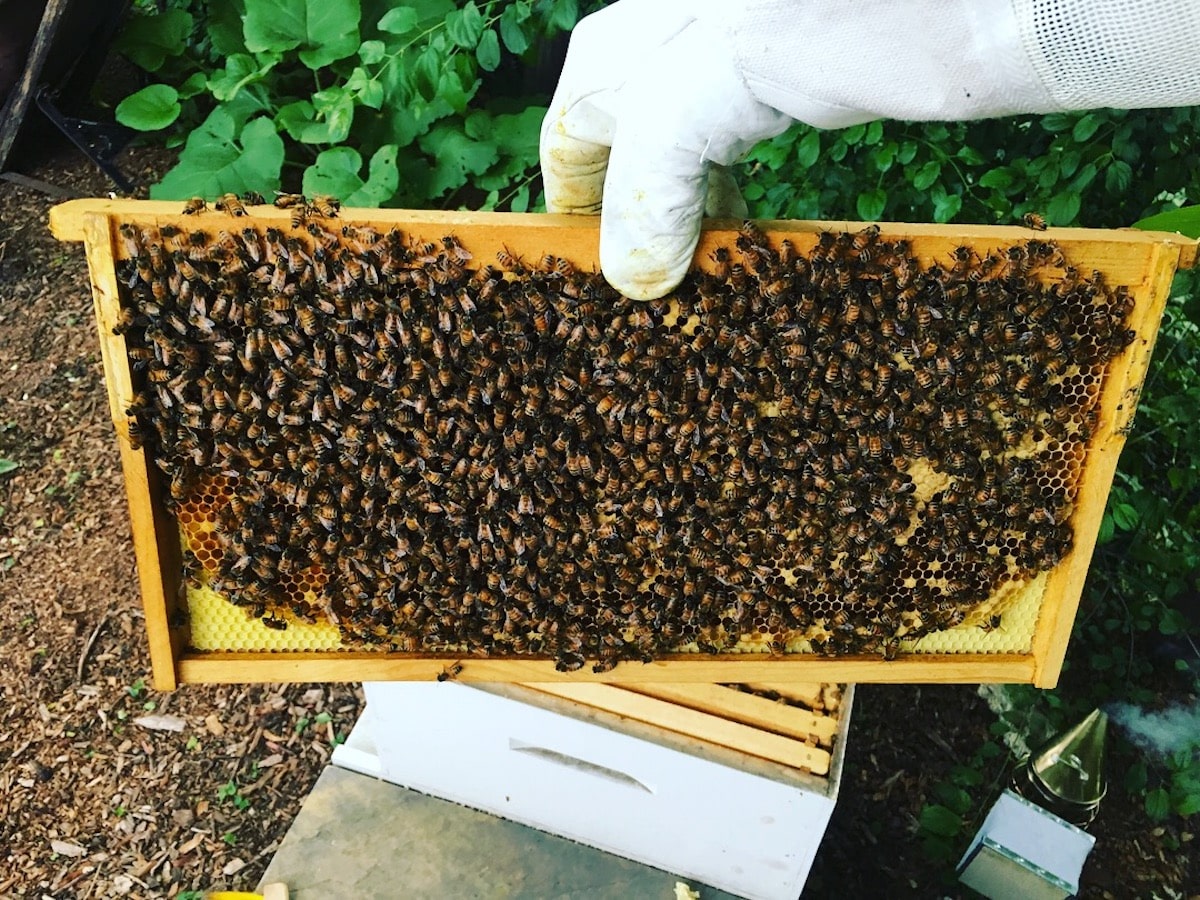
He managed to avoid stings for a while, but a bee landed a direct hit on his hand one summer day. He shrugged it off at first and within a couple hours his hand had swollen to twice it size, was irritated, itchy, pussy, and pretty much unusable.
Fast forward to last year, he managed to get close to a dozen bee stings by the year’s end being out and about on our 5-acre homestead. Every time he got stung, he immediately went in and applied this DIY drawing salve to the sting. There was no residual swelling, minimal pain and itching, and instantaneous relief.
That being said, we are true believers in the power of this drawing salve! This “just in case” drawing salve is used several times throughout the year, and I am so thankful we have it on hand.
Active Ingredients in DIY Drawing Salve
Activated Charcoal: Basic charcoal is made from wood, coconut shell, peat, coal, or petroleum. But the difference in “activated” charcoal is a form of charcoal that has been processed to contain pores that can trap chemicals and prevent them from being absorbed by the body.
Activated charcoal is a common effective remedy to remove poisons from the body. It has also had applications for the treatment of digestive issues. Activated charcoal is black and super messy but it’s a very helpful thing to have on hand.
Bentonite Clay: Bentonite clay comes from ash taken from volcanoes. It is dried out and filtered before being sold.
The benefits of bentonite clay include:
– healing properties
– aiding in detoxification
– protection against bacterial infections
– supporting digestion and respiration
The main mechanism by which bentonite clay works is by binding to toxins in the body, almost magnet-like, and removing them from the body.
Plantain Leaf: This is optional but we love to make a plantain-infused olive oil to add to this salve. Next to dandelion, plantain is one of the most abundant weeds with so many beneficial medicinal uses. Plantain is also known to draw toxicity from the body. It has a long history of being used to stimulate the liver and is highly effective against bites, stings, and other irritations of the skin.
How to Apply:
DIY drawing salve is extremely effective in combating the negative effects of stings and bites, as well as painful splinters or foreign objects that may have wedged their way deep into the skin, helping to protect against infection. Simply rub a generous amount of black salve over the affected area and cover it with a band-aid. It can be quite messy, so you will want to cover up the area where the salve has been applied. Keep the area covered overnight and, in the morning, you can uncover and clean off the drawing salve.
DIY Drawing Salve Recipe
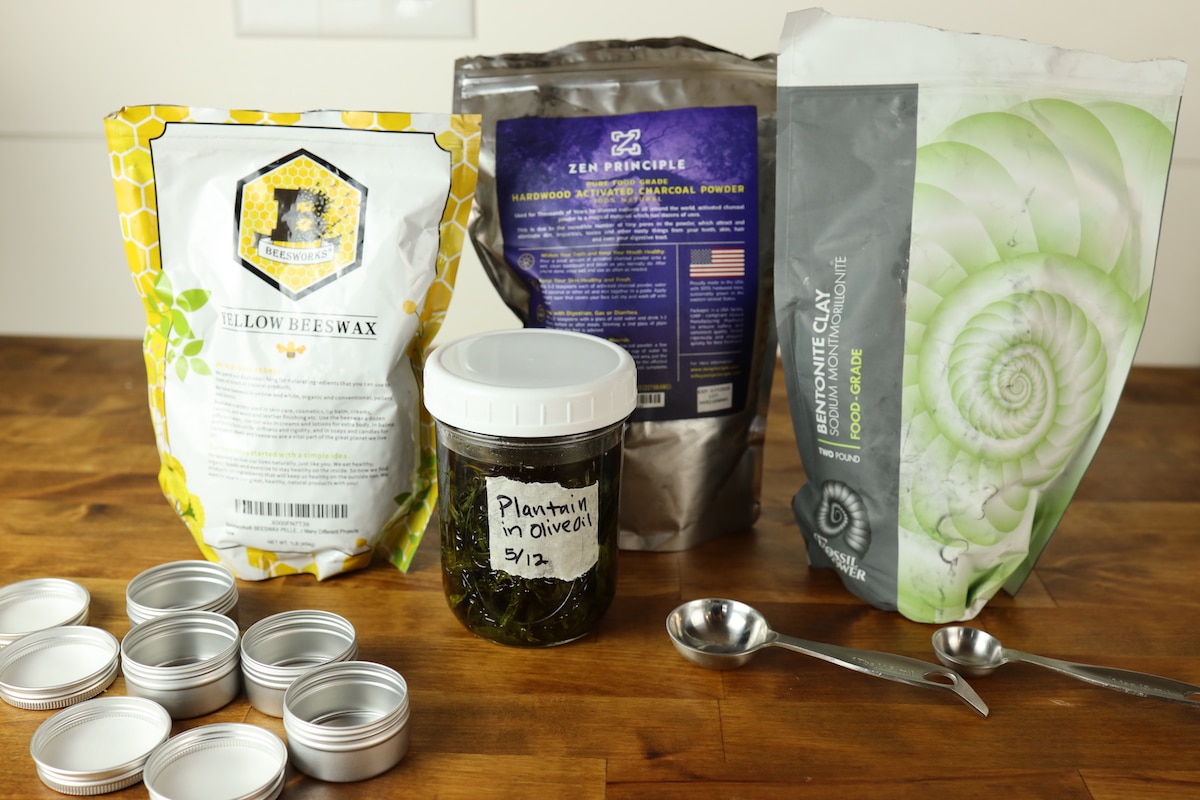
Ingredients:
1/3 cup olive oil infused with plantain* (the plantain is optional)
2 tsp beeswax
1 tbsp activated charcoal
1 tbsp bentonite clay
Essential oils (optional)

Directions:
1. Put olive oil and 2 tsp beeswax in a heat safe glass container (I use a 1 cup Pyrex measuring cup).
2. Add water to the bottom pot of your double boiler, and place the glass container in the post.
3. Heat the pot and water over low heat until the beeswax is fully melted.
4. Once melted, remove from heat.
5. Stir in equal parts charcoal and clay, and add essential oils if using.
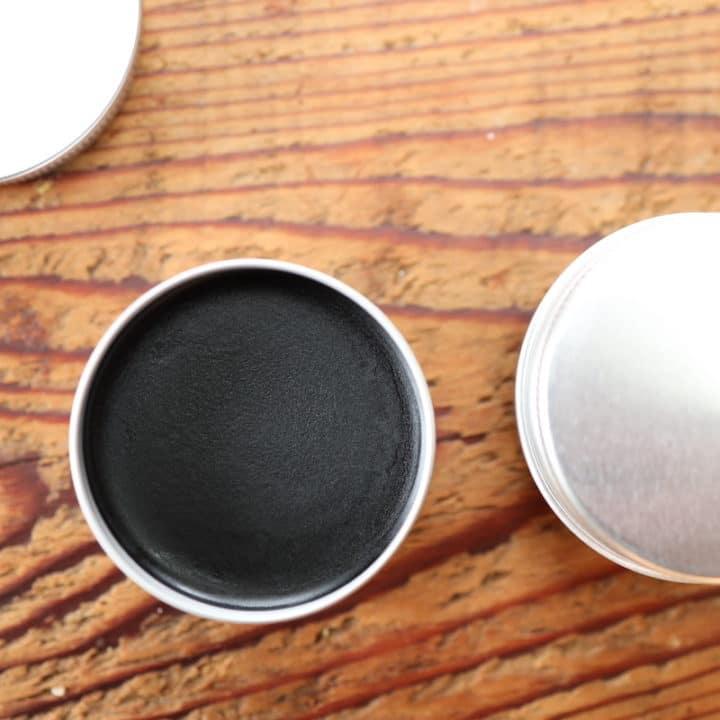
6. Pour salve into containers or a glass jar.
*There are 2 methods to infuse the plantain in olive oil. You can either place plantain leaves covered in oil and let it sit for a week or two and then use them. Or you can heat the oil lightly on the stove with the plantain leaves and then strain the leaves out and use them right away.
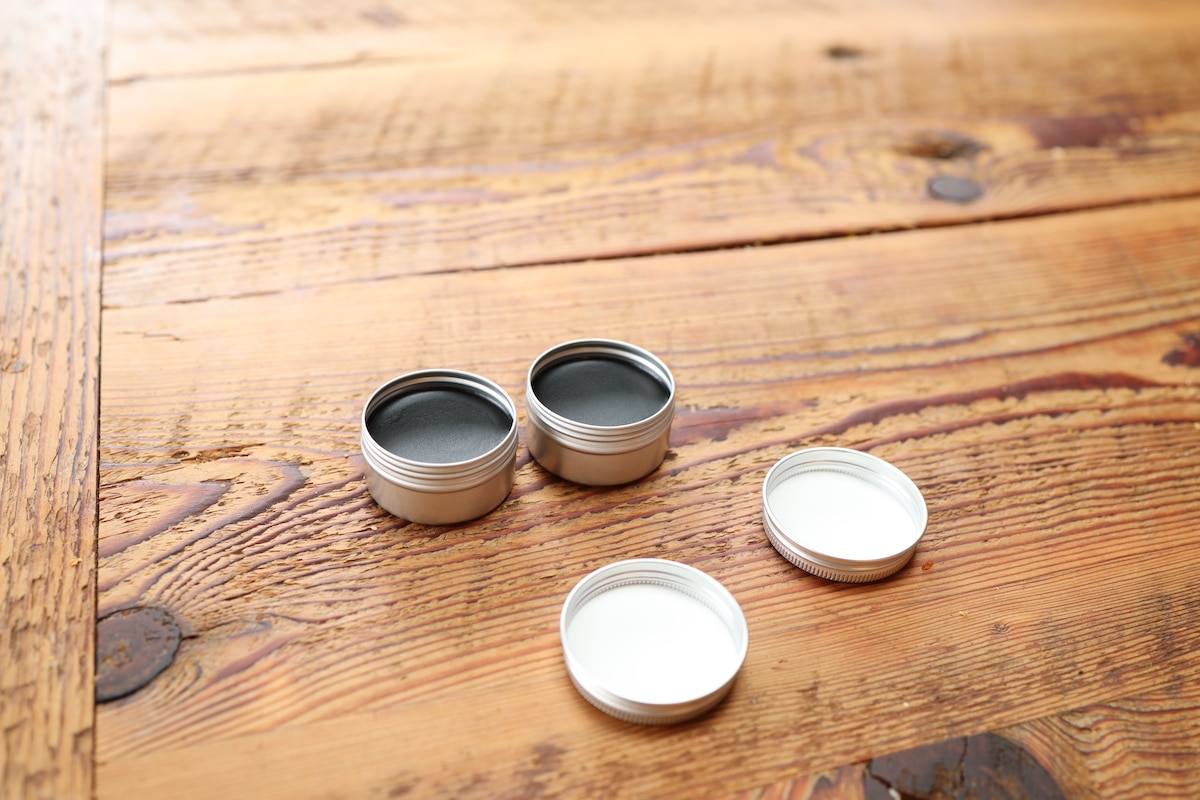
How to Store:
I like to store our homemade salve in these 2 oz containers. Alternatively, you can keep them in any small jar with a lid. I like to store it in a cool dark place.
TIP: Little jars of our drawing salve make a great gift item. Additionally, little containers like these ones are small enough to have on hand in a purse or diaper bag.
Shelf Life:
This DIY drawing salve recipe will last for several months when kept at room temperature. We typically try to whip up a new batch every spring to be ready for the season ahead.
Some of the above links are affiliate links. This means we earn a small commission on qualifying purchases at no cost to you. We are so appreciative of your support!
Check out more of our skincare DIYs:
Magnesium Tallow Balm
DIY Tallow Shampoo Bar (That Actually Works!)
Ozonated Olive Oil for Eczema – Before and After
Tallow Balm – The Best Remedy For Dry Skin And How to Make It Yourself
Simple Tallow Deodorant Recipe
Simple Homemade Sunscreen With Tallow
DIY Drawing Salve
When it comes to building a natural first aid kit – this DIY drawing salve is a must! It is the perfect remedy for drawing out bites, stings, and even deep splinters.
Ingredients
- 1/3 cup olive oil infused with plantain* (the plantain is optional)
- 2 tsp beeswax
- 1 tbsp activated charcoal
- 1 tbsp bentonite clay
- Essential oils (optional)
Instructions
- Put olive oil and 2 tsp beeswax in a heat safe glass container (I use a 1 cup pyrex measuring cup).
- Place the glass container in a pot with about 1-2” of water.
- Heat the pot and water until the beeswax is fully melted.
- Once melted, remove from heat.
- Stir in the charcoal and clay and add essential oils if adding.
- Pour salve into containers.
Pin for later!


Do you have a mosquito repellent? My little girl has a horrible allergy to them and nothing seems to help keep them away. Also how well does this help with mosquitoes? Anything else I can rub on without doing bandaids every time? She’d be covered in bandaids lol.
Oh no!! I’ve experimented with different bug repellents. We’ve been finding the bug bite relief from Pur03 to be really helpful for itchy bites. They have a bug spray too that I haven’t tried yet but would really like to. Here’s the link to the bug bite relief. https://www.puro3.com/puro3club/club.php?id=884&url=130