Can You Freeze Sourdough Bread? (Easy Storage Method)
Maybe you are overflowing with sourdough and want to avoid food waste. Or, maybe you want to get ahead and batch bake some sourdough goodies for special occasions! So, you’re asking, “Can you freeze sourdough bread?”
Our answer is a resounding, YES!
Let’s face it, sourdough is delicious. Bread, pizza crusts, pancakes, cinnamon rolls, scones, English muffins, cornbread, and all the other delightful treats you can whip up. Plus, you receive the added nutritional and digestive benefits of fermenting.
But without the preservatives that most breads on the grocery store shelf contain, homemade sourdough bread simply won’t last as long. That’s why freezing is a great option!
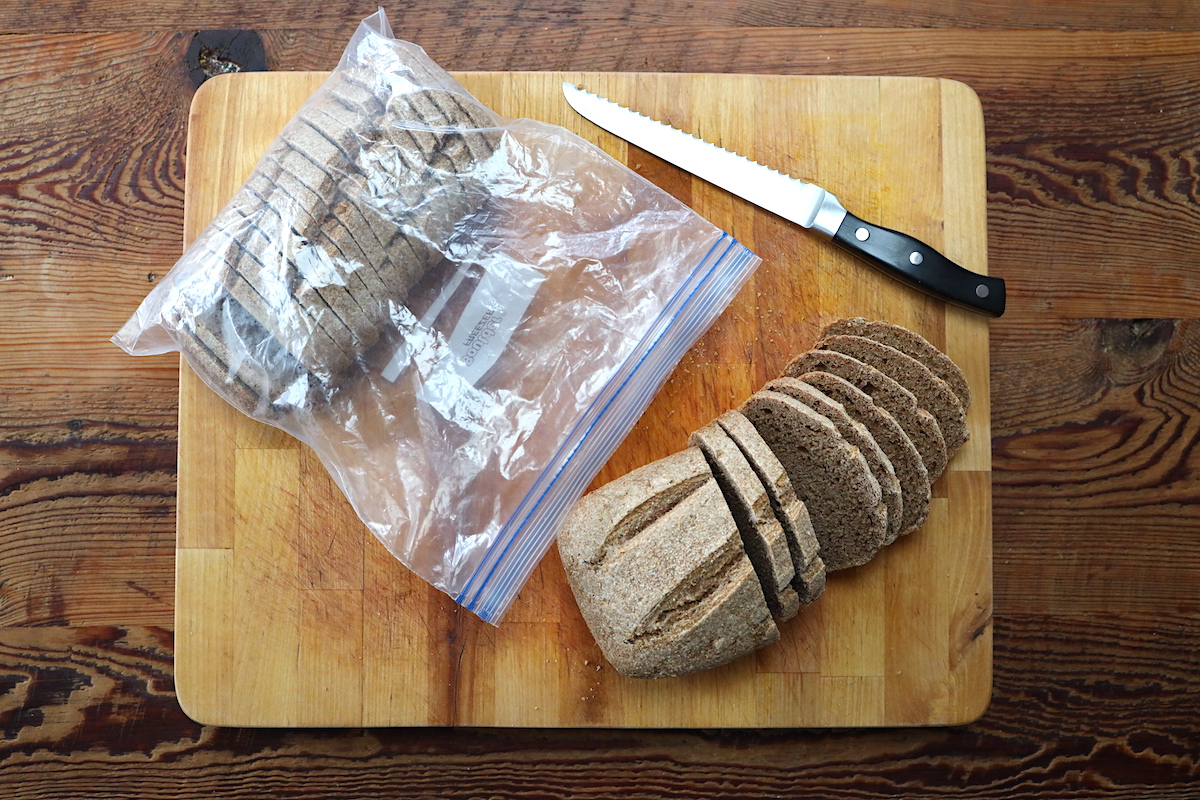
We’ll jump right into the simplest way to freeze your fresh bread, discuss best methods for thawing frozen sourdough loaves, and also look at our family’s once-a-month batch sourdough sessions that (spoiler alert) involve lots of freezing sourdough.
How To Freeze Sourdough Bread – Sliced or Whole
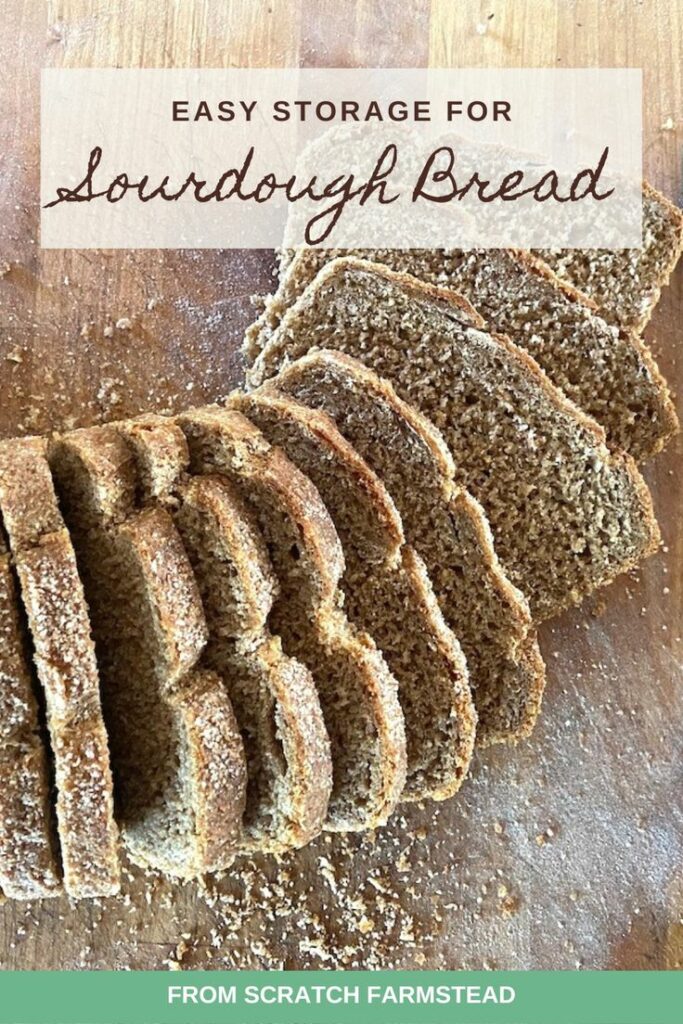
When it comes to freezing sourdough bread, you have two choices; (1) freeze individual slices or (2) freeze the whole loaf. There’s no reason to over-complicate this simple process. Our favorite method is to freeze individual slices, so let’s look at that first.
(1) Individual Slices
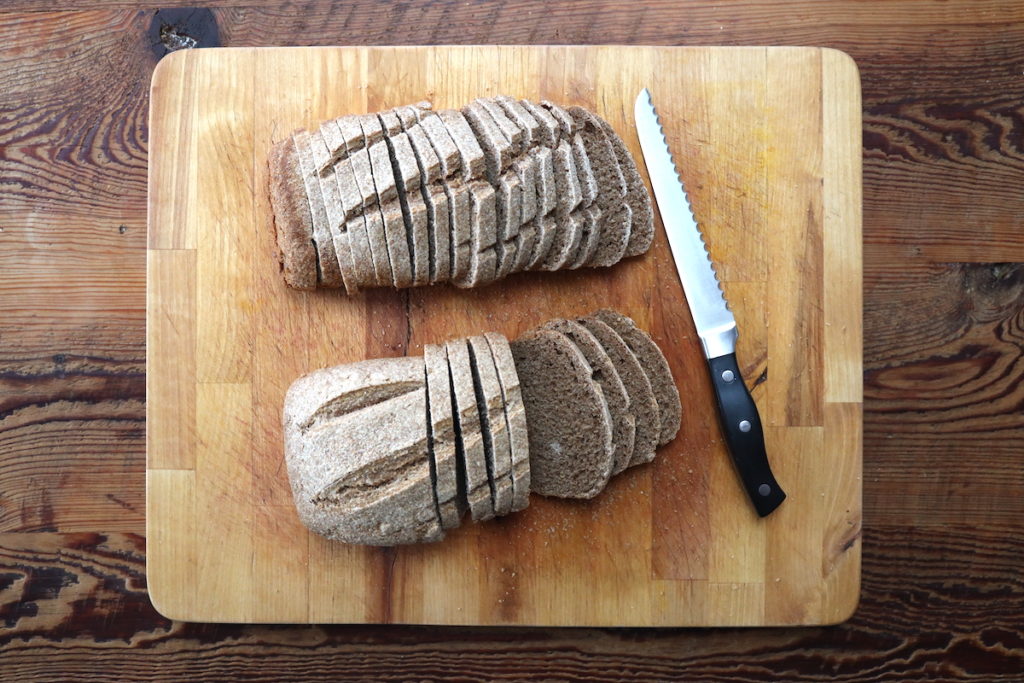
1. Slice your bread loaf to your desired thickness.
2. Allow the loaf to cool until the inside of the bread is room temperature. (This step is important for the slices to release more easily once frozen.)
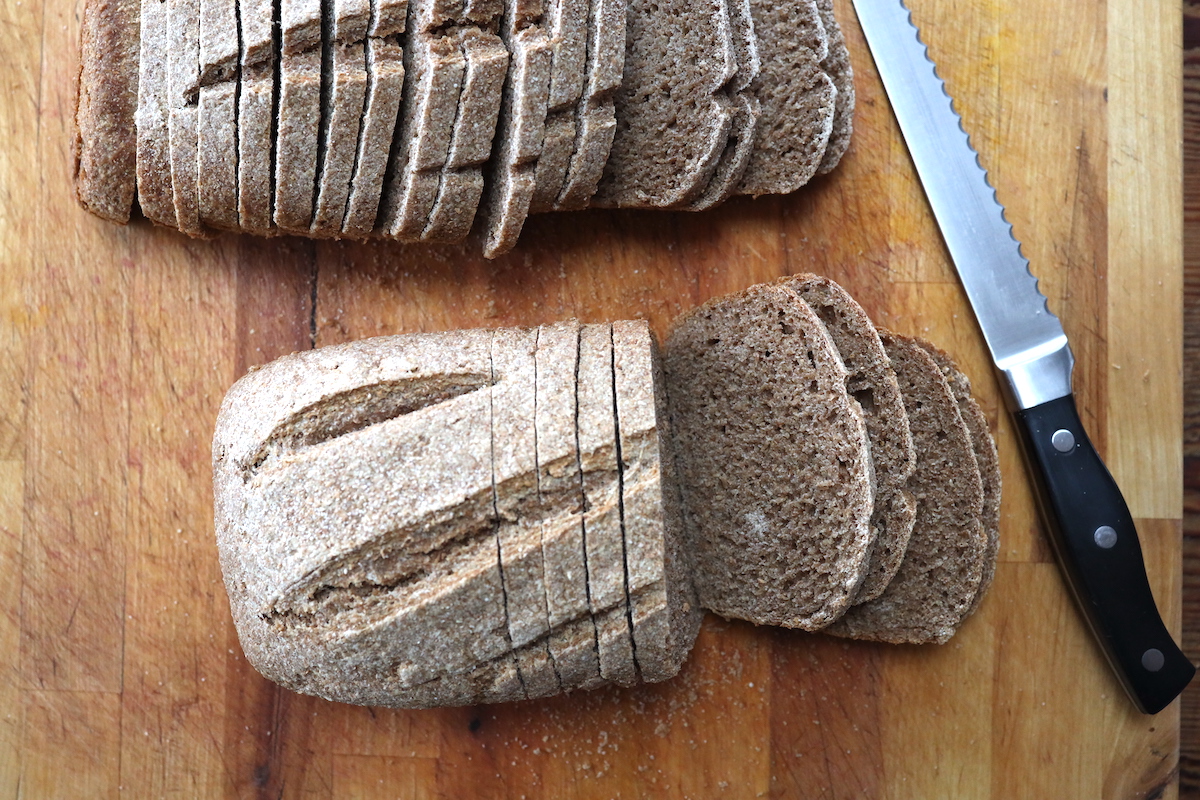
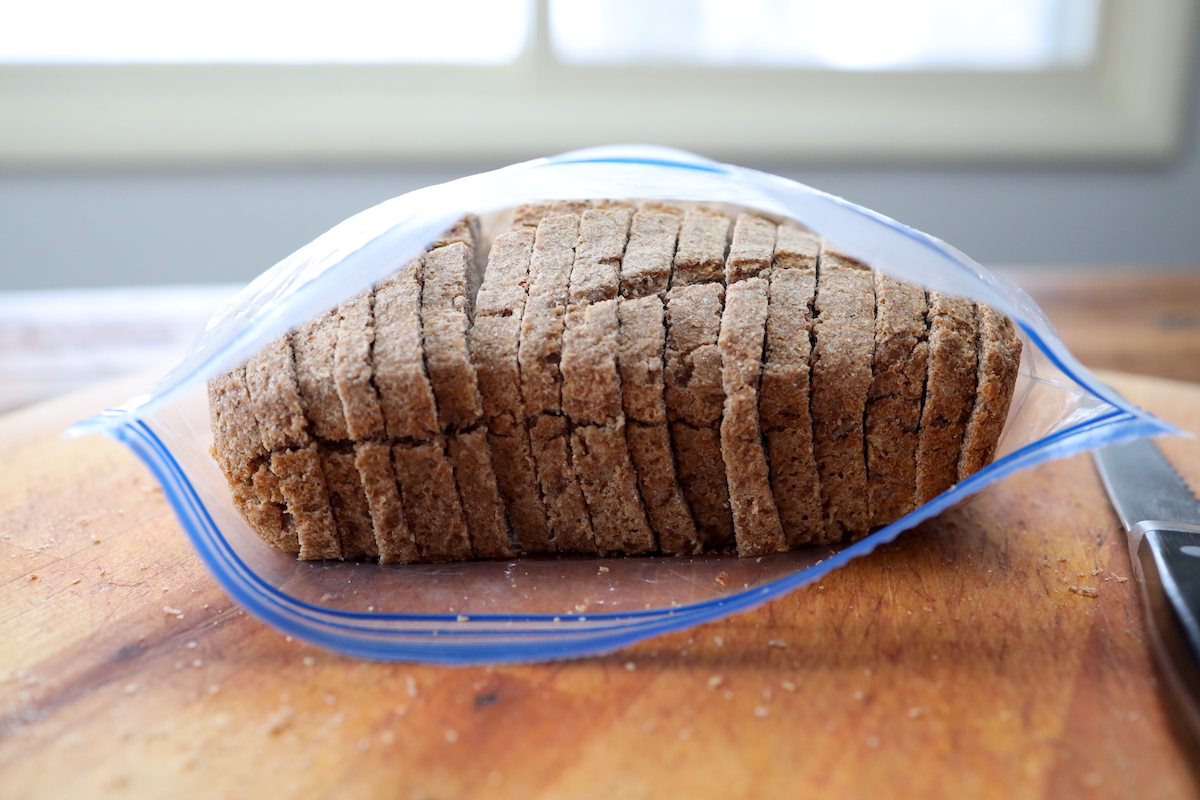
3. Once cooled, place the sliced loaf in a freezer-safe bag. Make sure the bread is not too cramped in the bag. If the slices compress, they will freeze together making them difficult to pull out individually later. Remove as much air from the bag as possible and seal the bag completely.
TIP: We bake bread in standard loaf pans which fit perfectly in gallon-sized ziplock bags. Depending on how plump the loaves are, we can sometimes fit two loaves in a single freezer bag side by side. If you are baking larger loaves of bread, you might consider 2-gallon freezer bags.
4. Store bagged bread in freezer for up to 3 months. Be sure not to stack anything on top of the bread until it is completely frozen.
TIP: For best results, place bread in the freezer so individual slices are splayed or separated. This is another opportunity to not compress your sliced loaf for easy removal later.
Alternatively, individual slices of bread can be flash-frozen first before stored in freezer-safe bags. This introduces an extra step but is the best way to keep slices from sticking together. To do so, lay cooled slices of bread in a single flat layer on cookie sheets (we like to line the sheets with a non-stick baking sheet first). Flash freeze the bread slices on the sheets, then follow Steps 3 & 4 as outlined above.
Why freeze individual slices of bread? – This is the best method if you plan to pull out and use just a few slices of bread at a time. Let’s make some grilled cheese sandwiches to go with that bowl of tomato soup. French toast sounds good for breakfast today. Freezing individual slices gives you the flexibility to plan ahead and not feel forced to go through an entire loaf in a single day or sitting. We often enjoy some fresh baked bread then slice and freeze the rest to save for later use.
(2) Whole Loaf
1. Allow the loaf to cool until the inside of the bread is room temperature.
TIP: This will take longer in whole form versus sliced. Consider waiting until the next day before freezing and store bread in a bread box or breathable bread bag to keep fresh until freezing.
2. Once cooled, place the loaf in a freezer-safe bag. Remove as much air from the bag as possible and seal the bag completely.
3. Store bagged bread in freezer for up to 3 months. Be sure not to stack anything on top of the bread until it is completely frozen.
Why freeze whole loaves of bread? – When you’ve got that perfect occasion coming up to bring a loaf of bread to, but know you’ll have a busy schedule leading up to it, freezing is a great way to bake and store that loaf weeks in advance so you are ready! Yes, you lose the ability to pull out individual slices. But, when you bust out that full loaf of bread and slice it up for friends and family, they will surely think you were a busy baker in the last 24 hours.
How To Thaw Frozen Bread
To thaw individual slices of frozen sourdough bread, remove the number of slices you need from the bag and place them on the counter at room temperature. If pieces are frozen together, use something dull like a butter knife to gently pry the pieces apart. We like to remove them a few hours before use. Separate each slice for quicker thawing. Once thawed, your slices are ready for use. If waiting longer than a few hours to use, keep thawed slices in an airtight container.
To thaw a whole loaf, pull the bag out of the freezer and place it on the counter at room temperature a full 24 hours before use. If any moisture or frost exists inside the bag when removing from the freezer, consider switching to a dry bread bag so the outer crust does not get soggy while thawing. Once thawed, remove from bag, slice, and serve.
How do you freeze bread long term and prevent freezer burn?
We have found a single freezer bag to be sufficient when planning to use frozen sourdough bread within a couple of months. But if you have plans for longer storage or want to guarantee your bread avoids freezer burn, you can consider adding an extra airtight wrap around your bread. This can be achieved using plastic wrap, aluminum foil, or beeswax wrap for a natural and reusable option. Wrap bread completely, place in a freezer bag, and store long term in the freezer for future use.
Can you freeze sourdough bread dough?
Yes! Sourdough bread dough also freezes very well.
Simply take your ball of bread dough and place it in a Ziplock bag. We like to coat the dough with a light coat of olive oil to help keep it moist. When you are ready to bake it, simply remove bag of frozen dough from freezer and thaw in the refrigerator for a day or two. Prior to baking, set out the dough in a large bowl on the counter allowing enough time to rise.
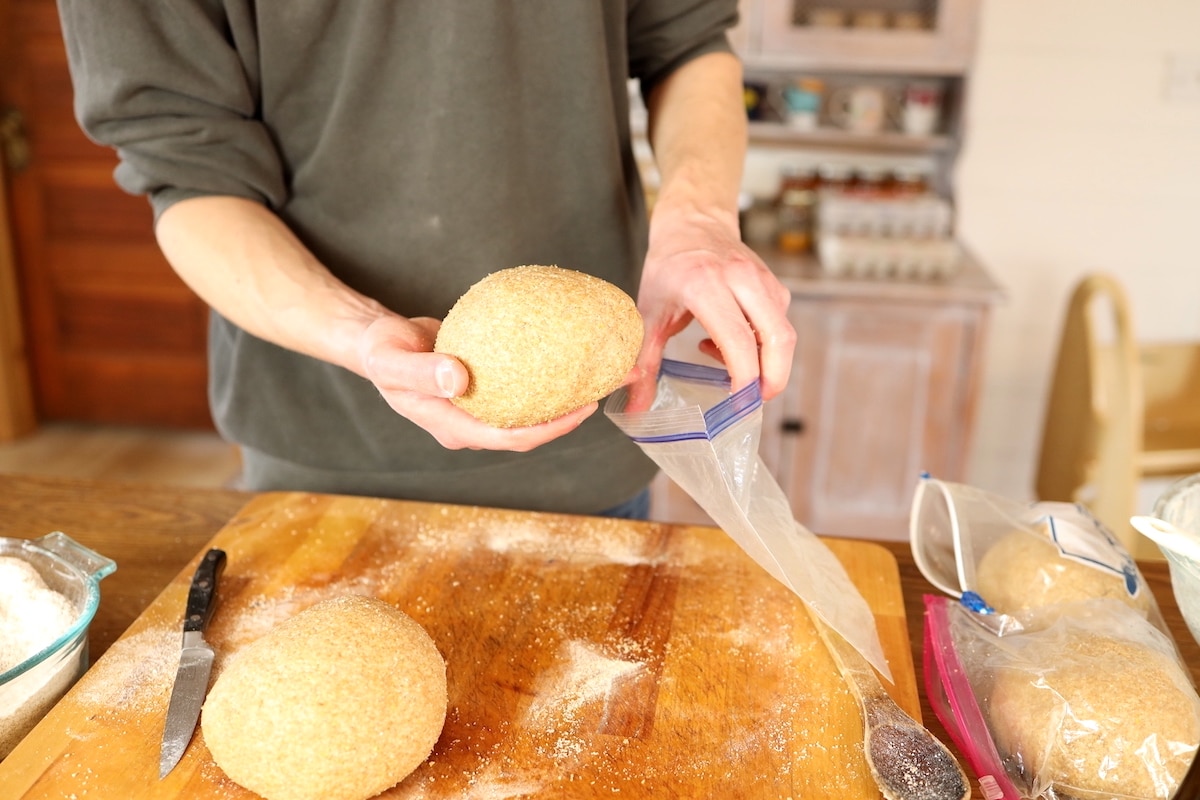
From here, you will follow whatever the next step of your recipe is. For bread, you may knead and let rise a second time before forming your loaf. One we commonly freeze is our deep-dish sourdough pizza dough! We usually pull it out of the fridge the morning of our weekly family pizza night, let rise for several hours, then roll it out to bake in our cast iron pan. If you’re looking for a delicious and beginner-friendly pizza crust, give this one a try!
Our Once-A-Month Batch Sourdough Routine
When we began making sourdough about 10 years ago, I definitely felt overwhelmed by the process. The idea of having this living thing on the counter that constantly needed to be fed and tended to be more of a commitment than I wanted.
But, after continuing to learn about sourdough, I realized that once you have a nice strong starter, it can actually survive just fine in the fridge for several weeks (or even months). This was a game-changer!
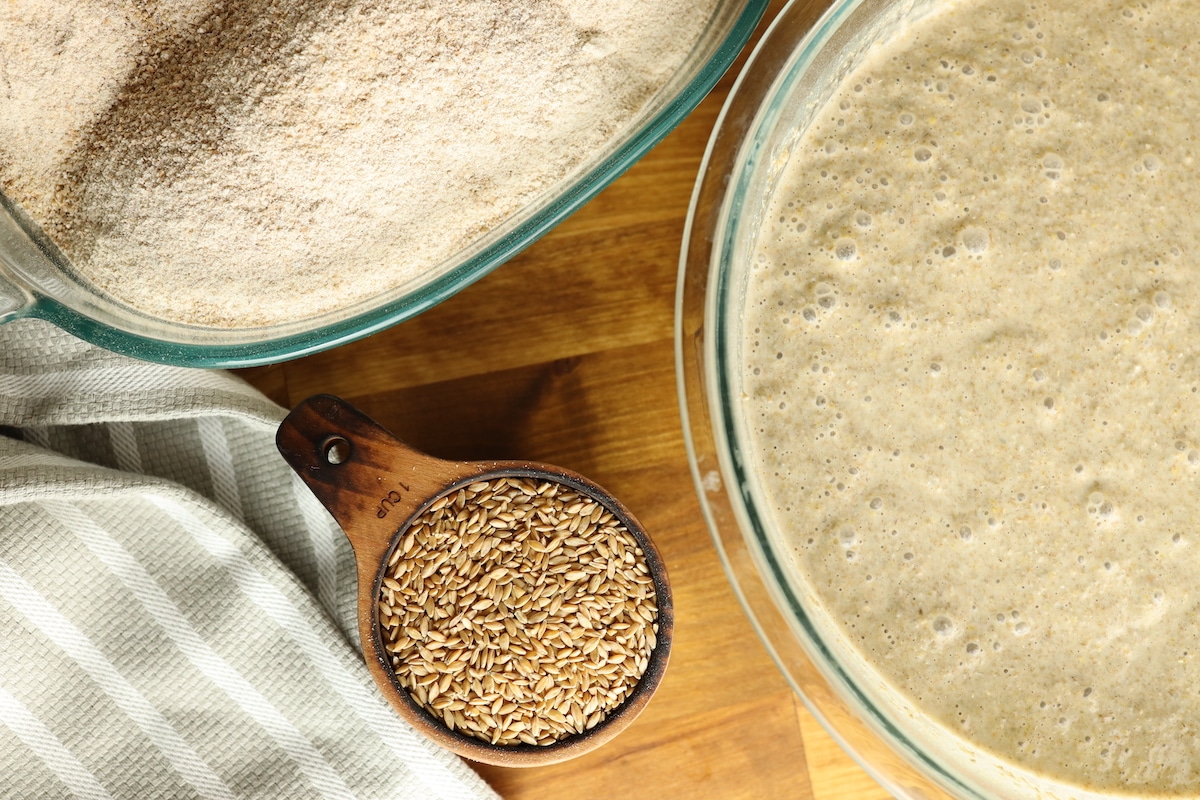
We could now enjoy sourdough without needing to think about it constantly. This system works well in our lives and allows us to enjoy the benefits of sourdough while keeping it as more of an occasional treat. The sweet spot for us is making sourdough about one time per month.
Once a month we typically make:
– 2 loaves of sandwich bread
– 4 deep-dish cast iron pizza crusts
– A few other rotating items that change each month (i.e. tortillas, pancakes, cinnamon rolls, scones, cookie dough, English muffins)
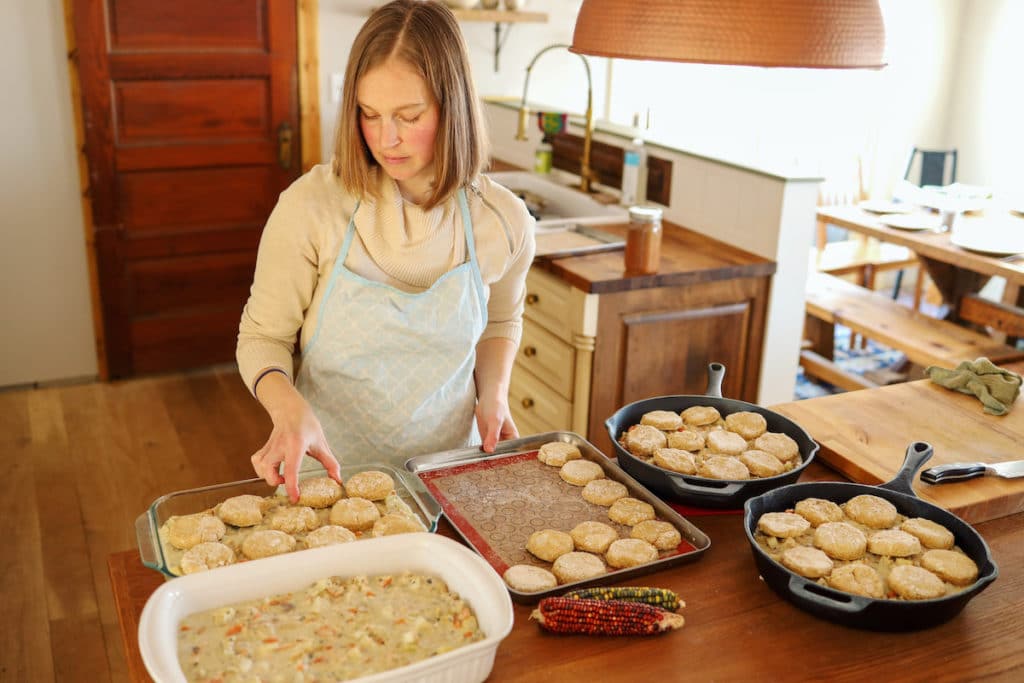
The beauty of this system is that we tackle all of our sourdough needs for the whole month at on them and then—you guessed it!—rely heavily on freezing everything that we make.
When consumed within the month, the bread always tastes fresh and the uncooked pizza crust dough rises beautifully when rolled out and baked.
This video gives you a real-time glimpse into how we pack a month’s worth of sourdough into one day!
The Benefits of Freezing Sourdough
Sourdough is so fun and delicious but it can be time-intensive. Which is why freezing sourdough has been the perfect middle ground for us. Here are some of the benefits of freezing sourdough that we have seen:
- Sourdough bread freezes beautifully. While our bread is not fancy or artisan, no one notices or complains when the bread is thawed from the freezer versus fresh out of the loaf pan.
- Freedom from sourdough slavehood. We can make a bunch of things all at once, freeze them, and enjoy them for the next month without my sourdough starter looming over my head daily.
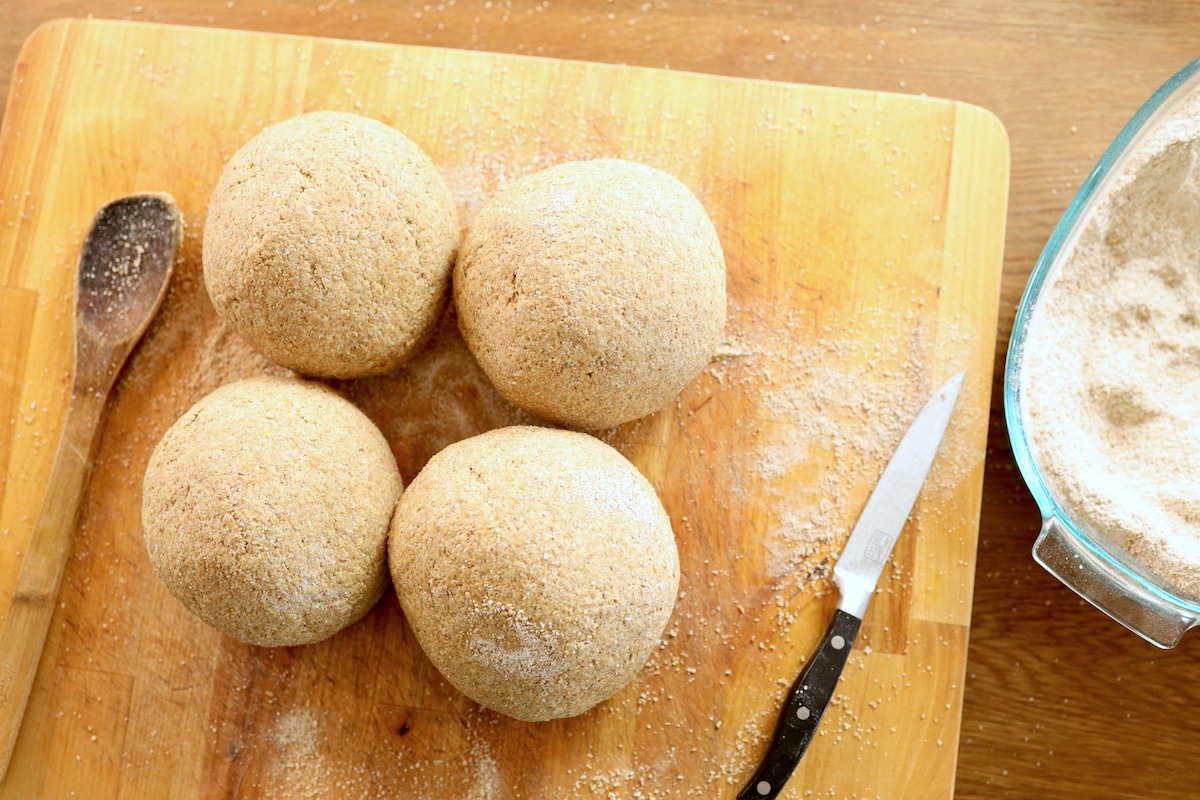
- We look forward to it. When sourdough day only happens once a month, it becomes somewhat of an event. Everyone looks forward to it and gets involved!
- Just the right balance. When an active starter is out on your counter, it can be easy for sourdough to make up a substantial part of your diet. We prefer foods like meats, fruits, and veggies—which have more bioavailable nutrients—to make up the primary foods we eat, and for sourdough to complement these foods. Having stored sourdough items allows us to space them out during the month so sourdough is enjoyed on occasion instead of all the time.
- We still get to enjoy it! Honestly, with a young family and homestead, we aren’t able to give sourdough the daily and weekly time it typically requires. But these batch baking and freezing sourdough sessions feel manageable every month and allow us to all enjoy the deliciousness that is sourdough!
More on how we preserve foods for storage:
- How To Make Kale Powder
- Red Cabbage Sauerkraut – How To Make Your Own
- How To Preserve Nettle
- Sugar Free Tomato Sauce (Easy, no peel recipe!)
- How To Make Orange Peel Powder
- How To Make Red Pepper Flakes
Pin it for later!




I would love to see a video from grinding the grain to making the starter and turning that into bread. I have not been able to get my fresh milled grain into a good sourdough bread. Also, I would love to see how you store the starter between uses and what that looks like. My starter always just molded. I absolutely, love your aga stove. Is it gas or electric?
Thanks for the comment, Tracy! Those are great video ideas for the future. The fresh milling took a little figuring out for us at first. In general, the finer we we were able to grind the flour the better the results we had. We’ve had issues when it’s too coarse. We’ve also used different wheat varieties and had really good results of late blending a spring wheat and einkorn. Really our starter just sits in a glass jar in the door of our fridge and it’s stayed fresh when used each month. We do use rye instead of wheat for our starter, so not sure if that plays a role in it keeping. Hope that helps! And the stove is gas – it’s so functional for us.
Thanks for this post! I am experimenting with sour dough bread bowls today and wanted to try freezing some for future meals. Love that you shared your easy routine! Thank you!!
You’re welcome! Mmmm sourdough bread bowls sound yummy! Thanks for stopping by 🙂
When you freeze the sliced bread, do you wrap them in with anything or just freeze as is? I’m making a batch of sourdough bread today and like the idea of freezing the sliced bread and only pulling out what I need. Thank you!
We just put the slices straight into a gallon sized ziplock bag as is. You could flash freeze individual slices so they don’t stick together but we’ve found they pull apart pretty easily with a sharp knife when frozen together. We don’t wrap with anything else besides putting in the gallon sized ziplock. Hope this helps! Good luck!
Do you not cold ferment your sourdough sandwich loaves? Super excited to start this monthly routine!
Yay – hope it works well for you!! We don’t do a cold ferment for our bread loaves, I’m not sure I totally know what that even is :).
How much starter do you need to make your monthly batch? And what does your feeding process look like to make that quantity?
Really interested in trying your monthly approach. Thanks!
Hi! Good question! We set aside about 1/4-1/2 cup of starter and then feed it 3 times over the course of about 24 hours. We grind 8 ish cups of rye flour to feed our sourdough starter. We probably end up with 8-10 cups of sourdough starter that we have to use each time. Hope this helps!