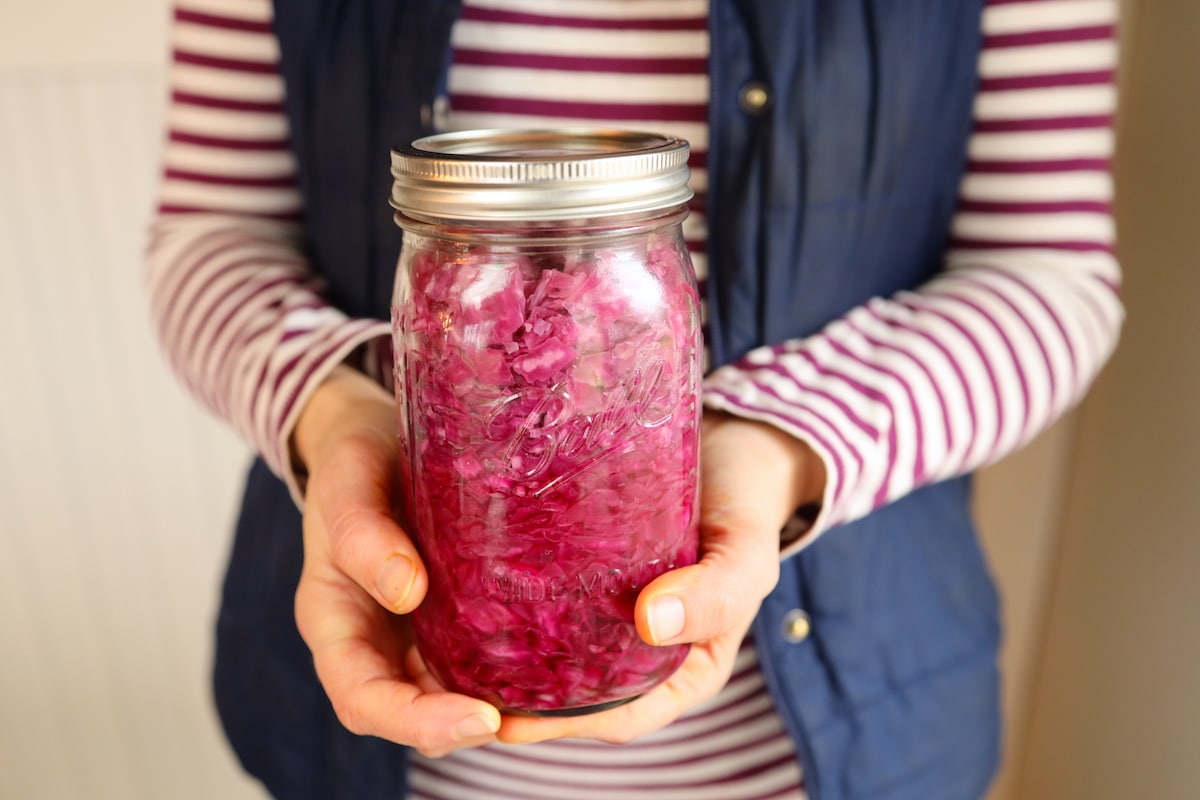
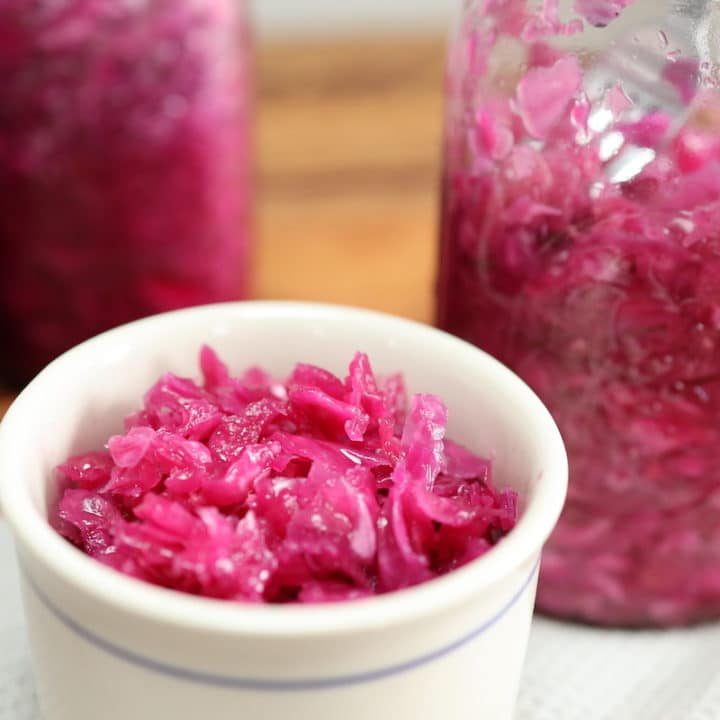
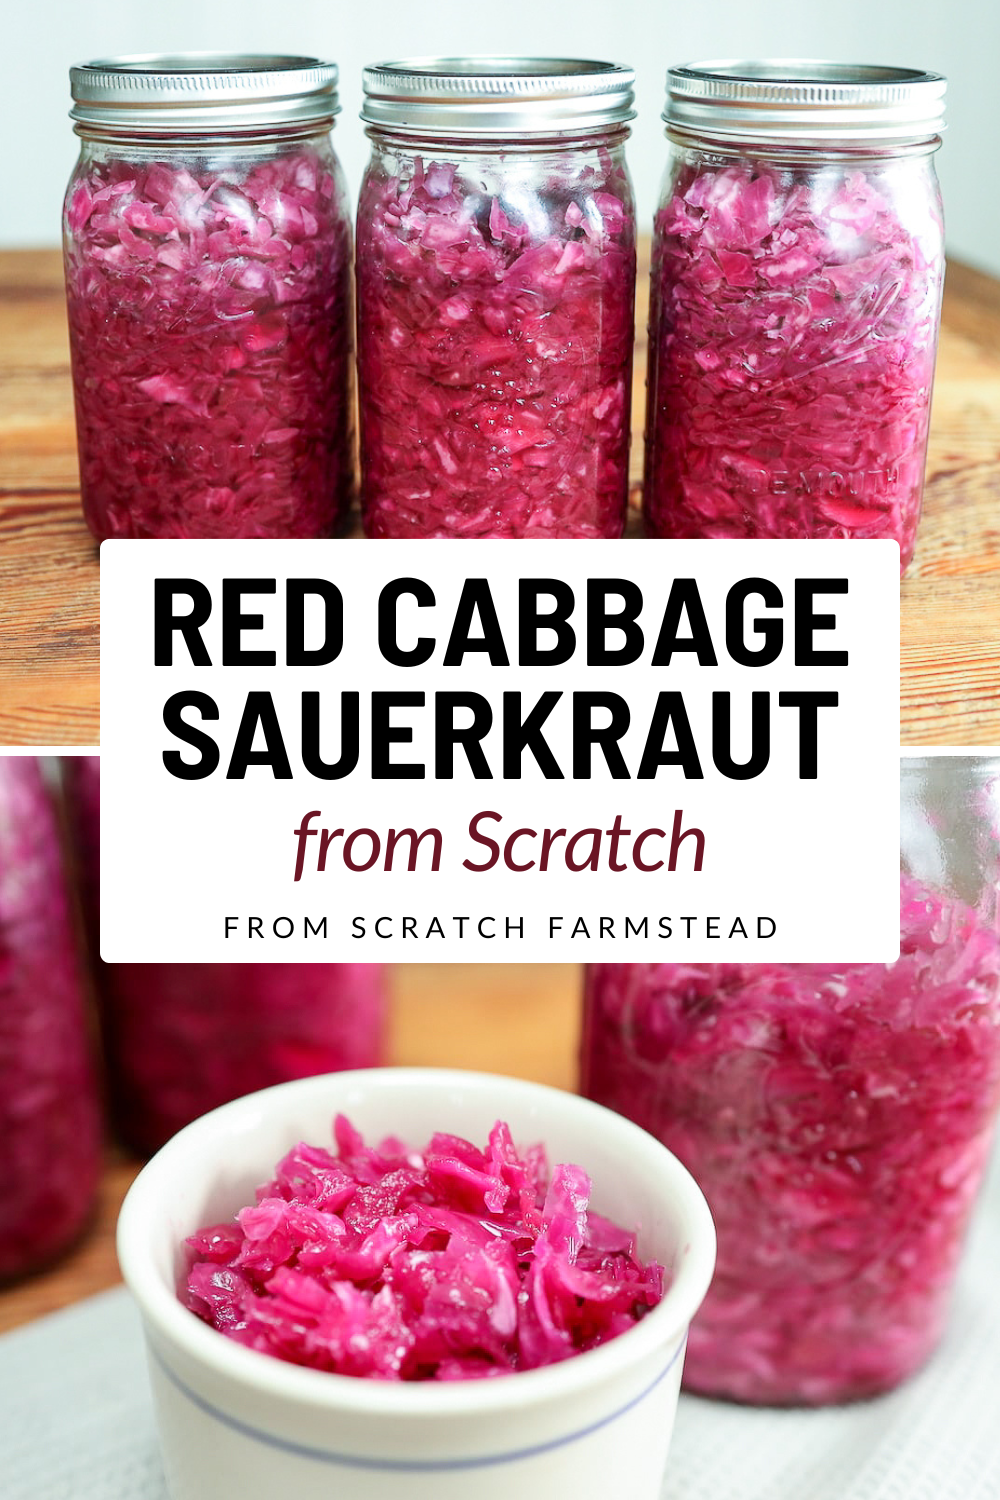
Red Cabbage Sauerkraut – How to Make Your Own
Sauerkraut is a staple in our fridge at all times and pulled out almost daily to add a boost of flavor, deep nutrition, and healthy gut bacteria to our meals. But, making your own lacto-fermented sauerkraut can be intimidating! We will walk you through exactly how to make your own red cabbage sauerkraut (or green) and the basic steps to follow to ensure success every time!
Why Red Cabbage Sauerkraut?
When it comes to sauerkraut, using either red or green cabbage is extremely healthful and there are benefits to each. We’ve come to love and prefer growing red cabbage in our garden over green for a few reasons and thus almost always have it on hand to make this red cabbage sauerkraut.
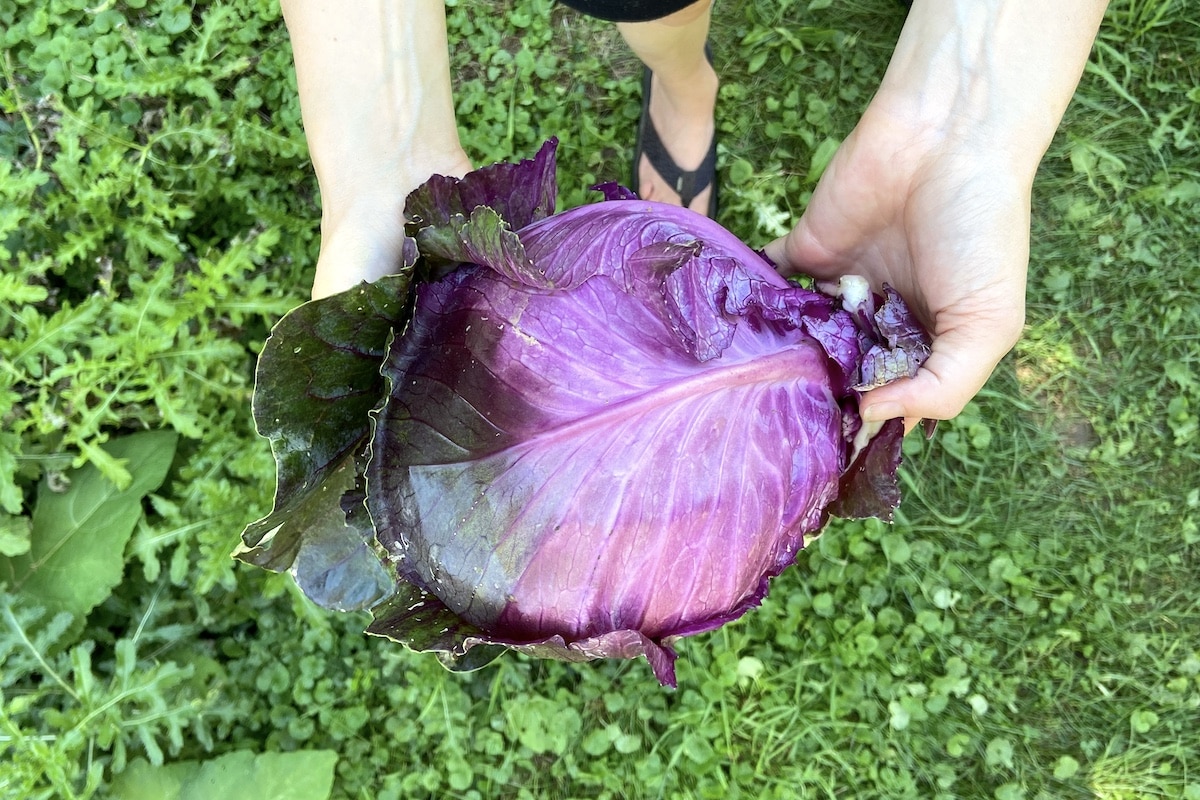
1. In our experience red cabbage has grown better than green cabbage. Our favorite variety to grow is Red Kalibos Cabbage and it has done really well for us. Previously, when we’d grown green cabbage, as soon as the heads started to get large, they regularly split and stopped growing. We haven’t had this experience with our red cabbage and have been successfully able to grow large beautiful heads of cabbage quite easily without splitting. And from talking to other vegetable farmers in our area, they’ve also experienced less pest pressure from growing red cabbage over green. Maybe this is just us or our area, but for these reasons, we are big fans of growing red cabbage!
2. It offers more health promoting compounds. With it’s deep red or purple color comes increased cancer fighting and health protecting polyphenols such as anthocyanins in the form of flavonoids.
3. It’s more nutrient dense. Red cabbage is higher in vitamin A, vitamin C, and iron than green cabbage. However, green cabbage does trump red cabbage in containing higher amounts of vitamin K.
We were initially drawn to start growing red cabbage over green because of the nutritional and health benefits after reading Jo Robinson’s book, Eating on the Wild Side, but after we also had better experiences growing red cabbage, we were sold!
Benefits of Turning Cabbage into Sauerkraut
While cabbage itself is great, turning that cabbage into sauerkraut makes it so much better from a nutrition and health standpoint as well as adds a unique flavor. This makes for the perfect condiment for so many dishes.
The process of fermentation is what turns raw cabbage into sauerkraut. Fermentation begins when the natural yeasts and bacteria that are already present on the cabbage, your hands, and in the environment, interact with the natural sugars in the cabbage. It turns them into carbon dioxide and organic acids (specifically lactic acid). This process creates an abundance of beneficial bacteria or probiotics that are known to contain generous health benefits.
According to Dr. Eric Berg in this video, the amount of vitamin C in cabbage increases by ten times when it is transformed from cabbage to fermented sauerkraut.
Furthermore, the probiotic benefits of fermented foods, and in this case our red cabbage sauerkraut, are extremely beneficial. They promote gut health and introduce enzymes to help break food down and absorb nutrients more easily to get the most out of what you are eating.
Other commonly cited benefits of sauerkraut include: immune boosting properties, can potentially aid in weight loss, is beneficial for brain health and stress reduction, may be effective against reducing the risk of cancers, promotes heart health, and can be helpful for building stronger bones. To learn more about the benefits sauerkraut, this Healthline article on the benefits of sauerkraut has some great information!
History of Sauerkraut
Sauerkraut is a German word with “sauer” translating to sour. There’s a little discrepancy about the meaning of “kraut”, some sources say it means herb while others say it specifically referred to cabbage. Either way, the rough translation clearly points to sour cabbage.
While sauerkraut is typically associated with German origins, it actually originated in China over 2,000 years ago when the Chinese were building the great wall of China. There was a need to feed many workers that were working remotely and they found that cabbage could be naturally stored without spoiling by fermenting it. They did not use salt at the time because of little access to salt. But rice wine was used to naturally ferment and preserve sauerkraut for many months to provide a nutritious dish to feed the workers.
Once the Mongols and Tartars began to invade parts of Europe in the 1600’s they brought the fermented cabbage with them. It took off in Germany as it grows well in cooler climates and provides an excellent source of nutrition all winter long through this ancient method of food preservation.
How to Source Sauerkraut
One of the main reasons we love making our own red cabbage sauerkraut is that it saves a ton of money. We are always looking for ways to cut back on our grocery bill while eating high quality, organic and nutrient dense foods.
Unfortunately, nearly all the sauerkraut that can be purchased from the store doesn’t contain the health benefits listed above. The reason for this is that most store bought sauerkrauts are pasteurized, meaning they undergo a heating process that kills off all of the beneficial bacteria that contain all the health benefits touted in the red cabbage sauerkraut. Furthermore, most sauerkrauts at the store contain extra preservatives and sugars reducing the health benefits.
What you are looking for is a product where the only listed ingredients are cabbage and salt with the possible addition of other spices, herbs, and veggies. Likely, you’d have a much easier time finding a naturally fermented sauerkraut at a local farmer’s market or small health food store. Bubbies sauerkraut is the only store-bought sauerkraut that I’ve been able to find that meet all of the requirements listed.
What Do You Need to Make Red Cabbage Sauerkraut?
When it comes to making sauerkraut, part of the reason for its long history is because it’s really so simple to make and requires only basic equipment.
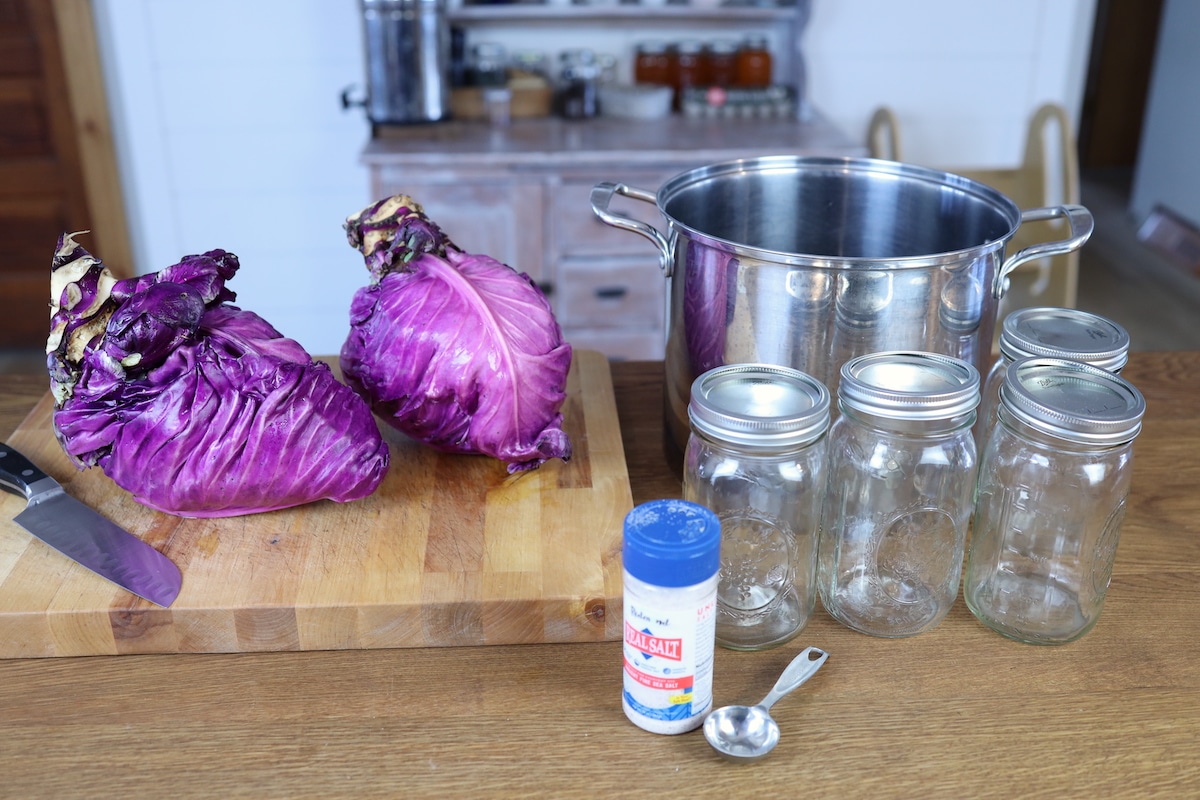
Besides the necessary ingredients – cabbage (red or green) and salt – the only other required tools are a cutting board and sharp knife, a large bowl or stockpot (stainless steel or glass), a wooden spoon or something to mash the cabbage down is helpful, and glass mason jars with lids to store your red cabbage sauerkraut in.
There are certainly other fancy fermentation tools and equipment out there like crocks and special lids. But we’ve always just stuck with what we already have on hand and the results have been perfect.
Frequently Asked Questions on Making Red Cabbage Sauerkraut
Should I add other spices, herbs or vegetables?
You are certainly welcome to doctor up your red cabbage sauerkraut as much as you would like with things like peppercorns, juniper berries, garlic, and/or shredded carrots or apples. Our style is generally to keep it simple and stick to just the cabbage and salt. Either way you can follow the recipe below and add in these other fruits, vegetables, or herbs as desired.
How do I prevent mold from forming at the top of my red cabbage sauerkraut?
This is one of the biggest roadblocks I see when people begin fermenting their own vegetables and specifically in making sauerkraut. In order to prevent mold from forming, a completely anaerobic environment must be created. This means that the cabbage must be fully submerged in liquid. If there is extra cabbage floating at the top or sides of the jars that are not submerged, they are exposed to the air and subject to the formation of potential mold at the top of the jar.
The key to avoiding mold is to make sure that there is plenty of liquid created in the process of mashing the cabbage down to let it naturally release its juices. As long as your cabbage is fully submerged, mold should not be an issue. You can use weights or even a 4-ounce jelly jar inside of a wide mouth jar to help keep the cabbage weighed down and stay underneath the liquid.
We’ve had this happen a few times though where a small amount of white mold forms at the top. In those instances, I was just able to scoop the moldy parts I saw and toss in the compost. The rest of the jar was salvageable. However, use your own discretion and if it’s anything worse than a very small amount of white surface mold, I’d probably toss the contents of the entire jar in the compost, unfortunately.
How long does red cabbage sauerkraut need to ferment for?
This will depend on two things: 1) the temperature of the spaces where it is fermenting, and 2) how sour you like your sauerkraut. When the temperature is warmer, fermentation will happen much more quickly than with colder temperatures. For example, in the summer when our home is around 75-80 degree Fahrenheit, our red cabbage sauerkraut may be ready in as little as 4 – 7 days. However, in the winter when our home is around 65 degrees Fahrenheit or less, it will take longer and I usually let our sauerkraut ferment for at least one week before I begin to check it.
Do I need to burp the jar or use special lids?
In my experience, regular mason jar lids with rings work fine. In order to let the trapped gasses out you could either not screw the lid on super tightly, or briefly open the jar to let the gases release every day or two. Also, making sure to leave plenty of head space (at least an inch), is helpful to prevent unwanted release of gasses making a potential mess on your countertop.
How long will the red cabbage sauerkraut last?
After it’s finished fermenting, we move it to the fridge where it will store well for several months. Because sauerkraut is a bit of a labor of love, we like to make a big batch at one time that will last us in the fridge for a few months before needing to make more.
Red Cabbage Sauerkraut Recipe
You can feel free to scale this recipe to whatever your needs are.
Ingredients:
– 1 head of red cabbage (or green cabbage)
– 1 tbsp of salt (or more as needed)
Directions:
1. Remove any outer-layer leaves on your head of cabbage, slice in half, and core the cabbage.
2. Using a sharp knife, shred cabbage. Alternatively, you could use a food processor.

3. Place shredded cabbage in a large bowl or pot and sprinkle with 1 tablespoon of salt (you may need more salt if it’s a large head of cabbage).
4. Massage the salt into the cabbage.
5. Ideally, let the salted cabbage rest for an hour or two to begin to let the juices naturally release. However, if time does not allow for this step, you can start massaging the cabbage with your hands or a wooden spoon to release the juices or brine.
6. You want to keep working with the cabbage until you have enough brine or liquid to fully cover your cabbage. I find that it’s easiest to transfer the cabbage to your mason jar to really work at pushing it down to get the liquids to release.
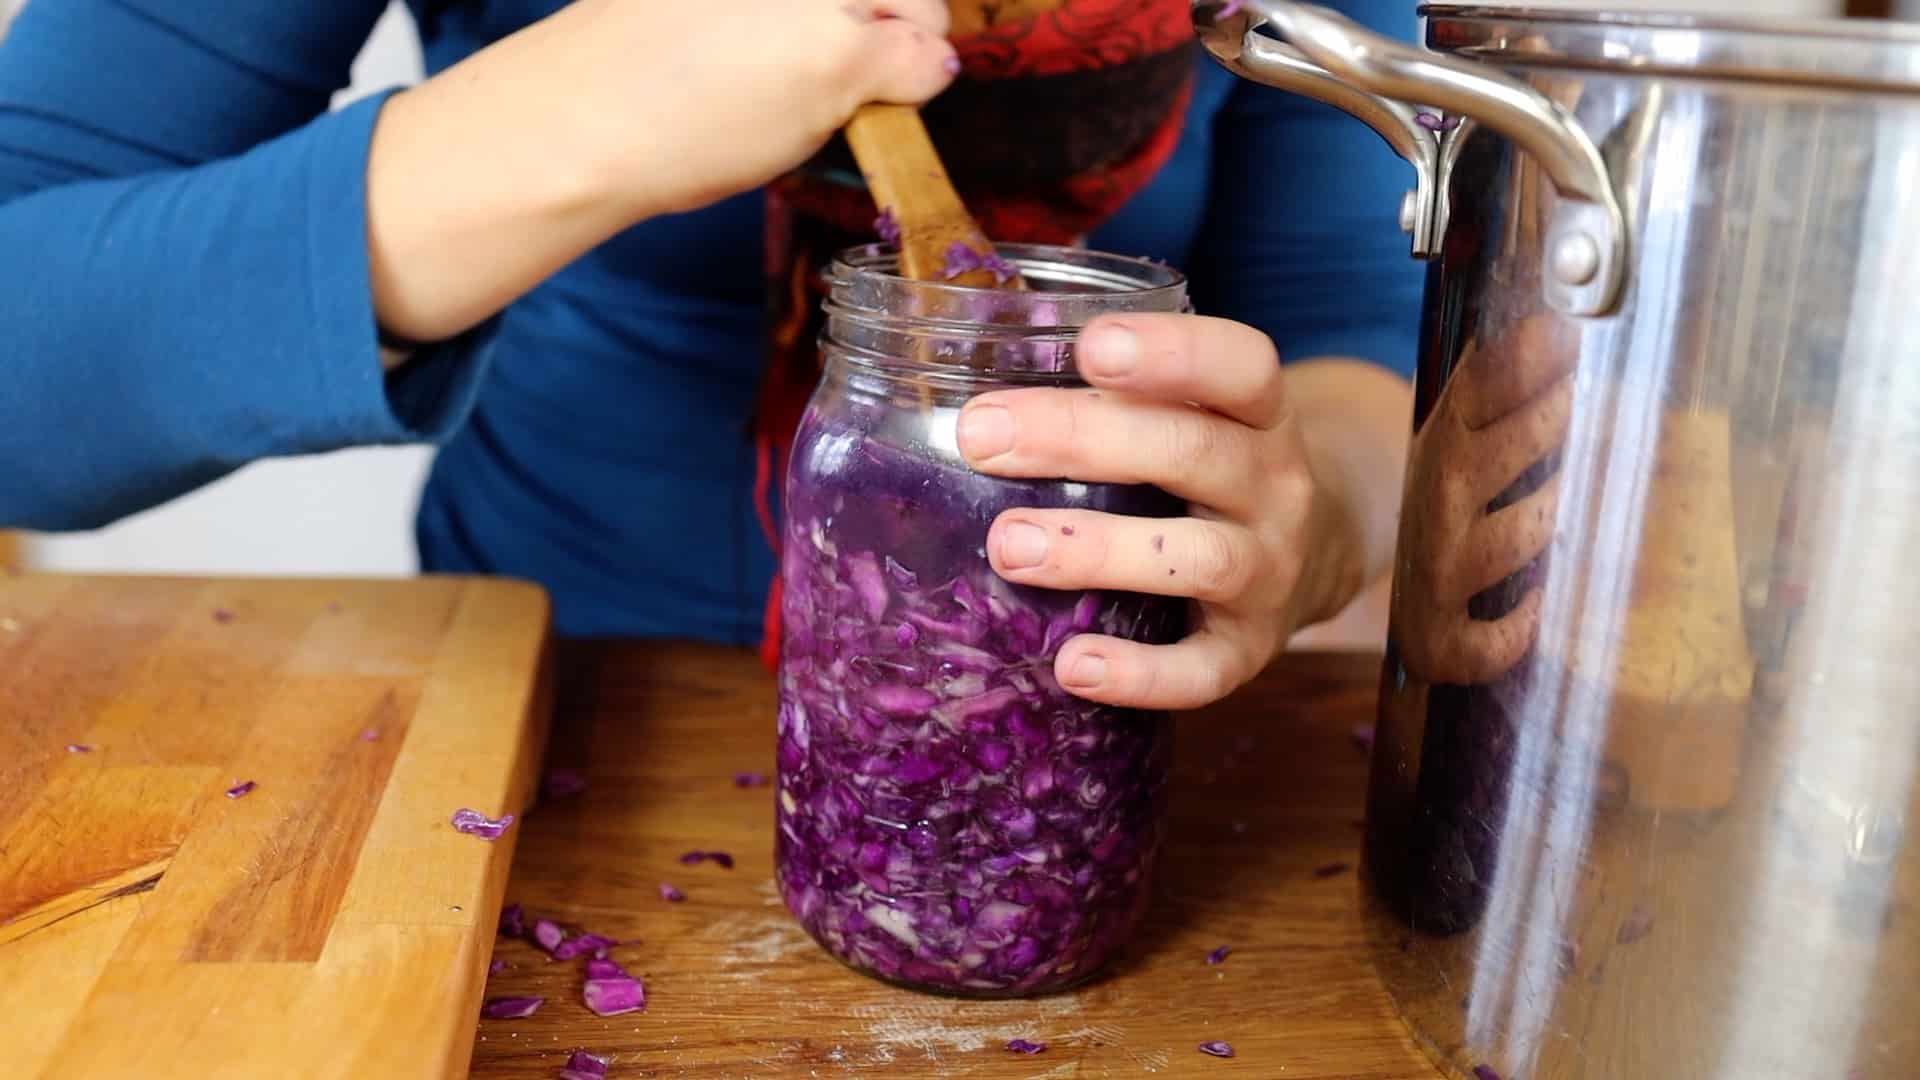
7. Once the liquid completely covers all of your cabbage, you can weight down your cabbage if desired and place the mason jar lid loosely on your jar.
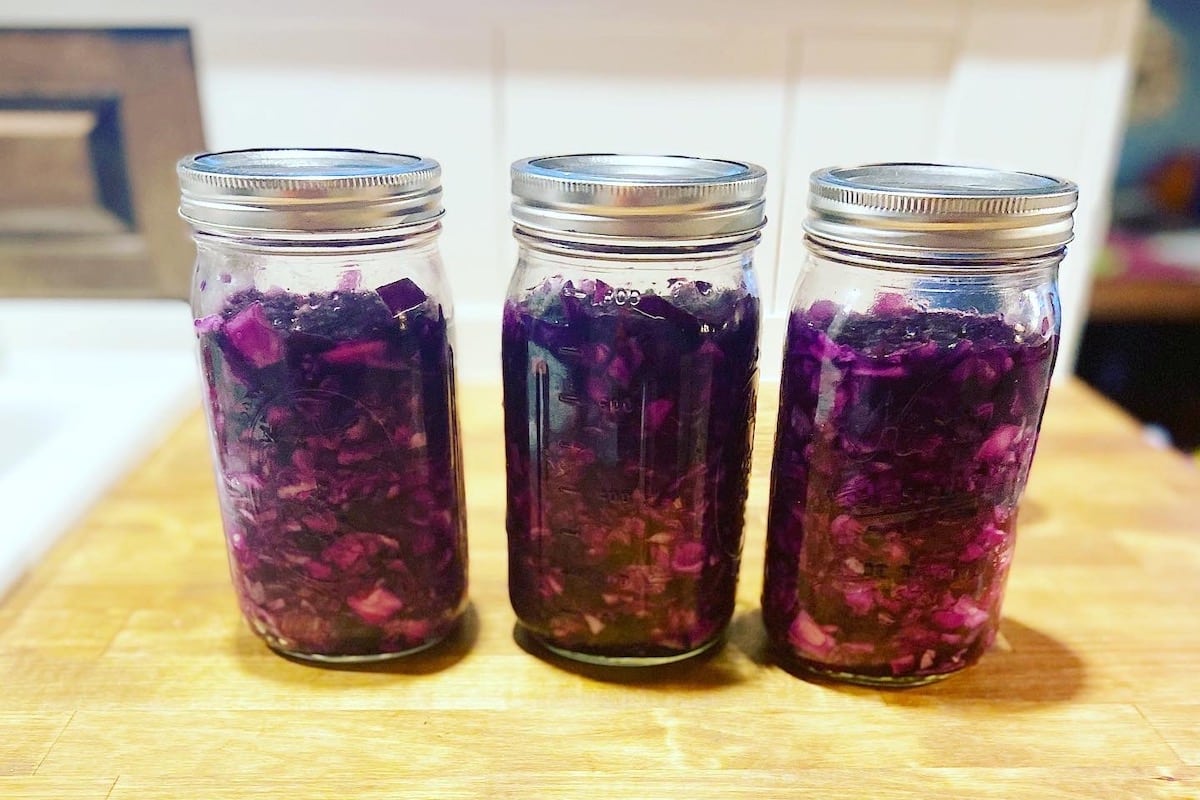
8. Let sit on the counter at room temperature out of direct sunlight for anywhere from 4 days and up to 2 weeks. Although I’ve heard of some people going as long as a month, 7-10 days is usually the sweet spot for us.
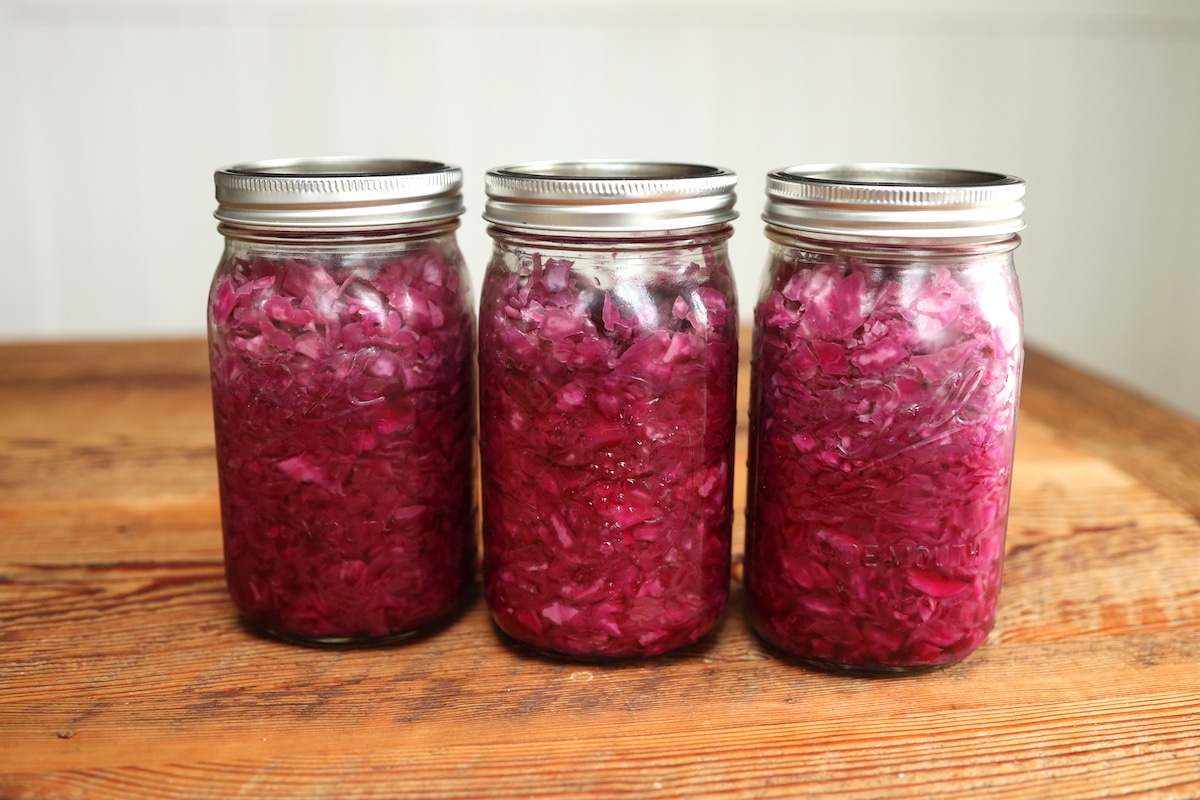
9. After a week, begin to check your sauerkraut to see if it’s to your liking. Once it is, place in the fridge where it will keep for at least a few months.
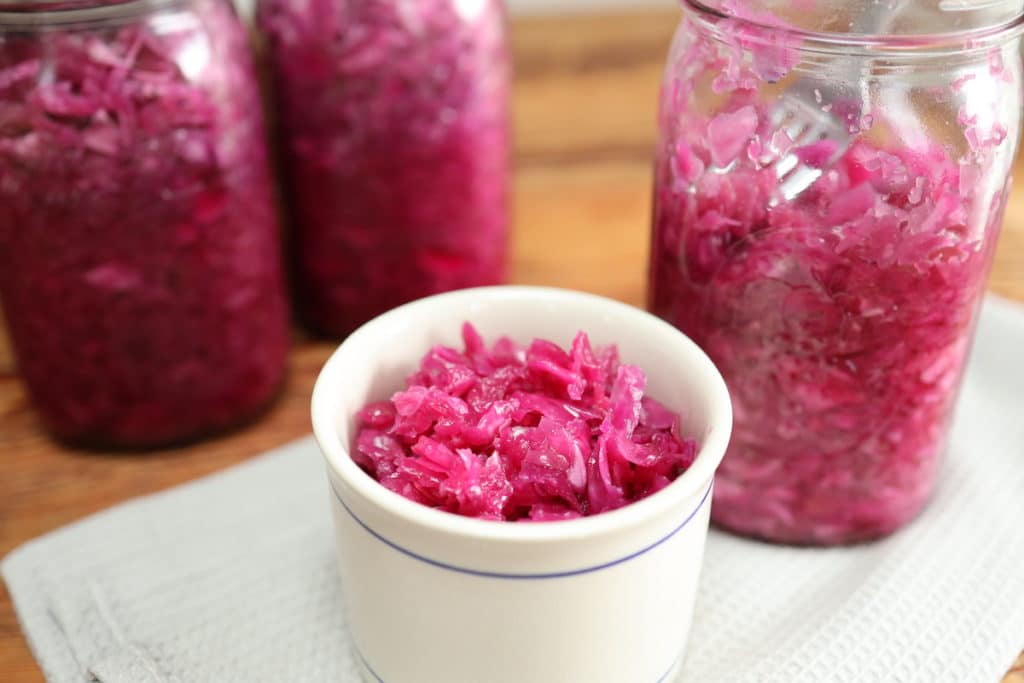
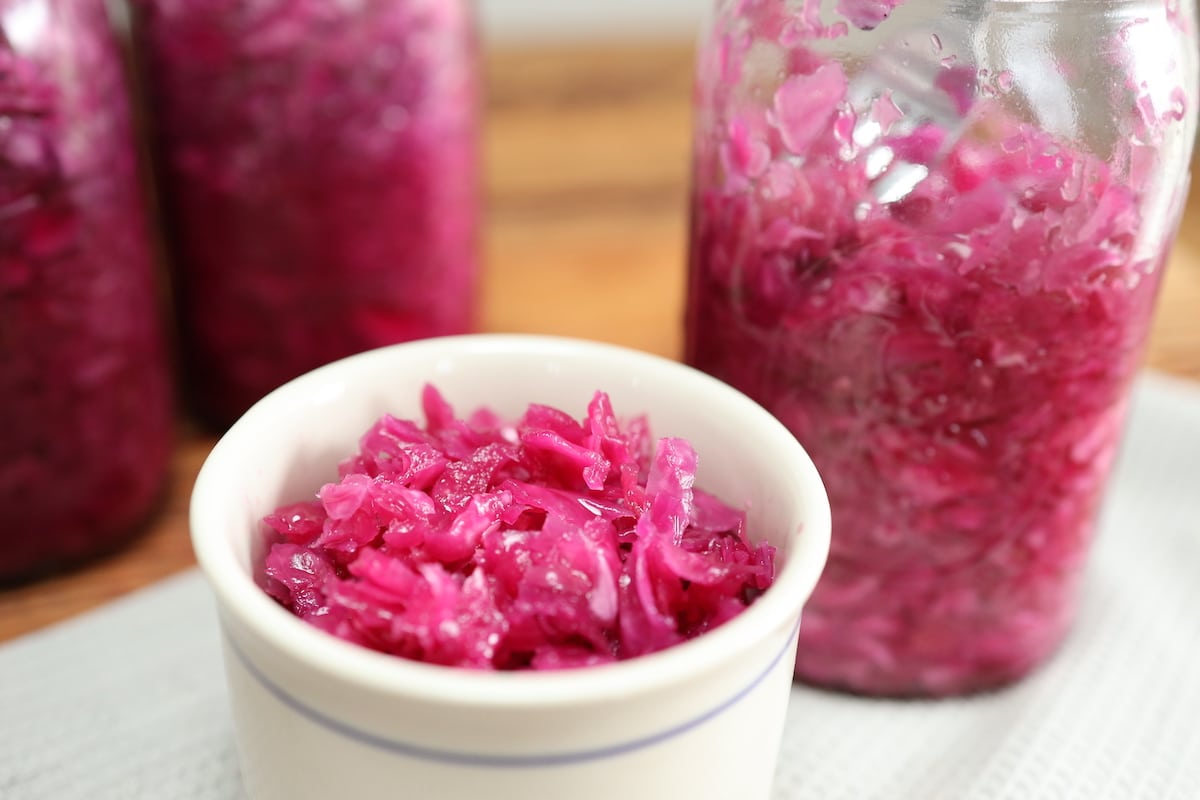
Enjoy as a side or condiment on your favorite dishes!
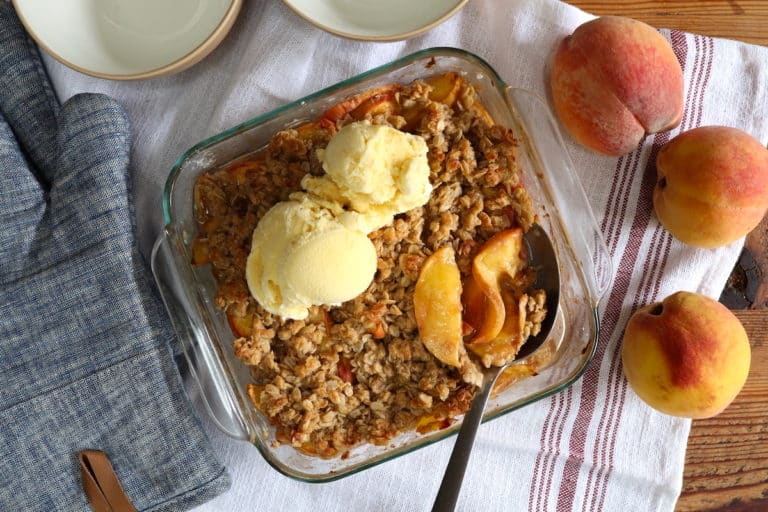
Check out more of our favorite ways to preserve food:
- Instant Pot Beets and Beet Puree
- How To Make Orange Peel Powder
- How To Make Kale Powder With Or Without A Dehydrator
- Quick and Easy No Peel Applesauce for Crock Pot or Instant Pot
RED CABBAGE SAUERKRAUT WITH ONLY 2 INGREDIENTS
Sauerkraut is a staple in our fridge at all times and pulled out almost daily to add a boost of flavor, deep nutrition, and healthy gut bacteria to our meals. We will walk you through exactly how to make your own red cabbage sauerkraut (or green) and the basic steps to follow to ensure success every time!
Ingredients
- 1 head of red cabbage (or green cabbage)
- 1 tbsp of salt (or more as needed)
Instructions
1. Remove any outer-layer leaves on your head of cabbage, slice in half and core the cabbage.
2. Using a sharp knife, shred cabbage. Alternatively, you could use a food processor.
3. Place shredded cabbage in a large bowl or pot and sprinkle with 1 tablespoon of salt (you may need more salt if it’s a large head of cabbage).
4. Massage the salt into the cabbage.
5. Ideally, let the salted cabbage rest for an hour or two to begin to let the juices naturally release. However, if time does not allow for this step, you can start massaging the cabbage with your hands or a wooden spoon to release the juices or brine.
6. You want to keep working with the cabbage until you have enough brine or liquid to fully cover your cabbage. I find that it’s easiest to transfer the cabbage to your mason jar to really work at pushing it down to get the liquids to release.
7. Once the liquid completely covers all of your cabbage, you can weight down your cabbage if desired and place the mason jar lid loosely on your jar.
8. Let sit on the counter at room temperature out of direct sunlight for anywhere from 4 days and up to 2 weeks. Although I’ve heard of some people going as long as a month, 7-10 days is usually the sweet spot for us.
9. After a week, begin to check your sauerkraut to see if it’s to your liking. Once it is, place in the fridge where it will keep for at least a few months.
Pin it for later!


Hi!
After the sauerkraut is fermented, when we put it in the fridge, do we have to keep opening it to release the “gasses”? And do we have to make sure the liquid continues to stay above the cabbage to avoid mold?
Thank You!
you!
Hi! It’s not a bad idea to keep checking occasionally to make sure there is no mold forming. The gasses shouldn’t be an issue once it’s in the fridge.
I have always loved German style sweet/sour red cabbage, which I cook down for 90 minutes or so. This uses apple cider and balsamic vinegars. I am excited to try your approach to red cabbage sauerkraut. Can you comment on using vinegars, such as sweet rice vinegar and ancient Chinese did?
Hi! This is a lacto-fermented sauerkraut which I love for the probiotics so I don’t add vinegar to it but just let it naturally ferment with the salt. I love vinegar in other things though!