How to Grow Sweet Potatoes From a Sweet Potato
As opposed to most plants that are grown from seeds, sweet potatoes are actually grown from sweet potato slips. And all you need to get started is a sweet potato. This is your complete guide on how to grow sweet potatoes from a sweet potato!
After buying sweet potato slips to plant for a few years that were quite expensive and produced varied harvests, we realized that it was possible (and really not hard) to grow slips ourselves.
We gave it a try and will never go back. Grab a sweet potato or two and let’s get started!
What Is a Sweet Potato Slip?
A sweet potato slip is a young, rooted sprout or cutting taken from a harvested sweet potato. This rooted sprout is then planted into the ground to grow sweet potatoes.
There are two methods for growing slips from a sweet potato to plant: the water method and the soil method. Because we like to plant roughly 100 sweet potato slips on our farm to get enough to feed our family for the year ahead, we prefer the soil method.
Why Grow Your Own Sweet Potato Slips?
Some garden plants we have no problem buying from a farm or store. But sweet potato slips for planting sweet potatoes is not one of them. Here’s why:
1. Saves You Money – Twice we have bought sweet potato slips form organic sources, and twice we have thought, “That was really expensive!” Just a couple whole sweet potatoes, some potting mix, and a tray or pot can yield you plenty of sweet potato slips to get going!
2. You Control the Timing – When ordering slips, especially online, you’re at the mercy of their ship dates. If you’re in a northern climate like us, and the supplier is further south, their ship dates might be way too early for your liking.
3. Simple & Fun! – Growing sweet potatoes from a sweet potato is very friendly for gardeners of all levels. Our kids love seeing the sprouts form, tracking when they’re ready to snip, and watching them root out once in water—and helping in all those processes!
4. Tasty & Nutritious Leaves – Not only are the sweet potato tubers delicious, but many don’t realize that sweet potato leaves are edible, delicious, and packed with nutrition. Pluck young, tender leaves right off the vine, and cook them up just like you would spinach!
How to Grow a Sweet Potato Slip
Begin with gathering your sweet potatoes. We like to use the organic sweet potatoes that we saved from our fall harvest. However, a grocery store sweet potato could work as well. We would recommend using Organic sweet potatoes for growing slips because conventionally grown sweet potatoes are often sprayed with sprout inhibitors.
How Many Slips Can One Sweet Potato Produce?
Using the soil method, a single medium to large potato typically produces 10-20 slips, or possibly even more.
We typically start with around 12 or 13 sweet potatoes that we use to grow slips in order to make sure we end up with at least 100 healthy sweet potato slips to plant.

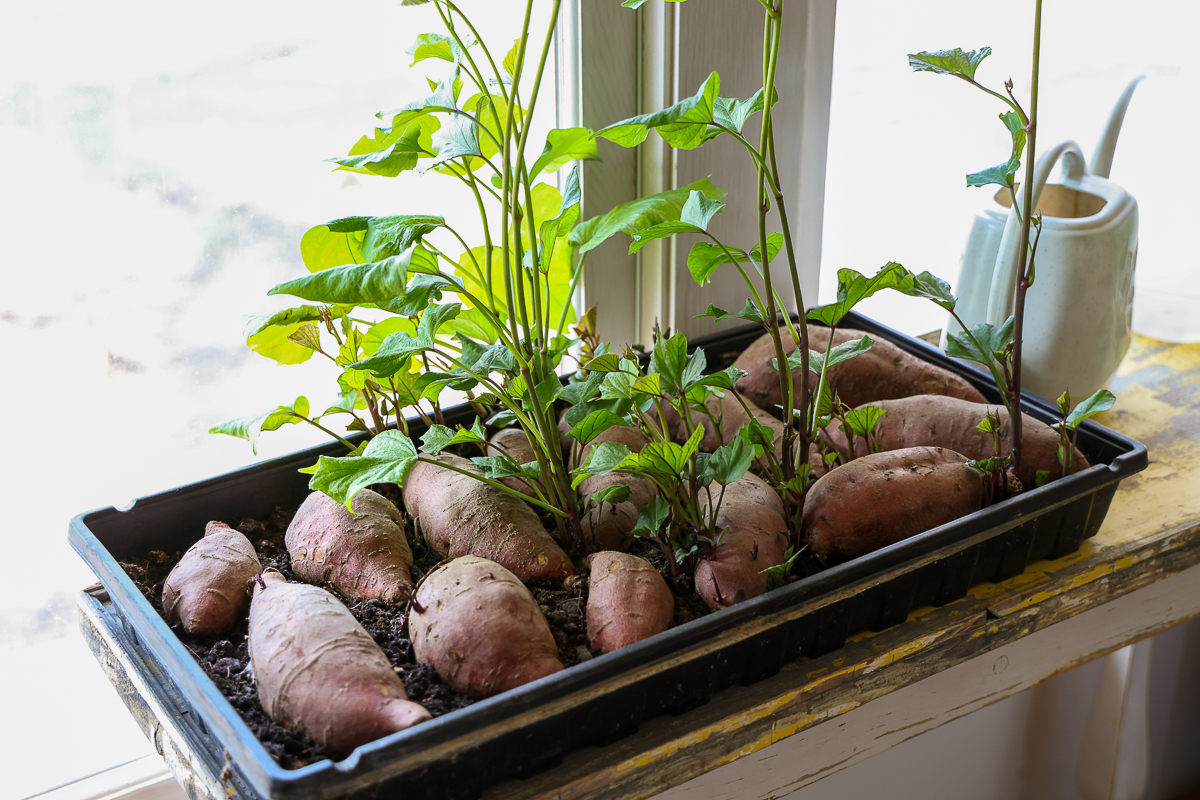
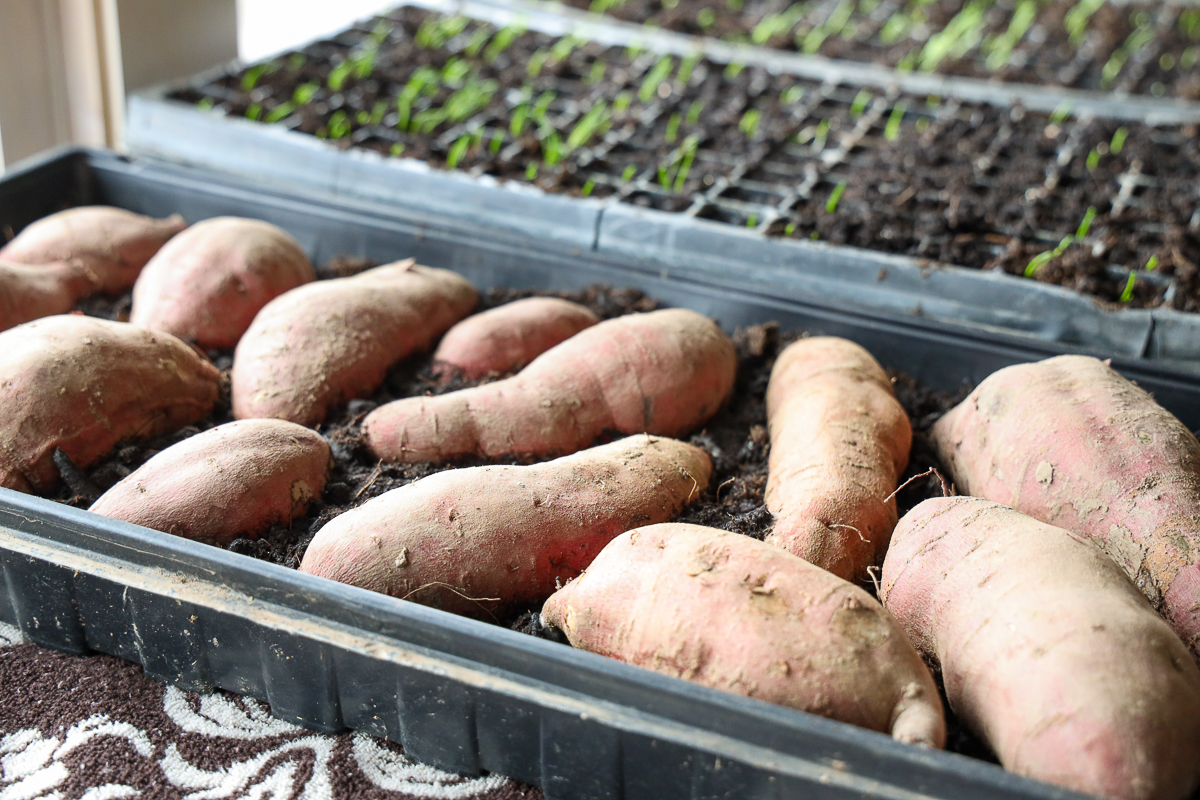
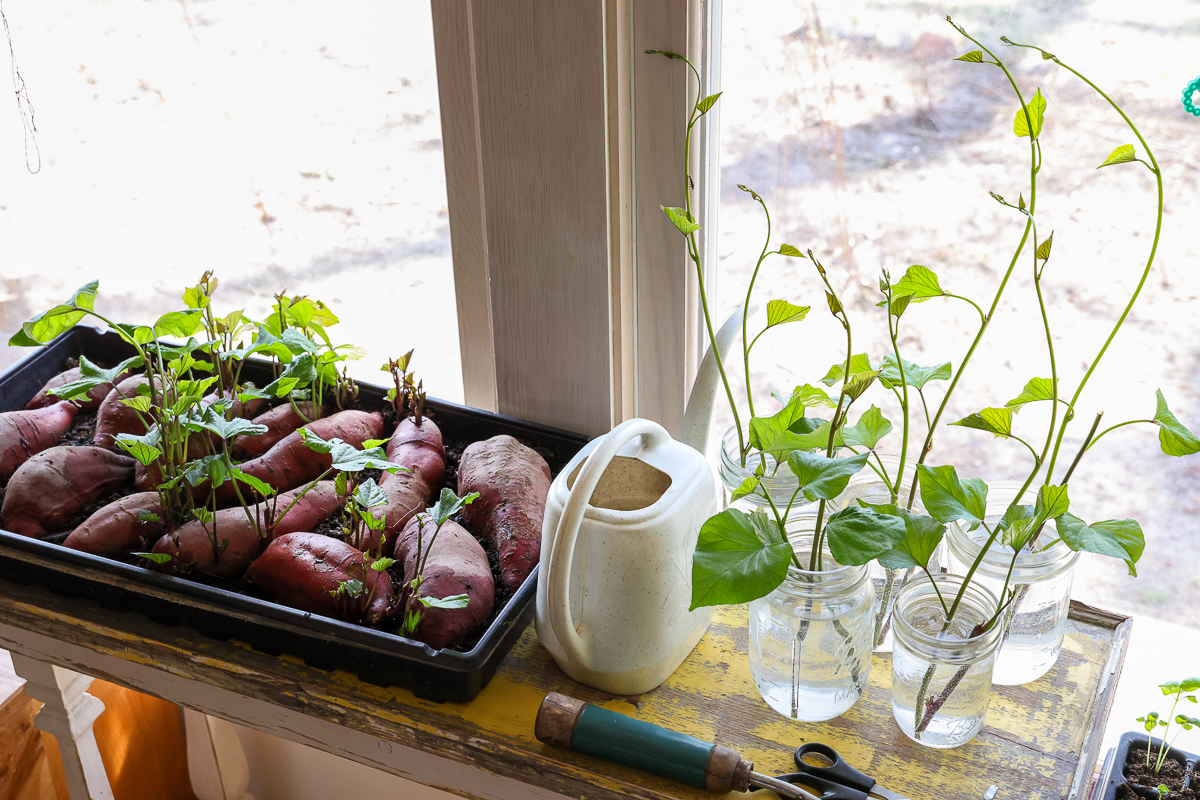
Place sweet potatoes so about half the sweet potato is submerged in a tray of soil or potting mix. We love this potting mix from Vermont Compost.
For best results, keep the container warm and moist. Around 80°F (26.6°C) is ideal.
To do this, we like to place the container filled with soil and sweet potatoes in a south facing window where is can get plenty of sun. If you don’t have a good south facing window, you might also consider investing in a heating pad and grow lights to create optimal conditions for the sweet potato to sprout.
From there, it takes time. Sweet potatoes generally take at least 4-6 weeks to begin to grow sprouts long enough to plant.
Once the sprouts reach about 4-6 inches tall, it’s time to detach them from the sweet potato so they can form roots.
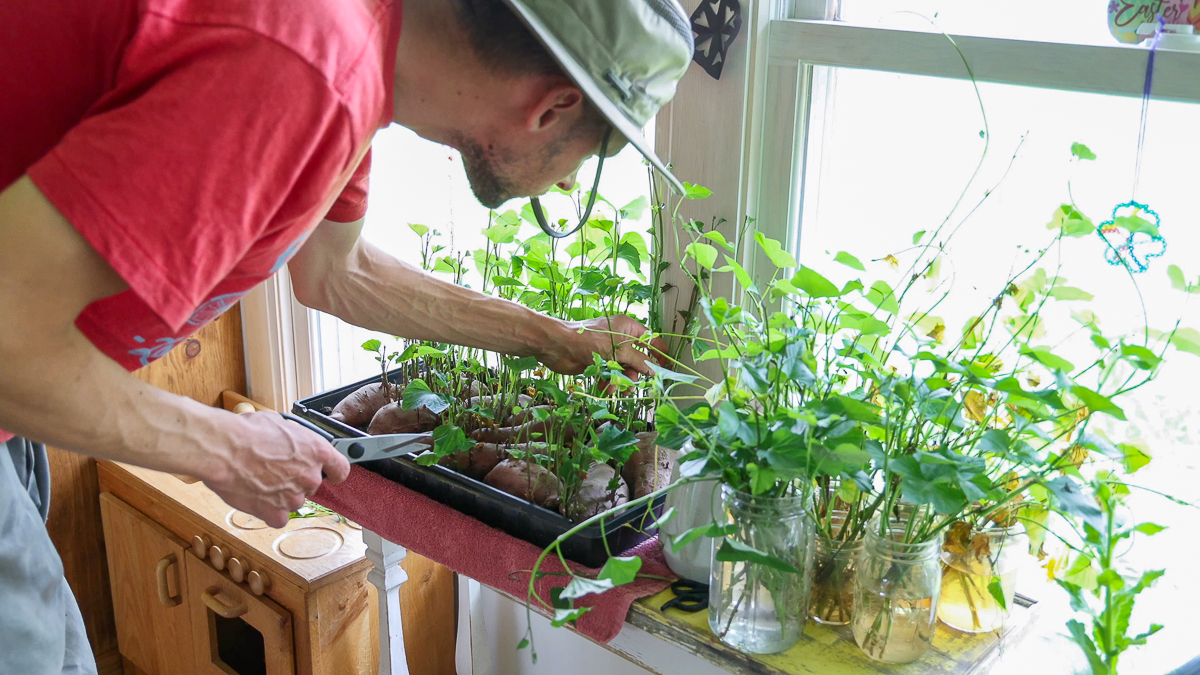
To do this, gently snap or twist the sprout from the tuber. We like to use kitchen scissors to snip them off, or use a knife to cut them off.
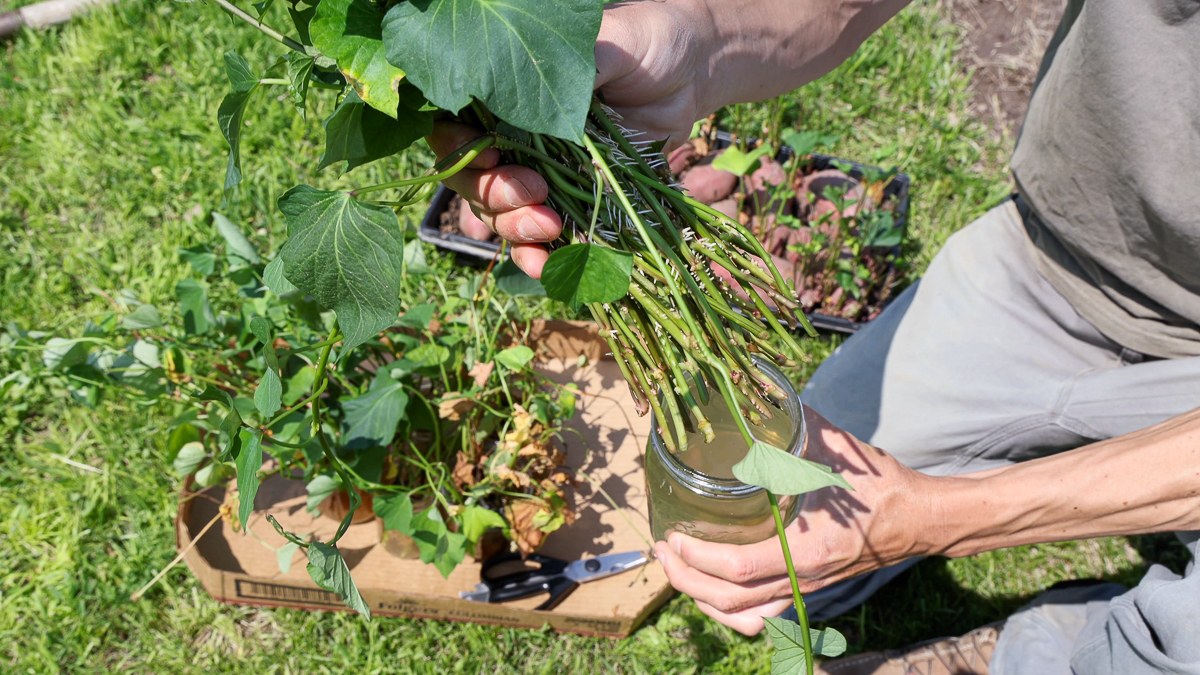
Take any lower leaves off of the slip and leave only the top leaves.
Place the slips into a jar of water to develop roots. Only the stem should be submerged, no leaves. Within just a few days, you will notice roots beginning to form on the sprouts. Once the roots are around 1-2 inches long, it’s time to plant those slips.
We typically aim to plant sweet potato slips into the ground about a week after putting them in water to root. There is some flexibility there, but if they are in water for too long before planting, they will turn into mush and not be a viable slip for planting.
Tip: Transplanting your rooted slips into potting mix in a pot or seed tray is a way to extend their life if you’re not quite ready to put them in the ground outside yet. Just don’t wait too long as they might start vining out pretty aggressively!
How to Plant Sweet Potato Slips
Plant sweet potatoes in loose, well-drained soil that gets plenty of sun.
Place sweet potato slips roughly 10-14 inches apart.
Dig a small hole and cover the roots and a few inches of the slip with soil, leaving only the top leaves of the sweet potato leaves above ground. Press firmly on soil surrounding the plant with your hands to set.
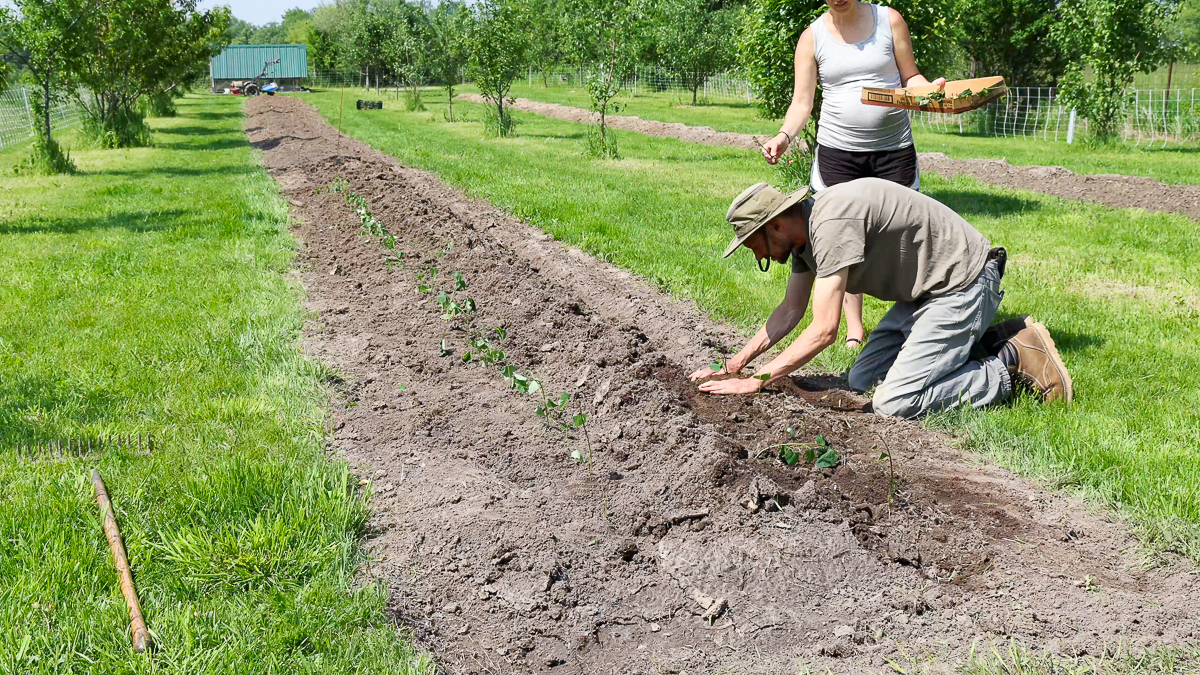
Water immediately after planting and keep the soil consistently moist for those first couple of weeks until the plant is established. We use drip irrigation to water our sweet potatoes, and it’s been a game changer in our garden.
Sweet potatoes have a long growing time and are typically ready to be harvested roughly 120 days or four months after planting. Where we are in growing zone 5b this is typically after the leaves have started turning yellow and right around when we are getting the first light frost.
Tip: Be sure to track potential frosts when growing sweet potatoes! With sweet potatoes being a heat-loving plant, even a light frost can wilt the plants above ground, and a hard enough frost runs the risk of damaging the tubers below ground.)

How to Harvest Sweet Potato Plants
The first thing you want to do is locate each plant. Find the vines above ground and leave them attached at the plant. You may need to trim away and remove some of the other vines above ground as they tend to form a tangled mess.
Next, use a digging fork to pry up and loosen the soil in roughly a 1’ radius around the entire plant, being careful not to fork any of the tubers below the ground.
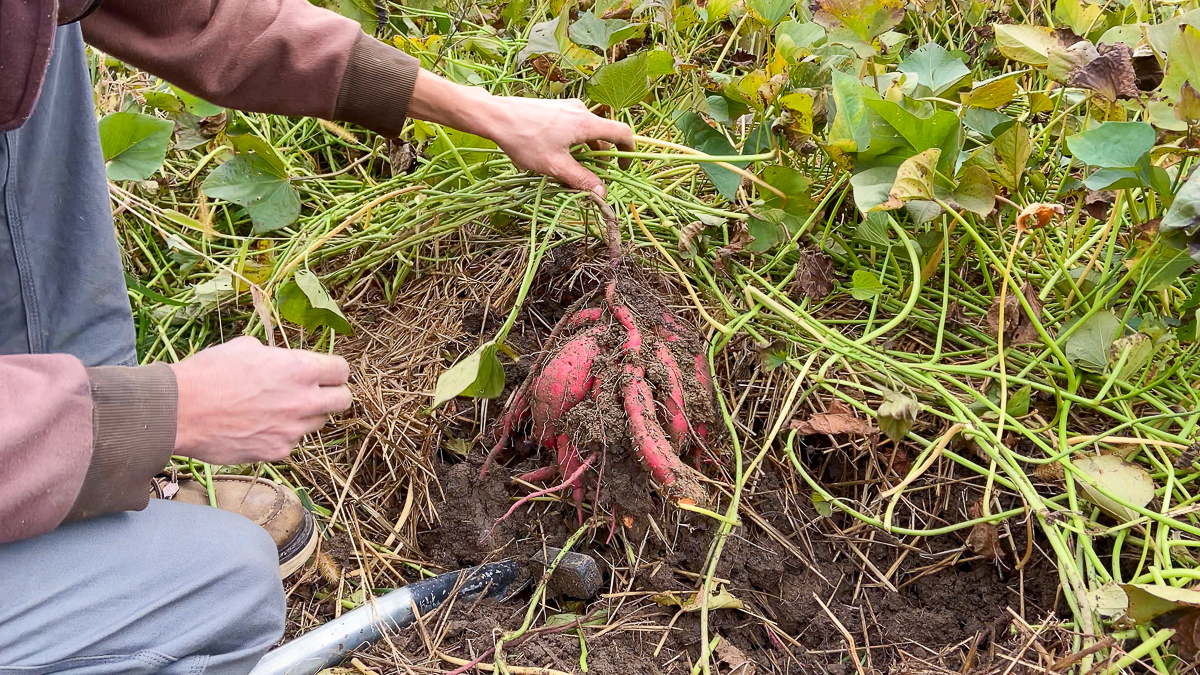
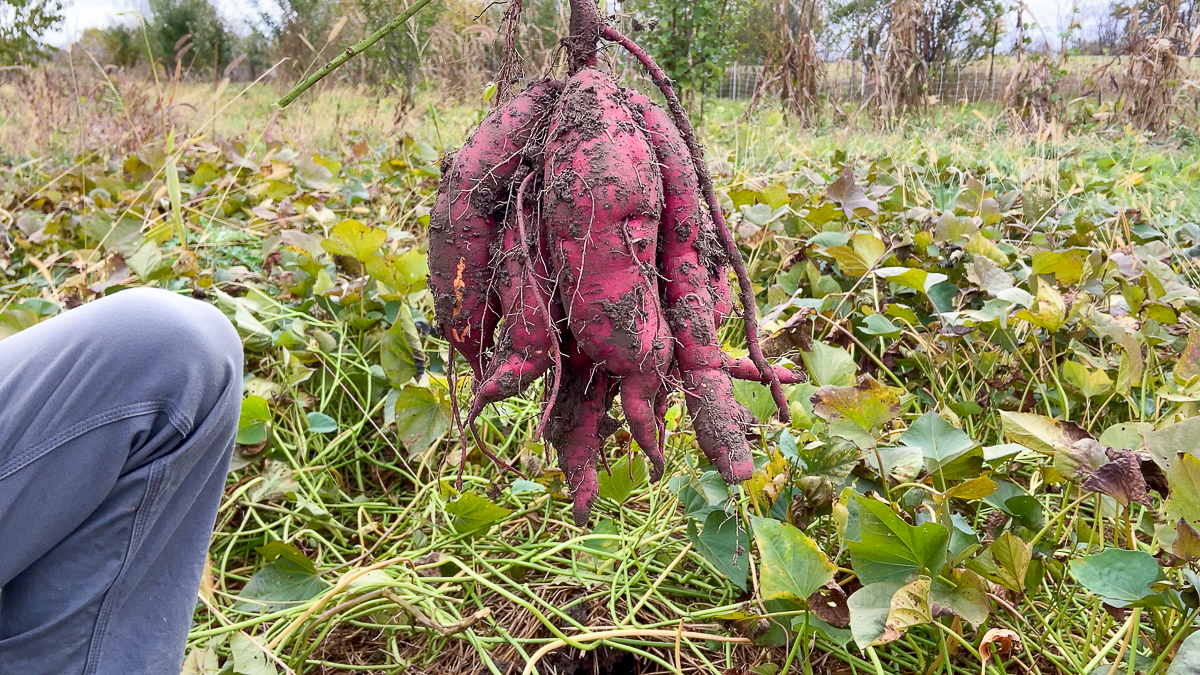
Once the soil is completely loose around the plant, simultaneously pry upward with your fork, and lift the primary sweet potato vine above ground to pull up the cluster of sweet potatoes.
Sweet potatoes tend to grow in one clump, though occasionally you will need to dig around the plant to find stragglers.
Curing Sweet Potatoes
If you plan to store sweet potatoes long term, it is best to cure them before storing.
To do this, lay unwashed sweet potatoes out in a single layer (not touching) in a warm, humid environment with good ventilation for 1-2 weeks.
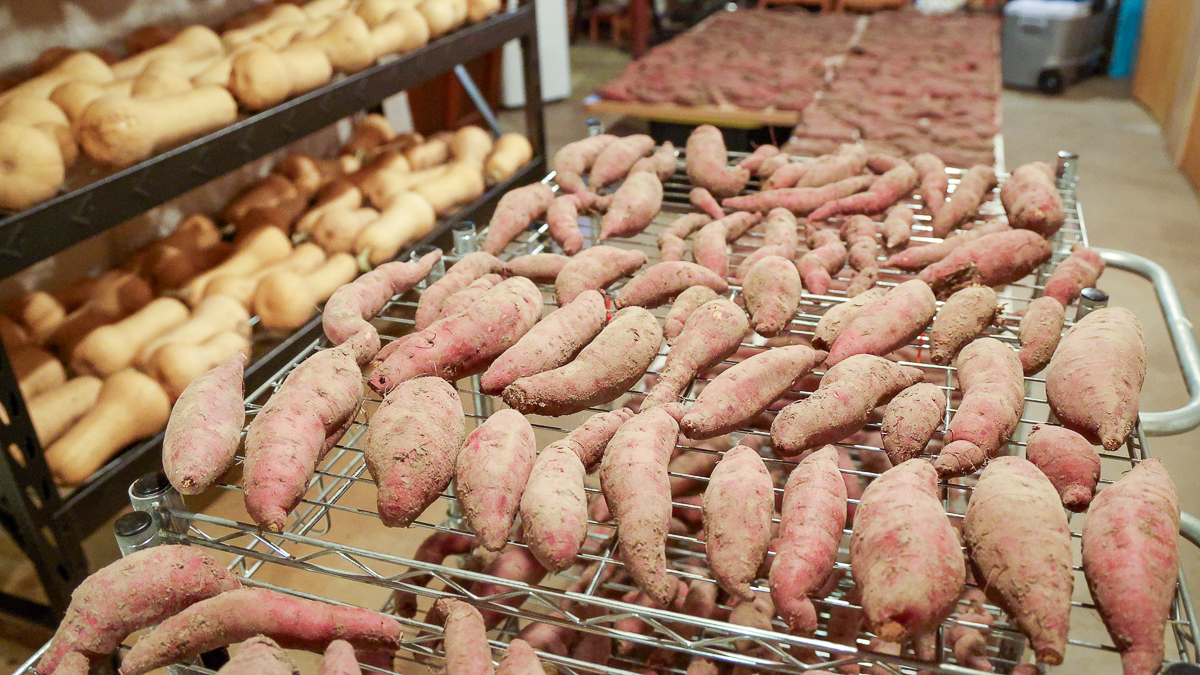
Soft tips or ends of the sweet potato can be snapped off while laying out to cure, and will heal up during the curing process.
Curing helps any wounds or blemishes heal, toughens the skin, and converts starches into sugar, making your sweet potatoes sweeter.
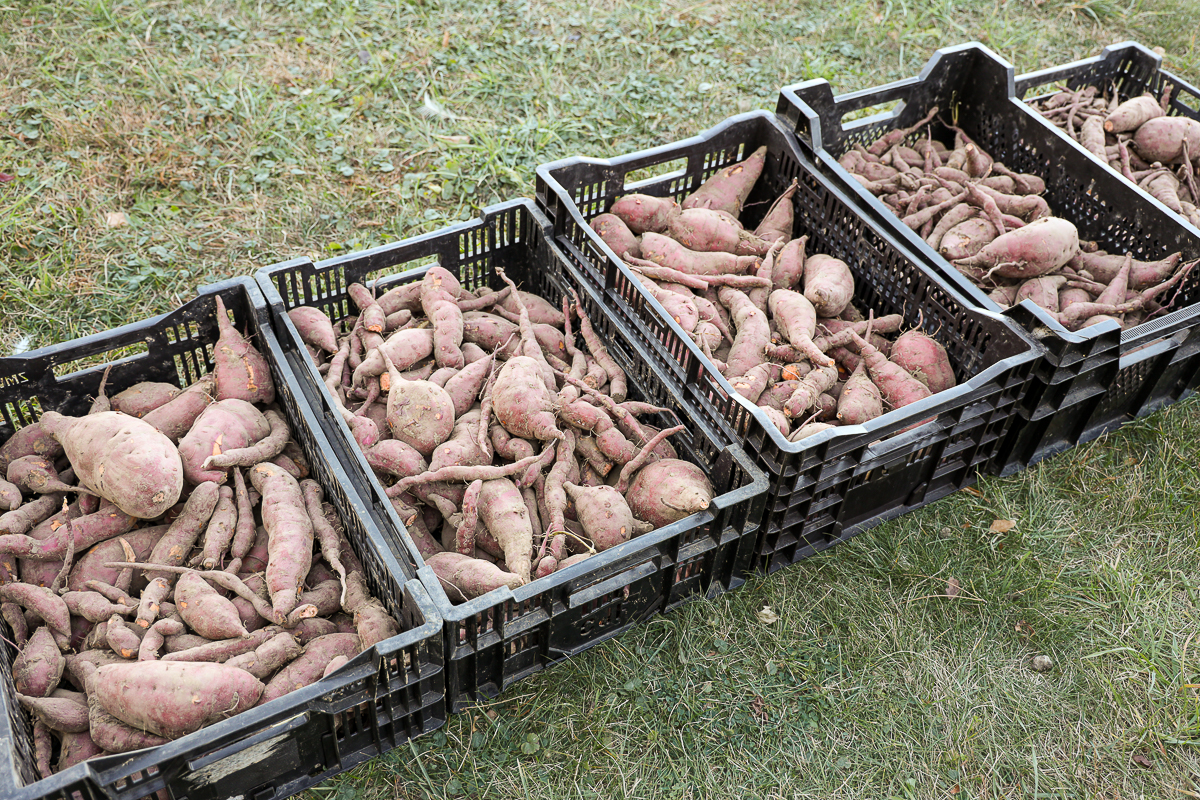
After curing, store in a cool, dark place, ideally around 55-60°F.
Tips For Successful Sweet Potato Growing
Temperature
Sweet potatoes love heat and thrive in warm conditions. Plant the sweet potatoes when the soil temps are at least 60°F, ideally 65-70°F (18-21°C), and nighttime temperatures are consistently above 50°F.
Cool temperatures can stunt sweet potatoes, leading to poor yields.
Plant Potato Slips Deep Enough
Ensure the entire root and several inches of the stem are fully submerged in the soil. Planting too shallow can make it difficult for the sweet potato plant to get established and develop a strong root structure.
Hardening Off
If the slips are grown indoors, hardening off is the process of letting those slips sit outside for a few days before planting to let them begin to acclimate to the outdoors before planting.
This gradually exposes them to outside conditions, like sun and wind, to avoid transplant shock.
Begin by placing slips in a shady place for 2-3 hours, and slowly increase the time and amount of sun exposure before planting in the ground.
Mulch!
Adding mulch around our sweet potato plants has really helped to cut down on weed pressure as sweet potato vines are getting established.
We prefer to use straw from a no-spray source to keep chemicals out of our gardens. Wood mulch, leaf mulch, hay, or even a sheet mulch are also good options.

Final Thoughts
You may be asking yourself, “Why can’t I just plant the whole sweet potato in the ground like you would a potato?”
Well, we asked this too and gave it a try! Technically, it did work. But the tubers produced were very long and thin, and did not grow in a nice cluster. And the sweet potato you plant remains in the ground, gets hard, and definitely would not be edible in the end.
Sweet potato slips are definitely the way to go!
Growing your own sweet potatoes from a sweet potato may seem intimidating, but follow this guide and you can absolutely do it!
Some of the above links are affiliate links. This means we earn a small commission at no cost to you. We are so appreciative of your support!
More Garden Guides:
- Planting Potatoes with Long Sprouts – Everything You Need to Know
- How to Build a Drip Irrigation System
- Planting, Harvesting, and Curing Garlic for Storage
- 10 Essential Storage Crops You Need to Grow
Pin it for later!