Shelling Corn By Hand (2 Simple Methods)
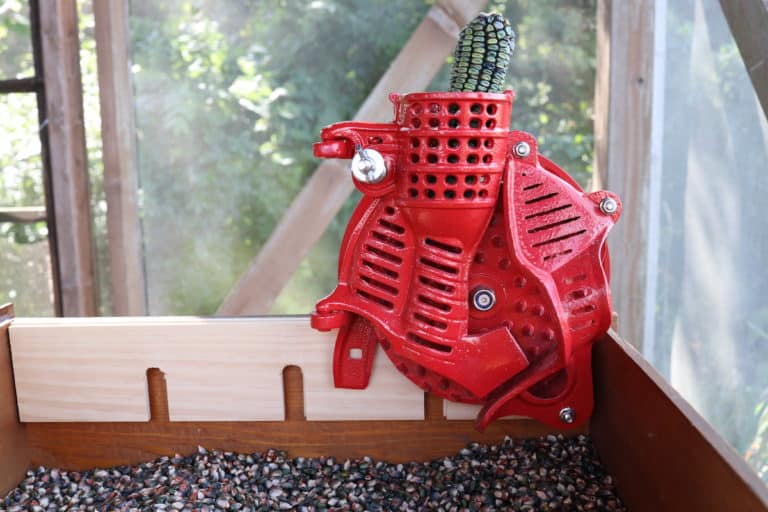
Growing corn is a great addition to your homestead kitchen! Use it to feed animals. Turn it into many yummy and satisfying recipes. But shelling corn can be a tedious job on a small scale. Let’s look at how to shell corn efficiently—both by hand and using a mechanical corn sheller. What Is Shelling Corn?…