Planting, Harvesting, and Curing Garlic for Storage – It’s easy!
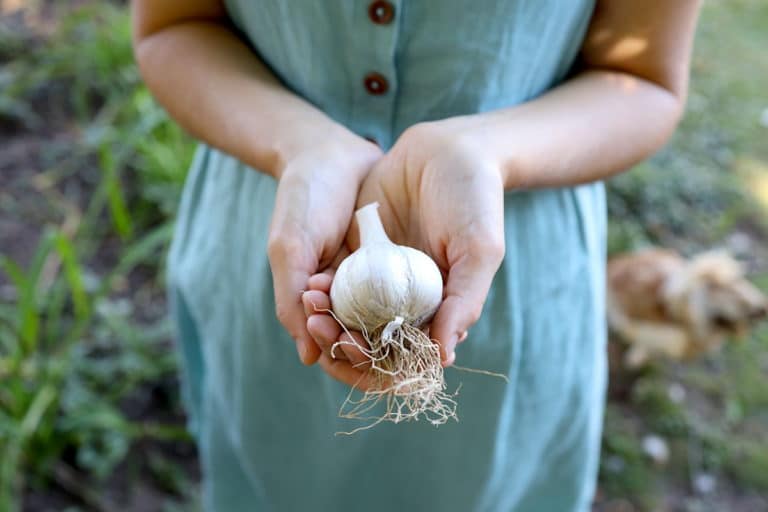
Growing garlic is one of the favorites on our homestead and it’s way easier than you might think. We will break down best methods for planting, harvesting, and curing garlic for storage. As a new gardener, growing garlic felt intimidating. Planting something in the fall to harvest in the spring was new territory and honestly…