Yard Hydrant Install Complete Guide – Read This First!
Installing a freeze proof yard hydrant can be intimidating. But yard hydrant install is definitely DIY friendly! We’ll help you track down the right supplies, equipment, know-how, and yard hydrant to get the job done on your property!
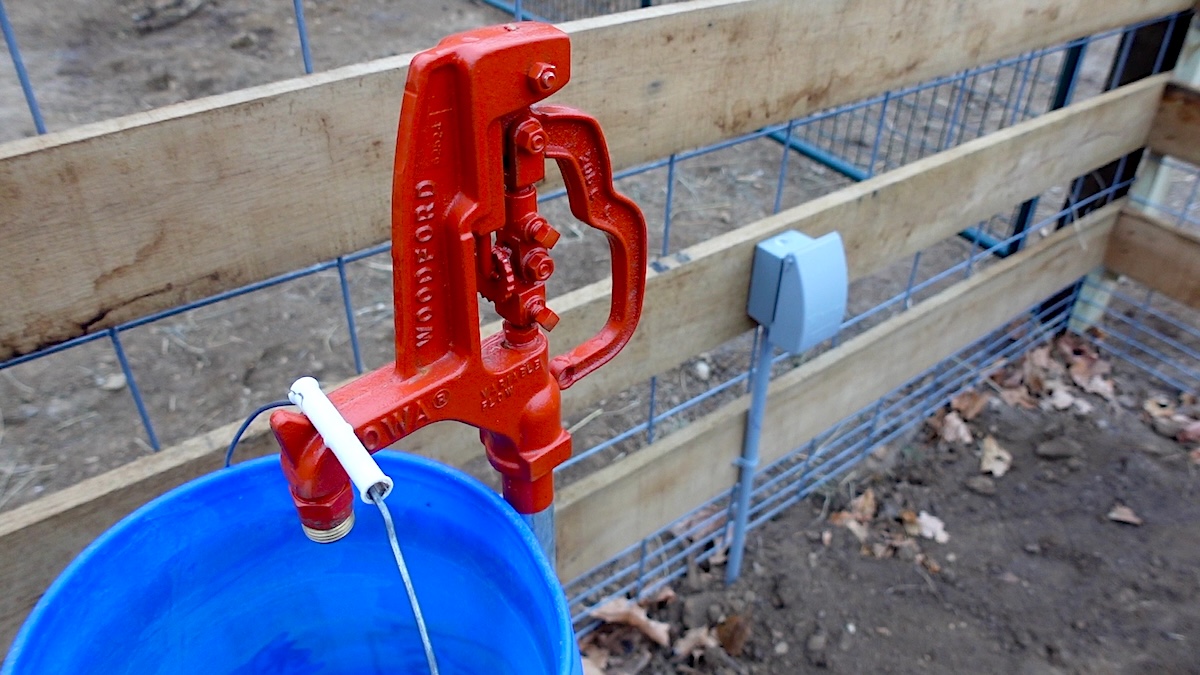
Tired of running hundreds of feet of hoses all over your property? We were too. That’s why we installed a new yard hydrant to bring year round water closer to our animals and gardens.
We already had a yard hydrant coming up in our barn, which we are thankful for. It gave us outside access to water anywhere on our homestead. And since yard hydrants are designed to not freeze in the winter, it’s been a reliable source of water in our cold northern Illinois climate.
But with our gardens, orchards, and animals typically being located hundreds of feet from our barn, we were running hoses everywhere!
Never having trenched in waterline before, we set to work. And while there was a lot to learn, installing a yard hydrant was actually pretty simple and straightforward in the end.
What is a Frost Proof Yard Hydrant?
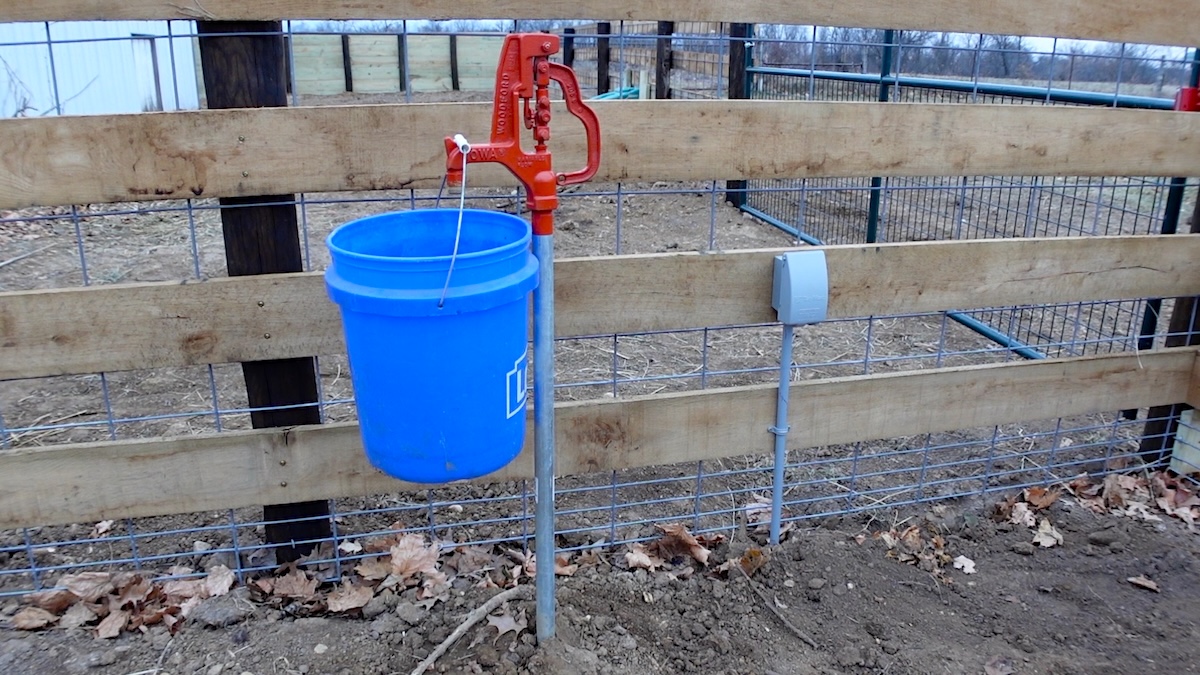
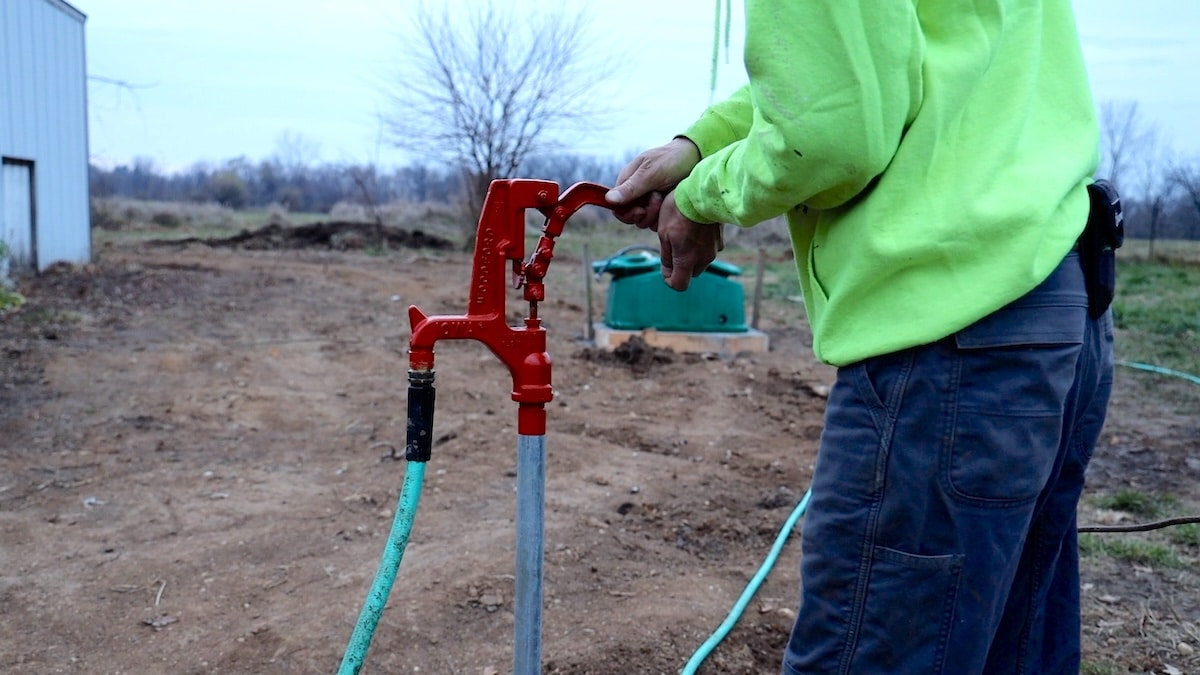
Yard hydrants have been part of farms, homesteads, and rural properties for generations. You’ve likely seen them—a vertical pipe coming up out of the ground with a head on top (often red) and a lever. This is a yard hydrant.
Yard hydrants involve a vertical standpipe that comes up out of the ground with a water spigot head on top. Attached to the head is a lever that, when lifted, allows water to flow from the hydrant.
When the lever is lowered or closed, water drains out underground at the bottom of the standpipe. This drainage feature is what keeps water from freezing within the hydrant making them suitable for year-round use.
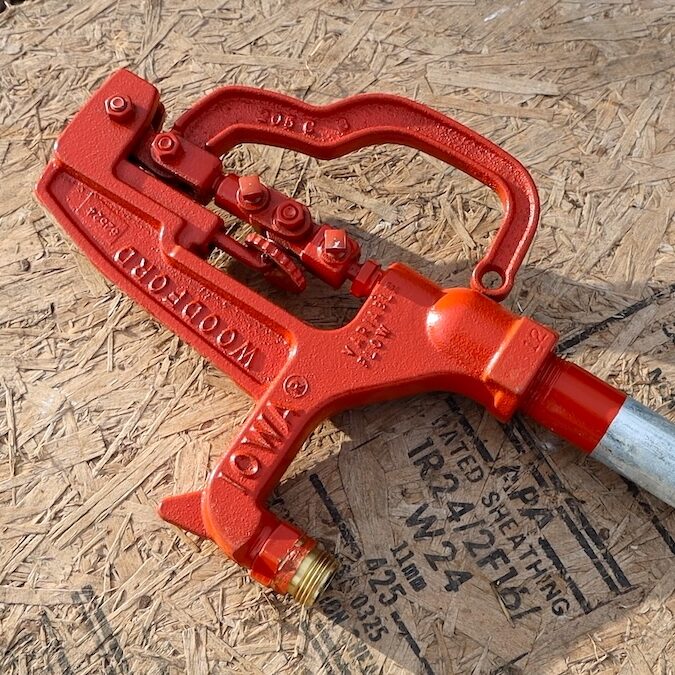
Some features yard hydrants typically include are:
- Variable flow rates based on how high the lever is lifted
- A 3/4” hose connection
- A hook just above the hose connection to easily hang up and fill a bucket on
- Easy above-ground maintenance and repairs
Buying the RIGHT Yard Hydrant
After determining the location where I wanted to install my new hydrant, the next step was tracking down the hydrant itself. As I talked to fellow farmers and homesteaders, the advice was clear:
GO WITH THE RED TOPPED, WOODFORD (IOWA) HYDRANT!
Woodford hydrants have a reputation for quality, dependability, and easy maintenance. Their original Y34 freezeless yard hydrant (the one I purchased) has been in production since 1929.
All the farm stores in my area only carried a much cheaper, overseas-made hydrant brand that I had been told to avoid at all costs.
I initially tried to purchase a Woodford hydrant online and was shocked that shipping to my home would cost almost as much as the hydrant itself. Instead, I was very happy to find I could order it through my local lumber store in the Do It Best network and have it shipped to store for pickup at no extra cost. Woodford Hydrants can also be ordered and picked up through other major home improvement stores such as Home Depot.
Which Woodford Hydrant Do I Purchase?
To order the right hydrant you’ll need to determine two things: size and depth.
Size
The two main hydrants Woodford makes are the Y34 (3/4” pipe) and the Y1 (1” pipe). Most smaller sized properties will have 3/4” waterline already installed. Larger farms with higher water flow needs may have 1” (or larger) pipe.
You will likely want to match the model of hydrant you purchase to the waterline size you have.
Depth
The first thing you will need to do is determine the frost depth of your area. Here is a frost line depth map along with information on frost depths by state. You can also check with your local municipalities and building codes for the most accurate information.
It is important the drain at the bottom of the standpipe of your hydrant is installed below your frost depth to ensure it will not freeze in the winter.
Our frost depth is 42”. Therefore, I wanted to install our hydrant a full 48” down to be well below the frost line.
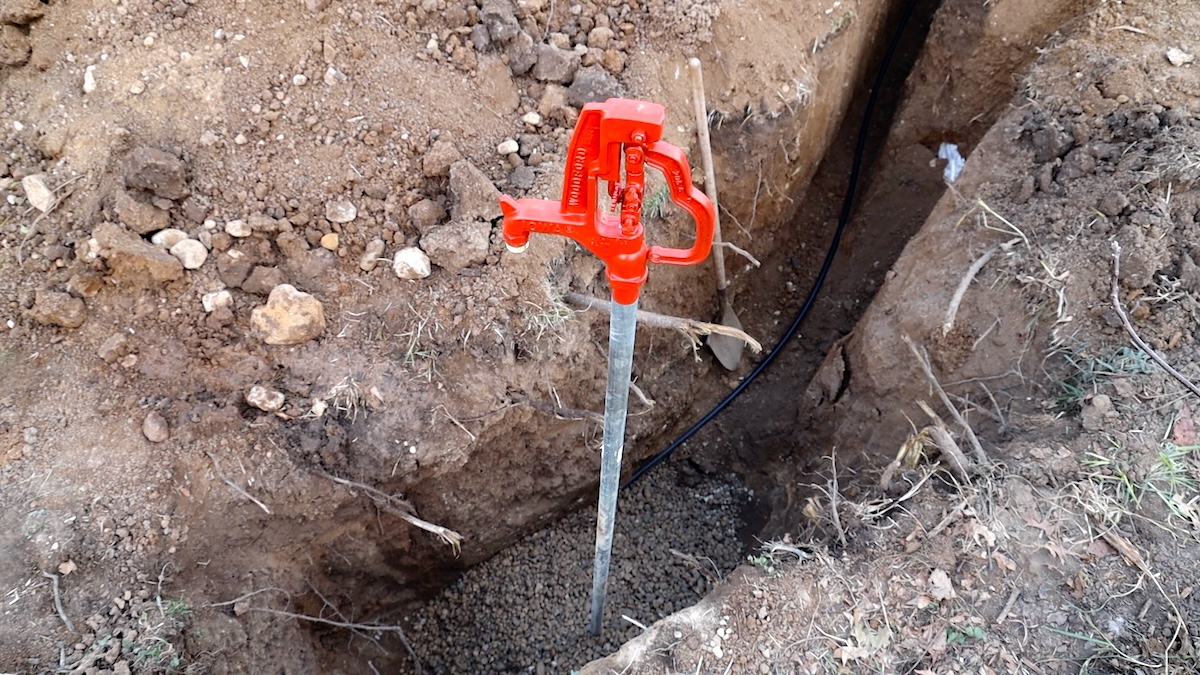
When purchasing a hydrant, the length listed is typically not the total length of the hydrant, but the bury depth. You’ll see bury depths of 2’, 3’, 4’, 5’, and so on.
Note that (regardless of the bury depth you choose) Woodford sets the above-ground height of the hydrant head to be the same, which is about 2-1/2’ high. If you want your hydrant to be higher than this, then you need to consider increasing the bury depth of your hydrant.
For instance, even though I was going to set my bury depth at 4’, I wanted my hydrant to sit higher above the ground (about 3-1/2” high), so I ordered the 5’ bury depth hydrant.
It may be personal preference, but I find it easier to use a hydrant sitting at the 3-1/2’ height.
How To Install A Freeze Proof Yard Hydrant
As a quick disclaimer to start—I always recommend you read and follow all of the manufacturer’s installation instructions and guidelines first and foremost. I am sharing from my experience, research, and background in construction management. My instructions are not intended to replace the manufacturer’s instructions as much as they are meant to supplement them.
Step 1: Choose Your Hydrant and Location
We went with a Woodford Y34 with a 5’ bury depth. See the section above to select the RIGHT hydrant for your application.
In regard to location, there are many considerations. Each will be unique to your situation and needs. Here are a few questions and considerations:
- It’s a good rule of thumb to have a yard hydrant installed in or near any barn or outbuilding.
- Consider your hydrant location in relation to your overall homestead layout.
- Think through your fencing layouts ahead of time so a fence post doesn’t fall directly above your waterline.
- Where do you run lengths of hose to now that would be nice to eliminate?
- Plan your yard hydrant install outside of fencing, not inside, so animals won’t damage it.
- Where might you install future gardens, orchards, paddocks, or areas in need of water or irrigation?
- Where is a good place to have a primary or backup source of water for your animals close to their overwintering area?
Because yard hydrant install can involve tracking down a lot of equipment, consider ordering and installing as many yard hydrants as is necessary for current and future needs. It will be less of a headache to track it all down and tear up your property once than to do it in multiple installments.
Step 2: Expose Your Existing Water Line
When it comes to tying into an existing waterline, two options will exist:
- You will have an existing source of water outside your home (i.e. an existing yard hydrant).
- You have no existing outside water source.
This post will focus on tying into an existing outside water source. If you do not have one existing, you will need to dig outside your basement foundation to below the frost depth, bore a hole through your foundation, connect a water line to your indoor plumbing, and seal back up the hole in your foundation around your new waterline pipe.
Safety Tip: Before starting any digging or trenching, be sure to contact your local utility location service to make sure your path is clear of any existing utilities.
If you have an existing outside water source, make sure you turn off that water supply before you start digging so the pipe is not charged or under pressure. Also, in the instance that electrical wiring may be in the same trench, make sure the power to that location is turned off as well.
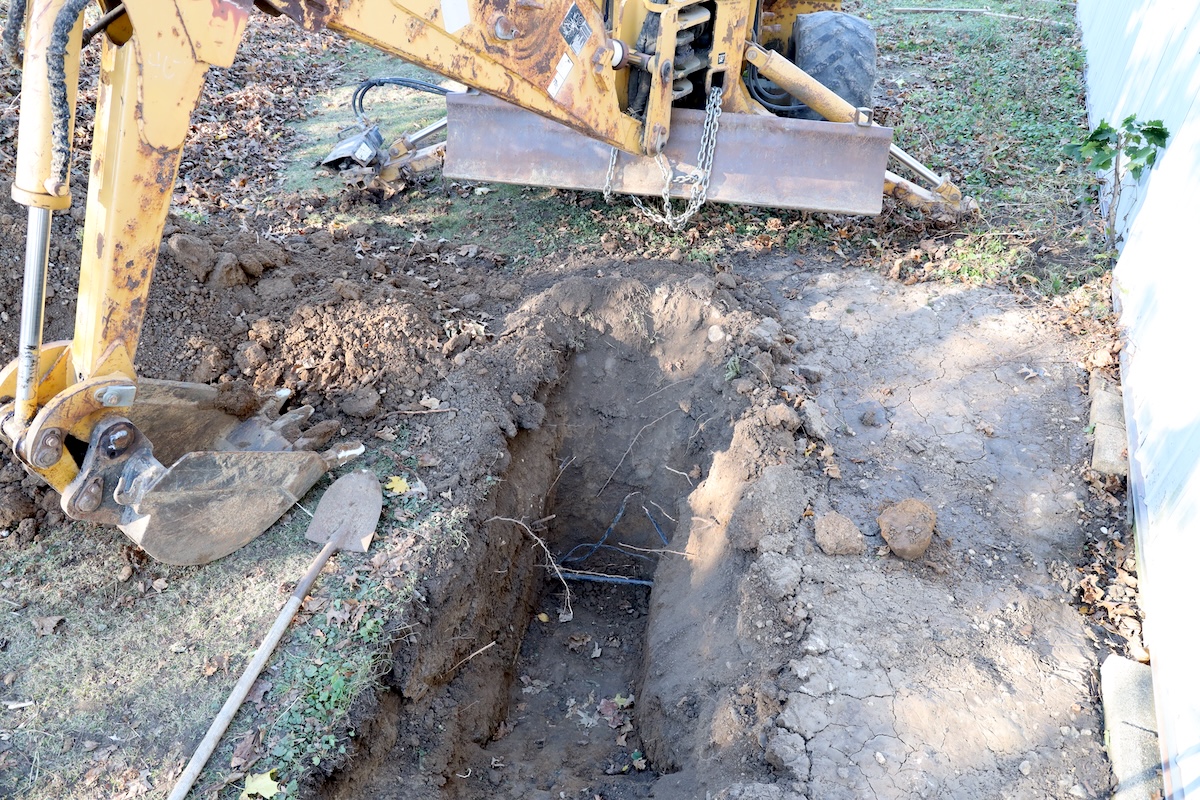
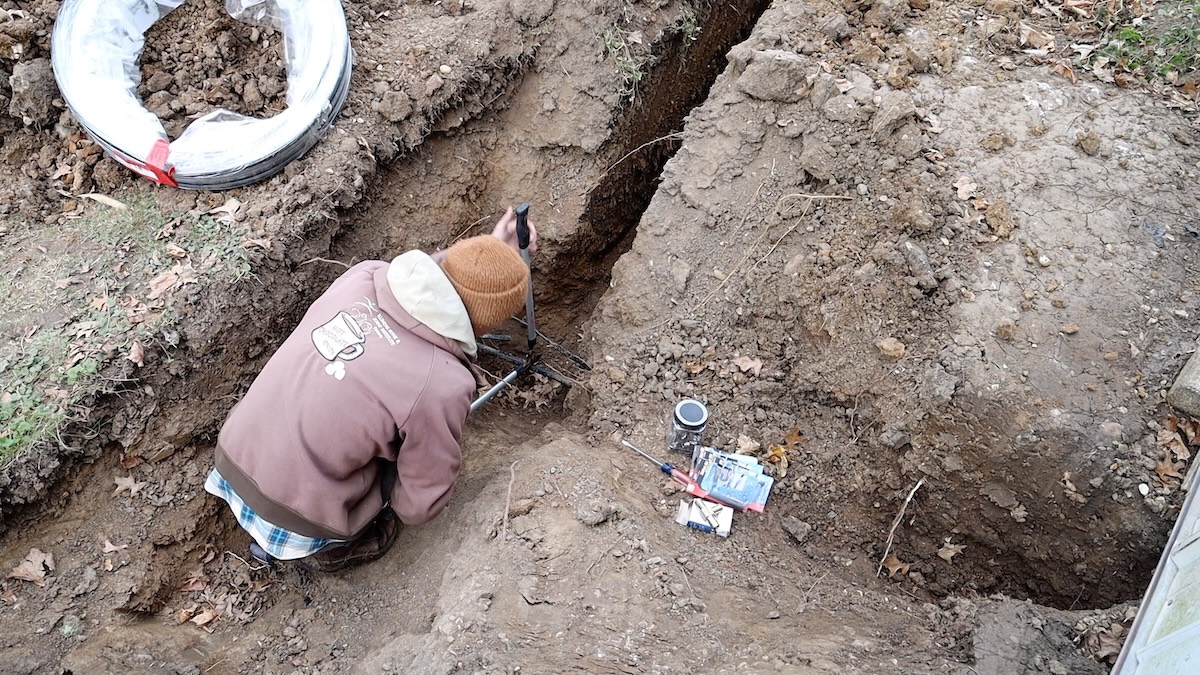
You will need to dig down and expose your existing water line to tie into. If you are using heavy equipment to dig your hole, be sure to stop digging short of your frost depth and hand dig the remaining few inches to try and avoid damaging your existing waterline.
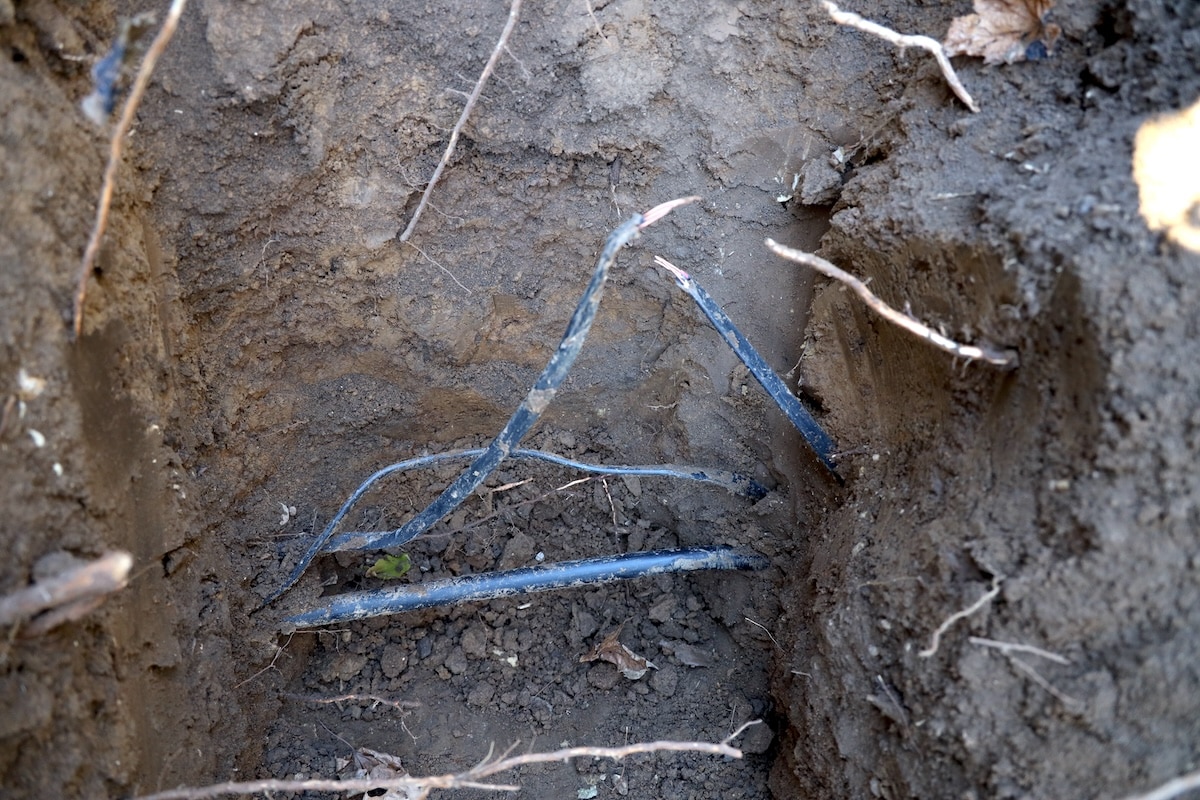
Dig out below the waterline a couple of inches so the pipe can have some mobility when tying in your new fitting. Also, make sure you dig your hole wide enough that you can work and maneuver in the hole to tie in your new waterline.
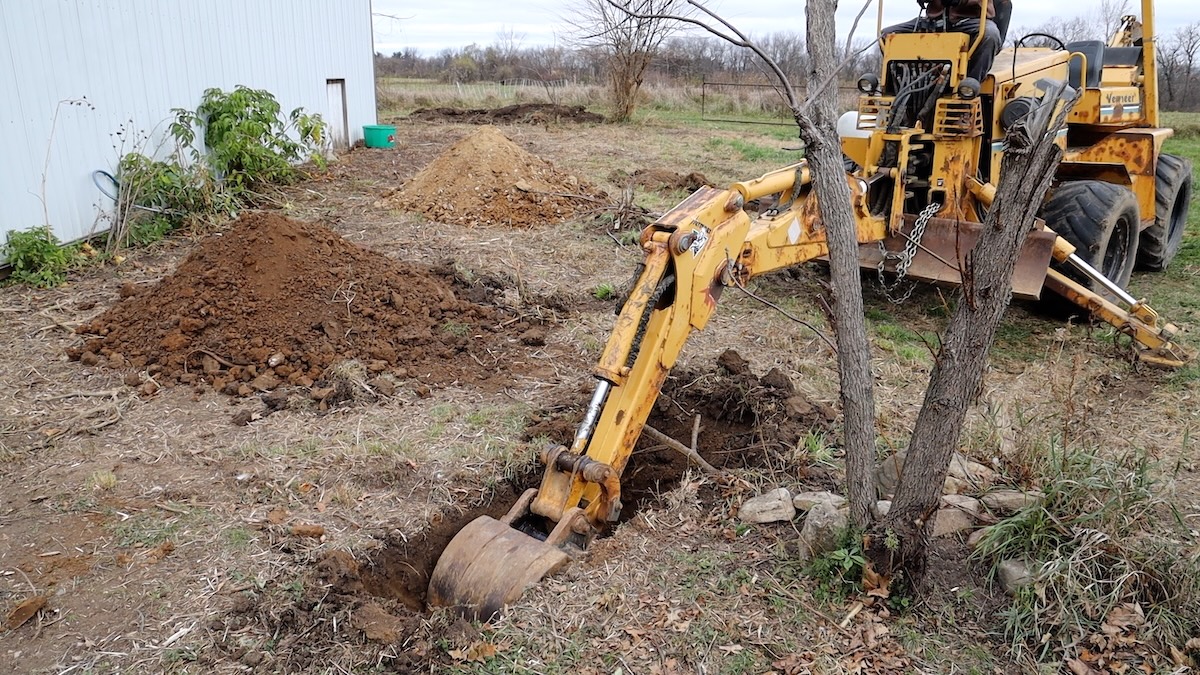
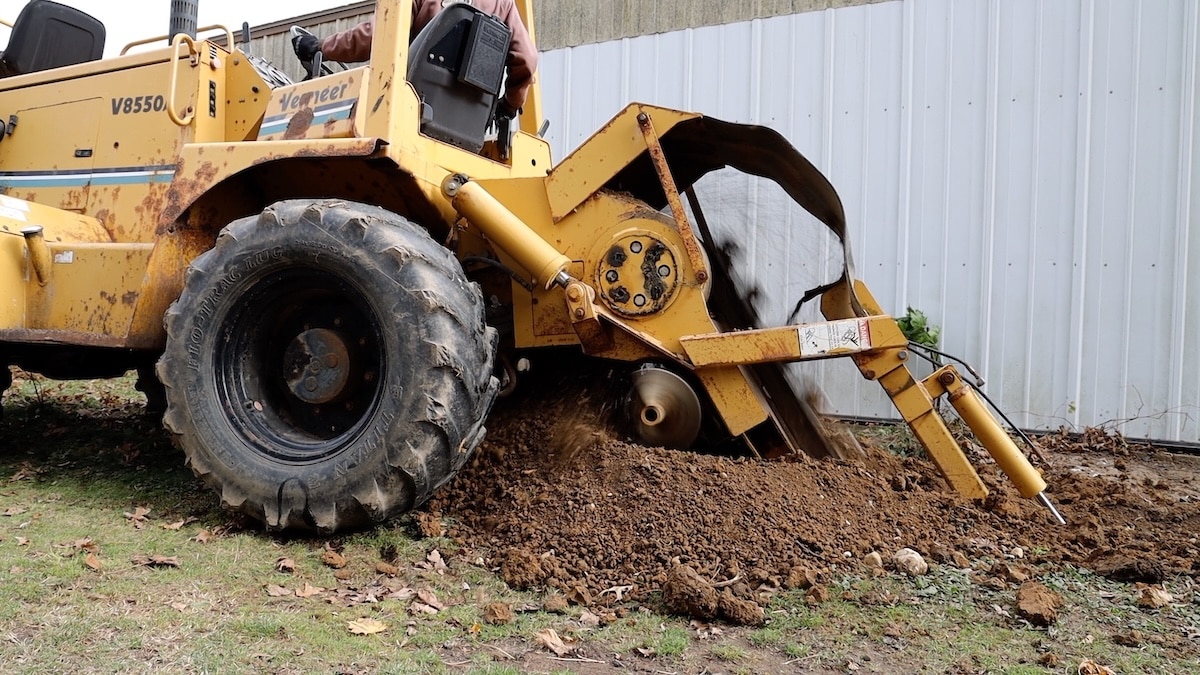
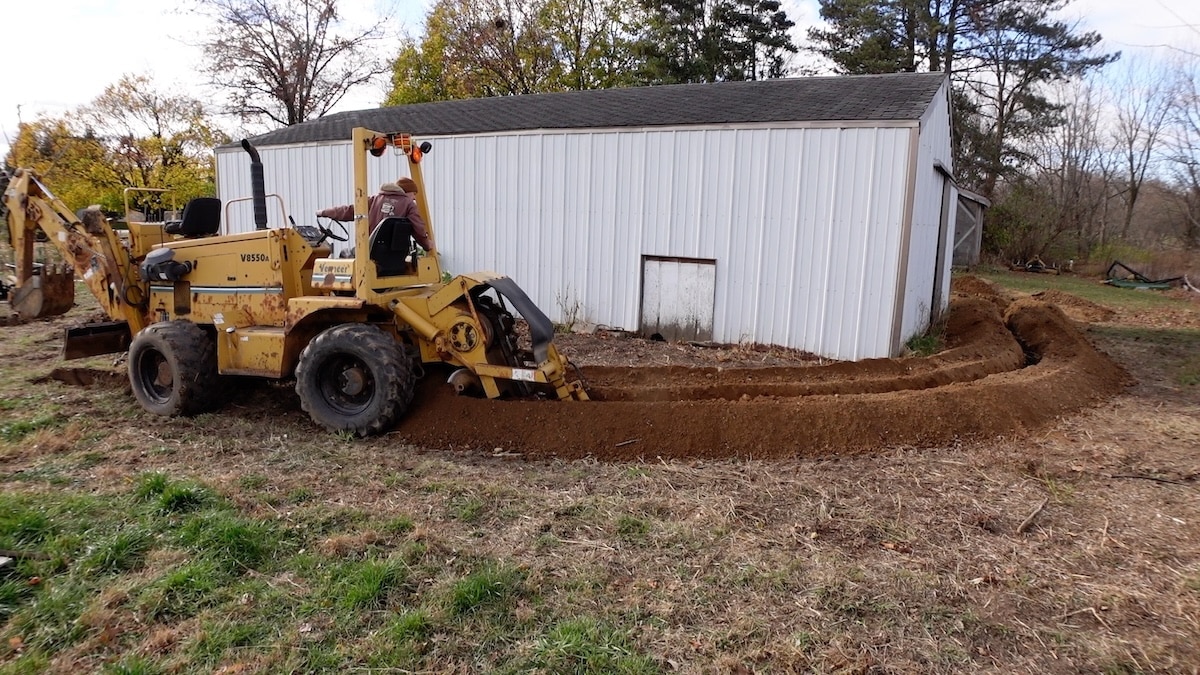
A note on equipment: We were grateful to be able to borrow a combination excavator/trencher from a neighbor. It was the right tool for the job. Unless you plan on digging everything by hand (which is possible), a trencher and excavator are important for this project. Most equipment rental places will be able to get you the right equipment that you need. Just make sure, especially with a trencher, that it will go down deep enough to place your waterline below the frost depth.
Step 3: Trench For Your New Waterline
Start trenching from the location of your existing water source to the location of your new hydrant.
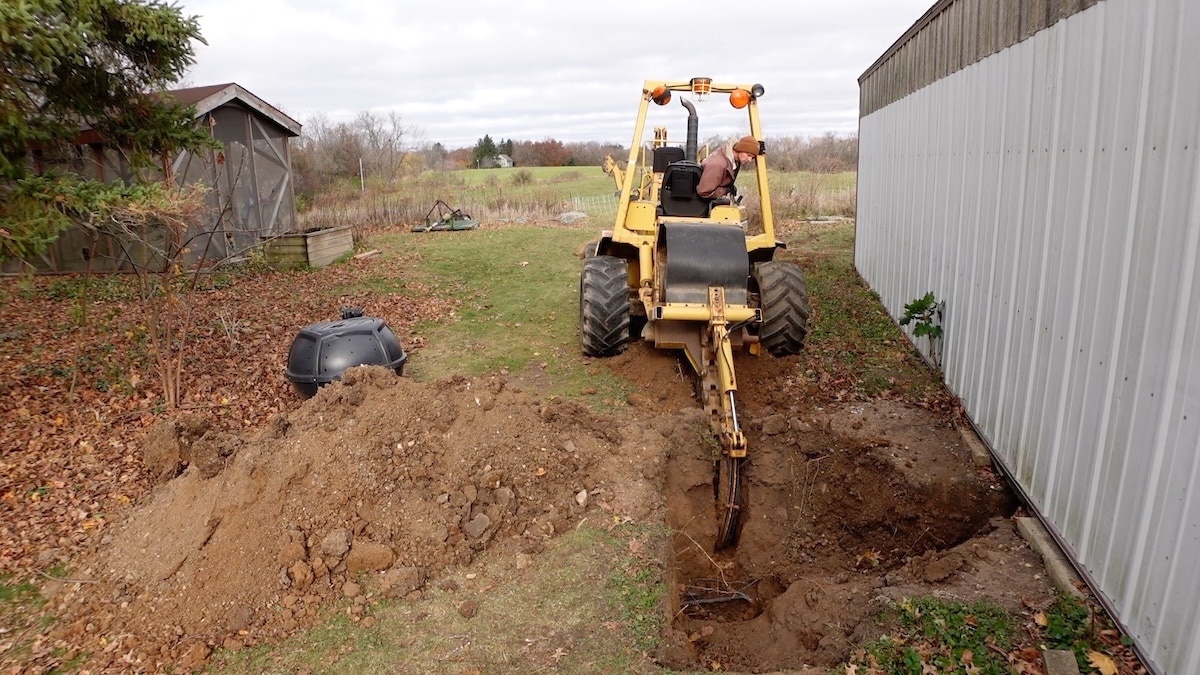
It is helpful to have a spotter to make sure your trencher comes close to, but does not touch or damage, your existing waterline. Your spotter can also check the depth at this point to make sure the trencher blade is set deep enough.
A few notes I found helpful on operating a trencher:
- Trenchers will typically NOT make tight turns. Plan your route accordingly and swing out wide on corners or bends.
- Keep it continuous. If at all possible, make your trench continuous and avoid picking up the trenching blade. Any time you pick up the blade, you’ll likely fill back in part of the trench you already dug out resulting in more time hand digging at the end.
- Use the crumb. The crumb is the hydraulic arm at the end of the trencher blade. Once your blade is started into the ground, make sure your crumb is fully down to give you the cleanest trenches.
Once you have reached your hydrant location, pull the trencher blade past your desired location an extra couple of feet to make sure you don’t come up short.
After your waterline path is trenched, go back and check the depth throughout the entire trench. Any areas that are not at or below the frost line will need to be dug out by equipment or hand.
Step 4: Dig a Hole For Your Yard Hydrant
Use your excavator to dig a hole at the location of your hydrant. The hole should be about 2’ in diameter and be deeper than the frost line.
Step 5: Tie Into Your Existing Waterline
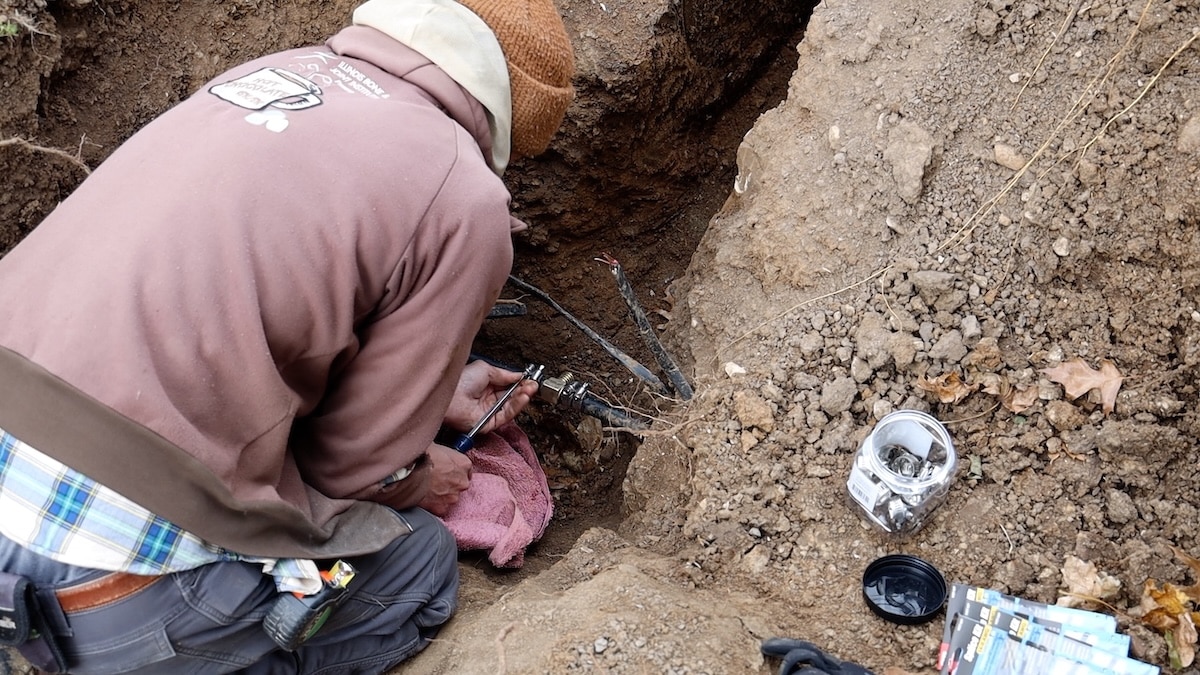
At your exposed waterline, cut out about a 1” section of the waterline where your new T fitting will go. I used garden loppers for a clean cut of the pipe.
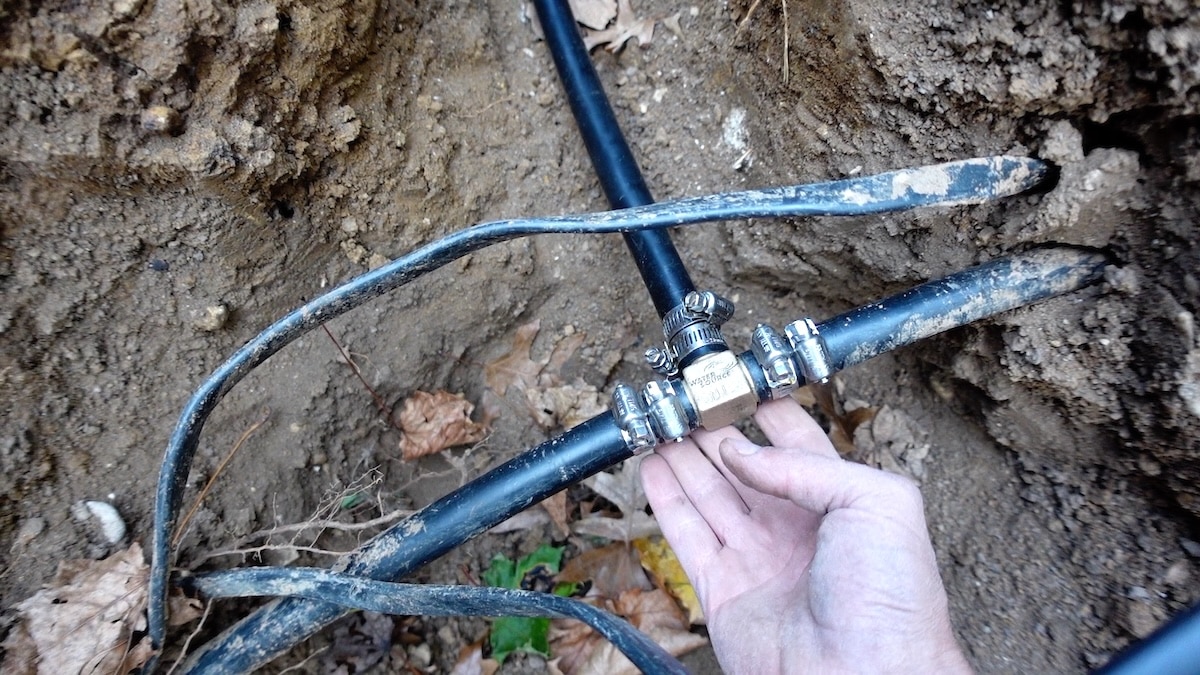
Then, slide the straight ends of your barbed T fitting on the existing waterline.
Next, slide your new waterline onto the perpendicular barbed fitting of the T.
Last, tighten hose clamps on each fitting connection being sure to not over-tighten.
Here are a few waterline tips to give you the BEST install:
- Make sure you get the 160 psi black poly waterline from the farm or hardware store. The 100 psi is cheaper but only rated for irrigation.
- Use only metal fittings. You don’t want to take chances when your waterline is buried underground. Yes, the brass T fitting cost $15, and the stainless steel cost $20, but both are much surer investments than the $1 plastic fitting.
- Use 2 stainless steel hose clamps per fitting connection that tighten in opposing directions. This will, A) give you a backup in case one fails, and B) give you the best seal.
- Heat up your waterline before sliding it onto the barbed fittings. A torch or stick lighter will work. I used a stick lighter, heated the pipe for about 30 seconds, and it slid right on as opposed to spending minutes of wasted energy wrestling each fitting connection on.
- Place hose clamps on waterline first before installing. You can always undo the hose clamps and add them later, but sliding them on first saves a step. Once the pipe is on the barbed fitting, there’s no getting it off.
Step 6: Lay Your New Waterline
Now that your new waterline is connected to your existing one, continue to unravel your roll of new waterline laying it into the trench.
The pipe can be very stiff, so this simple task can prove more challenging than it seems. It might be helpful to have a helper with a long stick or 2×4 pushing the pipe down to the bottom of the trench or holding it down at various points.
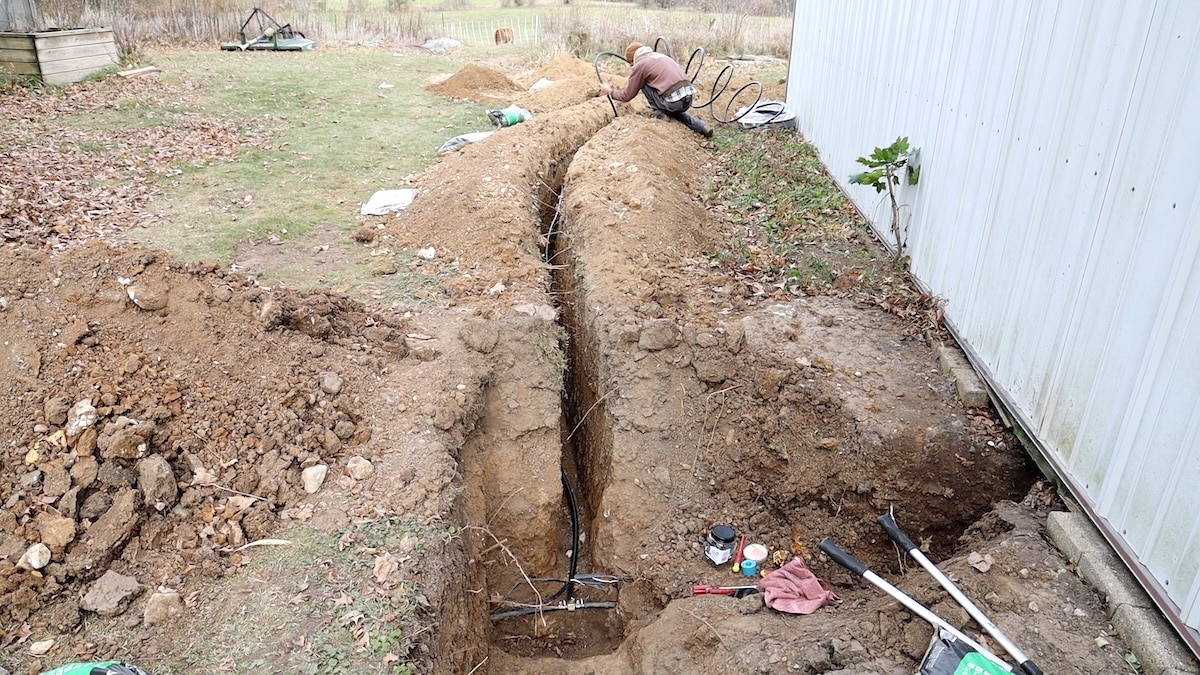
If the pipe is not 100% flat along the bottom of the trench at this point, A) it should flatten a bit as time passes, and B) you’ll have a chance to secure the pipe down at the end while adding gravel and backfilling.
Step 7: Install Your Yard Hydrant
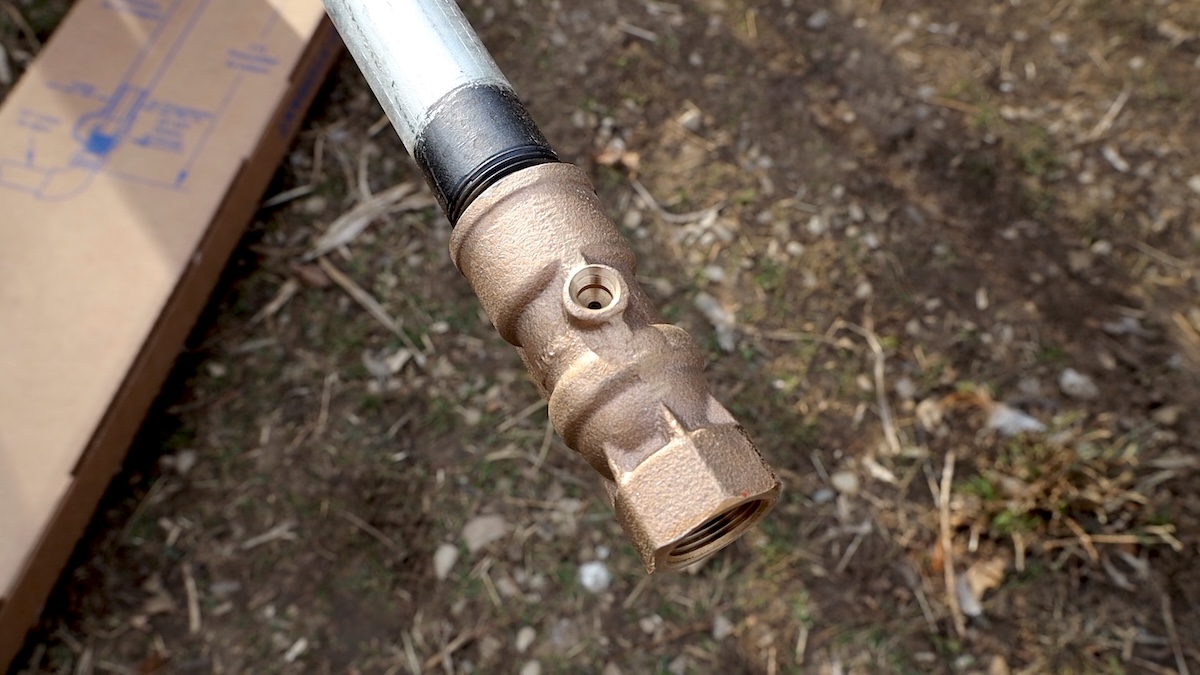
The first step will be installing your 90° brass hydrant fitting to the bottom of the hydrant, below the drain. Install using thread tape and pipe wrenches to securely tighten the fitting.
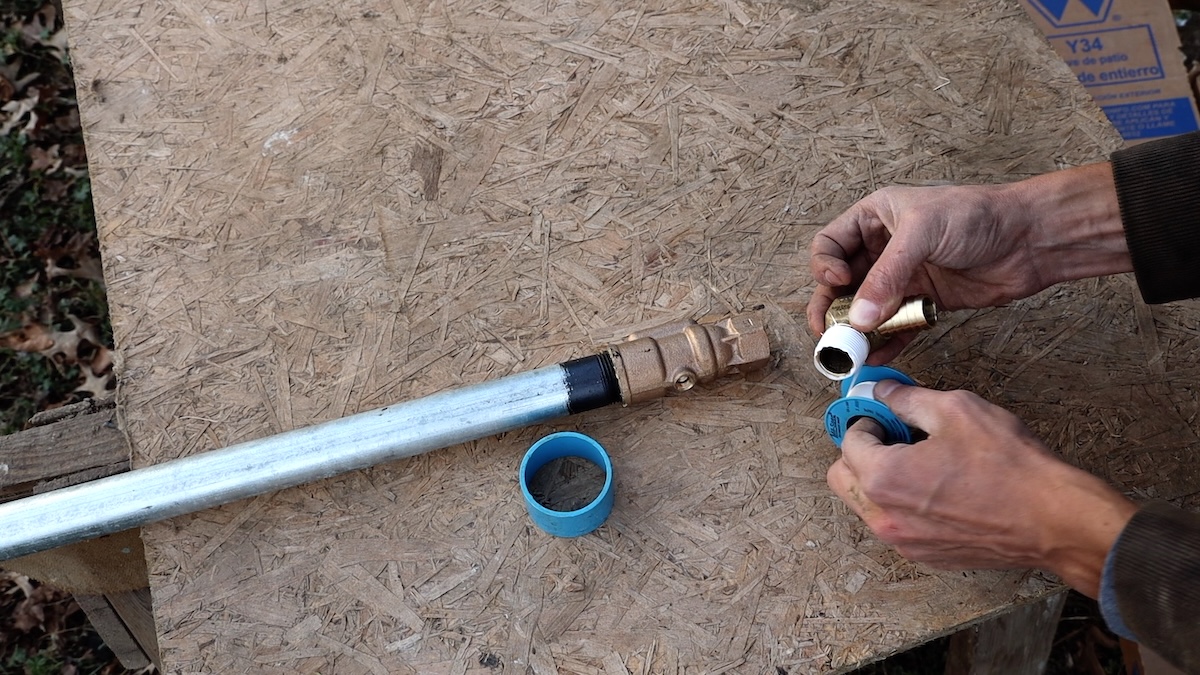
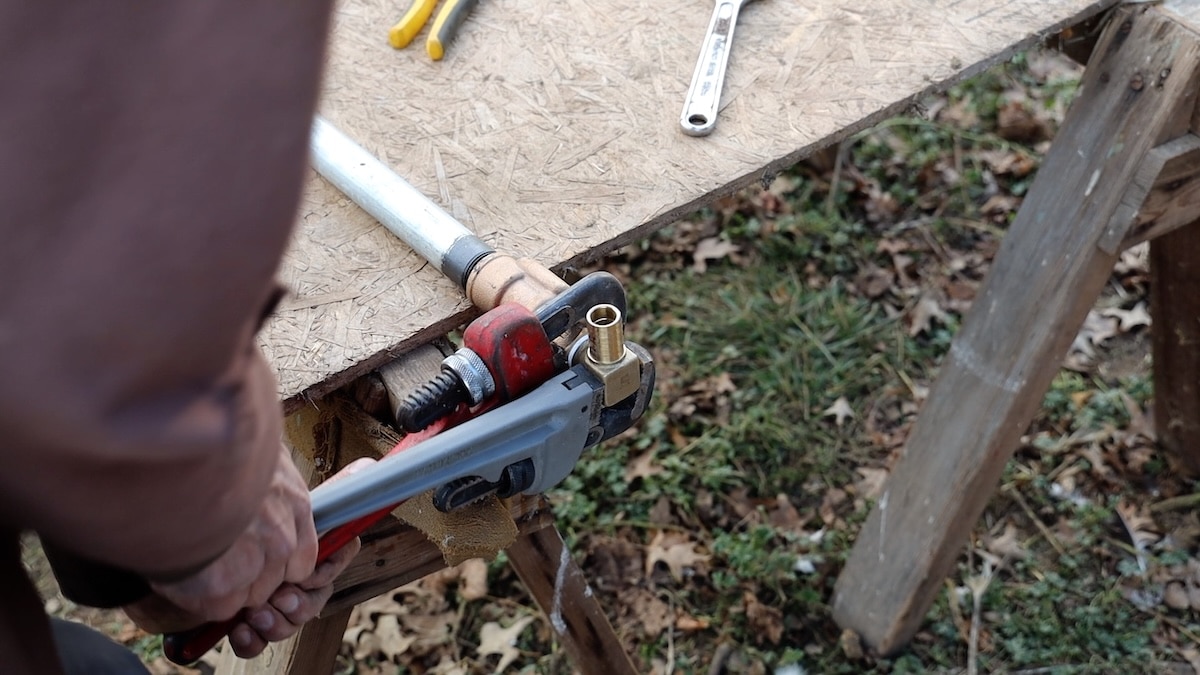
Pro Tip: You’ll want to consider what direction you want to orient your hydrant and whether you want to lift the lever with your right or left hand. Be sure to screw on the bottom fitting to achieve the correct orientation.
Second, you’ll want to connect your waterline to the barbed fitting at the bottom of the hydrant and tighten your hose clamps. Cut your waterline to the correct length so it sits in the proper location in your hole.
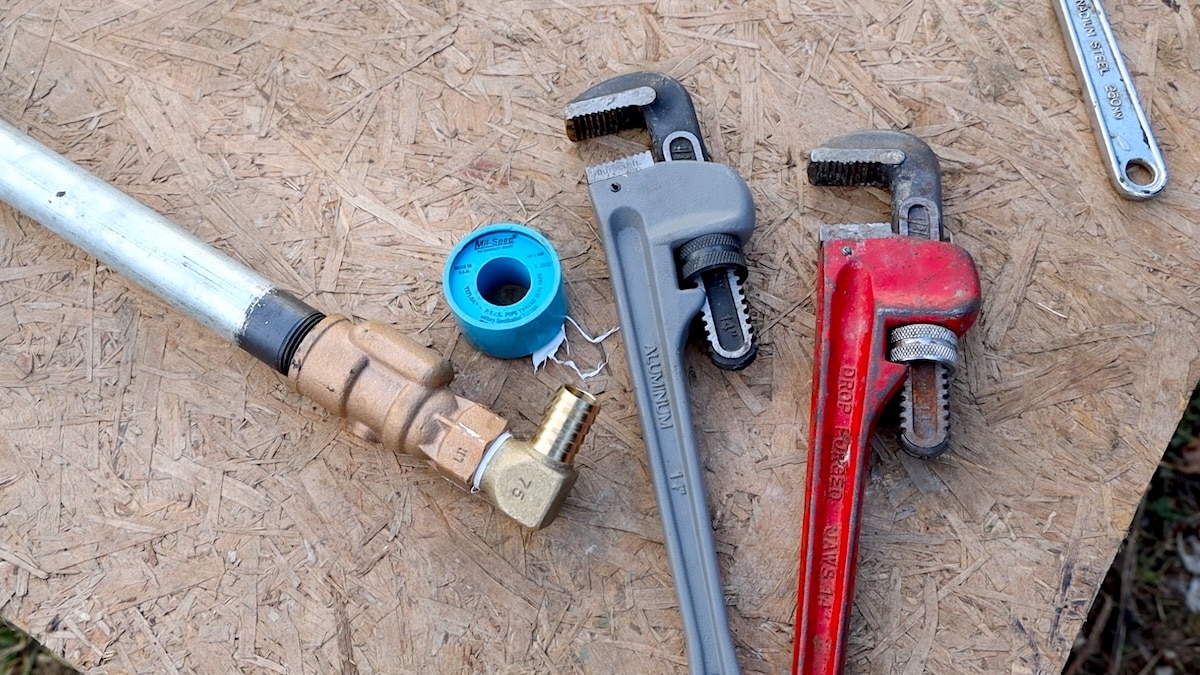
At this point, with all connections secure, your hydrant can be lowered into the hole. Rebar or metal pipe can be used to hold the hydrant and waterline in the correct location (just don’t damage anything when hammering in!). If you need to raise the height your hydrant sits at, you can also put some 1/2” gravel below the base of the hydrant to raise it up.
Step 8: Test For Leaks
Now that your waterline and hydrant connections are complete, you can turn your water back on to check for leaks. Visually look at and feel around each fitting connection throughout the whole trench to make sure they are dry before backfilling.
Step 9: Add Gravel
Fill the base of your hole where your hydrant sits with 1/2” gravel so that it fills about 3 inches above the drain. I used 10 bags of 1/2” river stone from the hardware store which worked great for this step.
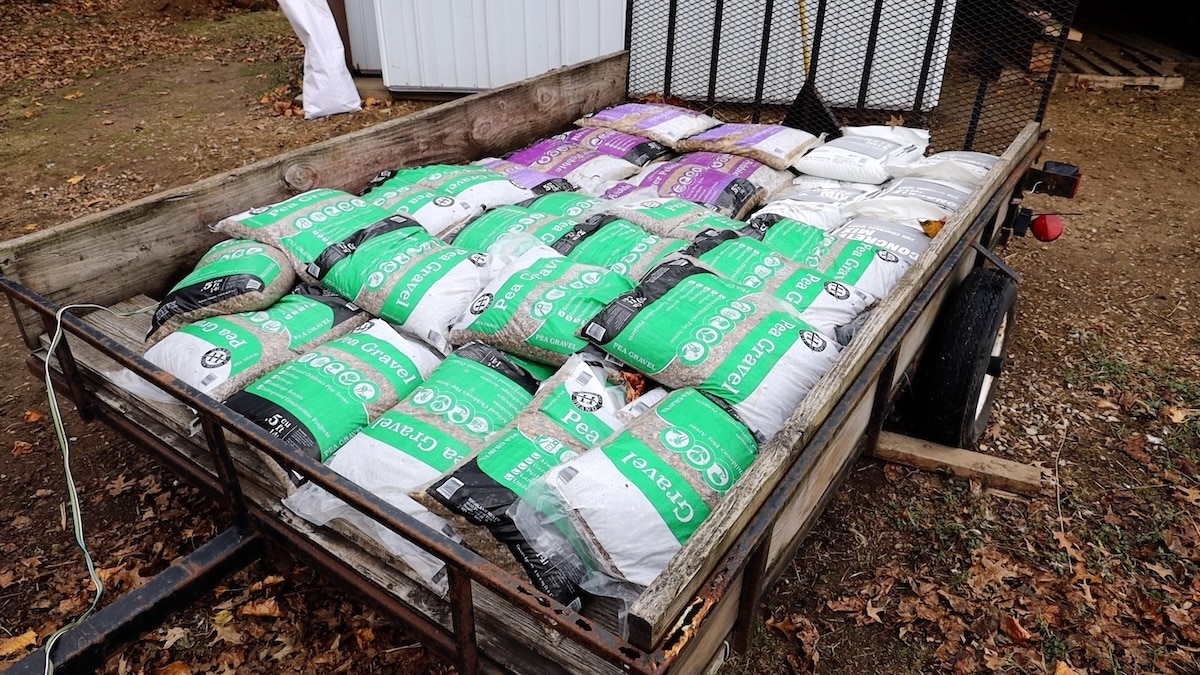
Next, you will want to make sure the rest of your fittings and waterline are supported with gravel as needed. Ideally, you will have all fittings surrounded with gravel and have about a 2” layer of gravel above and below your waterline in the trenches.
Pro Tip: While any finer gravel will work for supporting your waterline, I was told by a builder friend that pea gravel is your best option for waterline. It’s a bit more expensive, but its small size and smooth texture is suited well to support and protect your buried waterline.
I ended up buying 30 bags of pea gravel from the hardware store. With the scope of my project, I probably should have just ordered a whole truckload of pea gravel from a material yard.
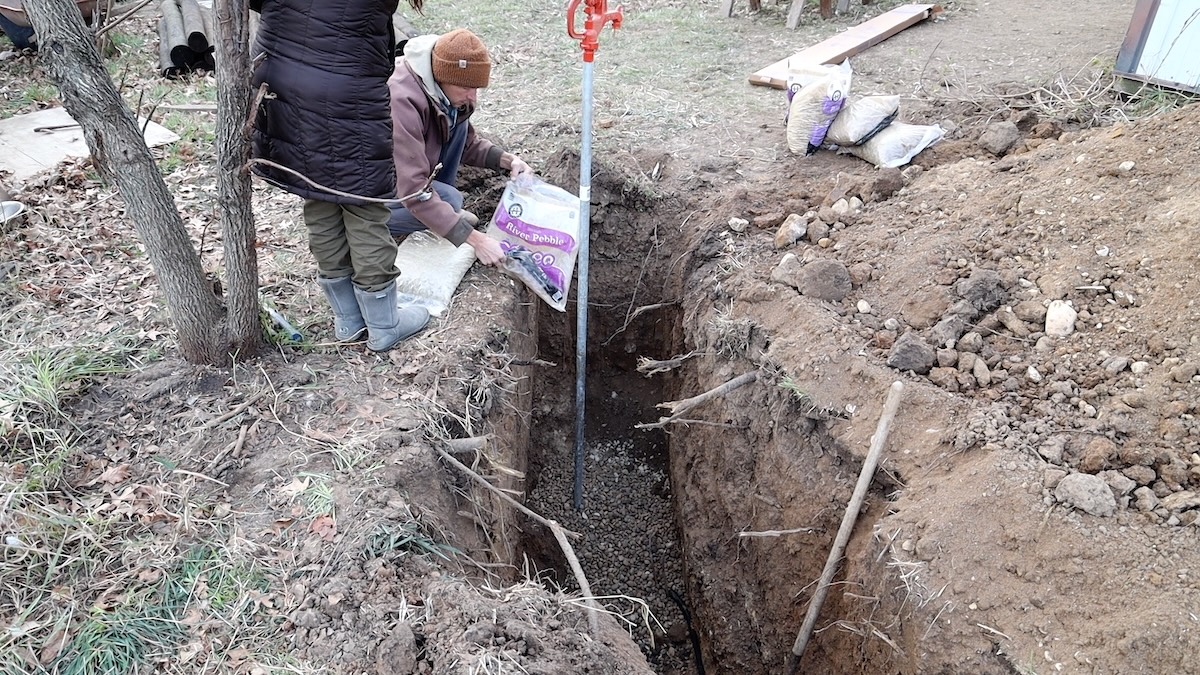
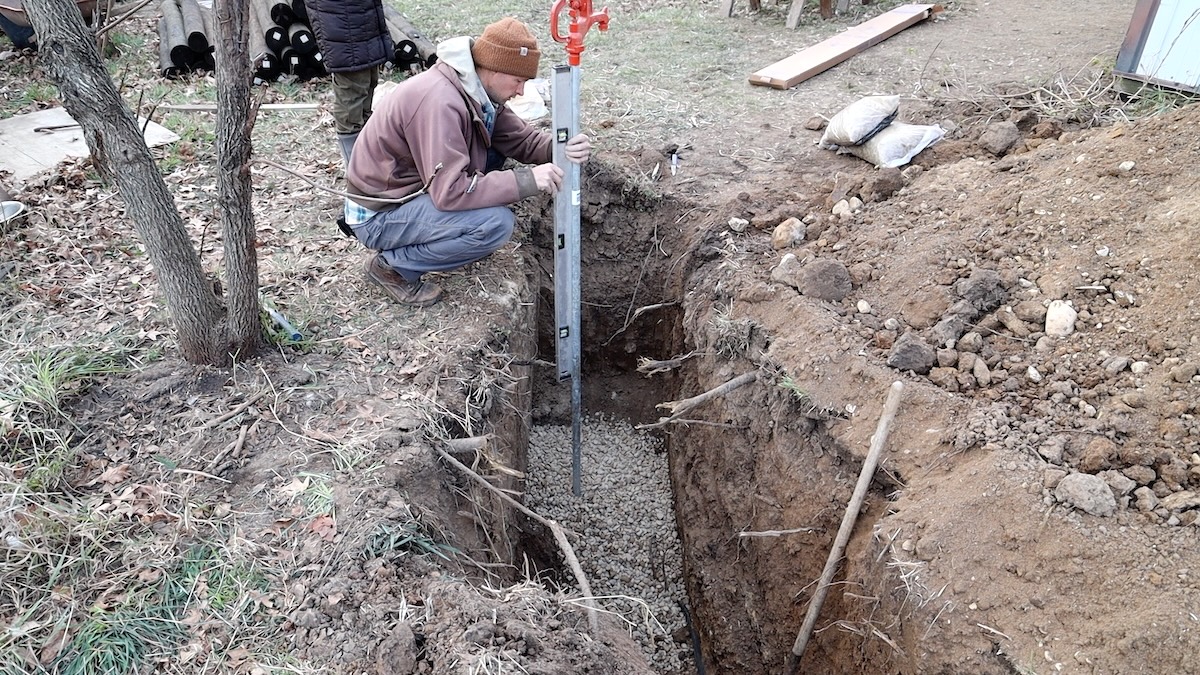
I made sure all my fittings were well supported, but I didn’t have enough gravel to lay throughout the entire trench. Instead, I used a bag about every 5’ to pour over the waterline and make sure the pipe was weighted down to the bottom of the trench before refilling the trenches. This wasn’t ideal, but it should work fine.
Step 10: Fill Holes and Trenches Back In
After all your pipe, connections, gravel, and hydrant are in the ground, you’re ready to fill your trenches and holes back in.
At the location of your hydrant use a 2’ or 4’ level to level the standpipe as you fill the hole back in. You can use a sledgehammer, tamper, or the handle of a shovel to tamp the soil every foot or so around the hydrant reduce settling over time and secure the hydrant in place.
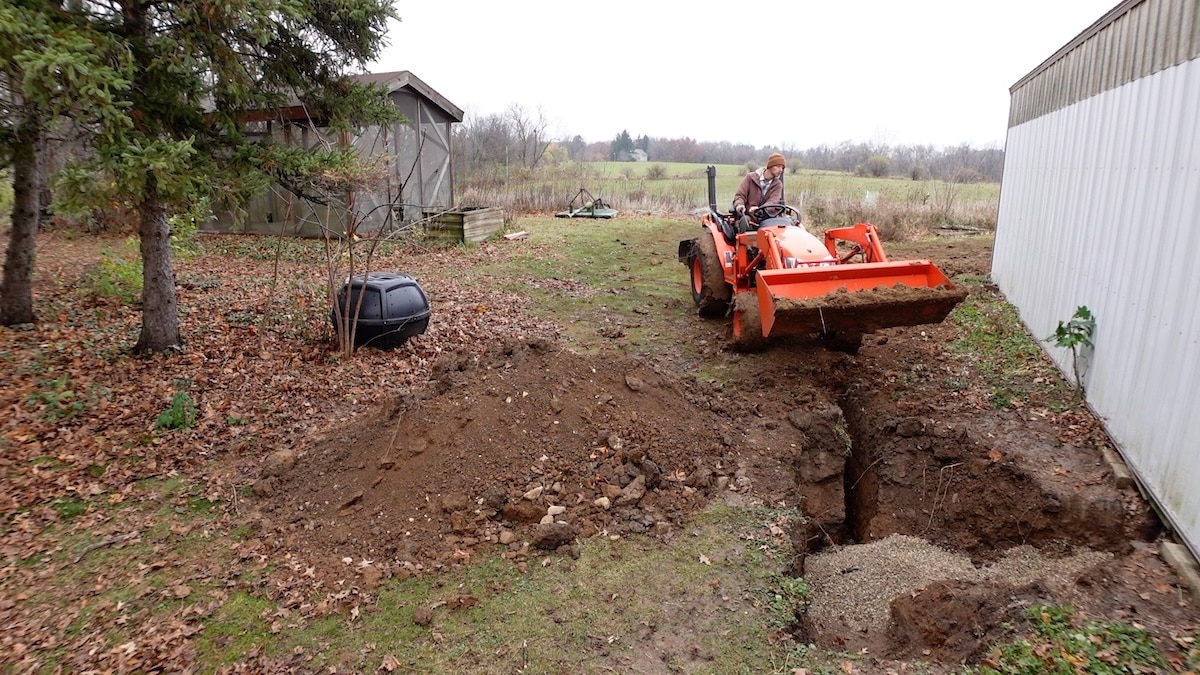
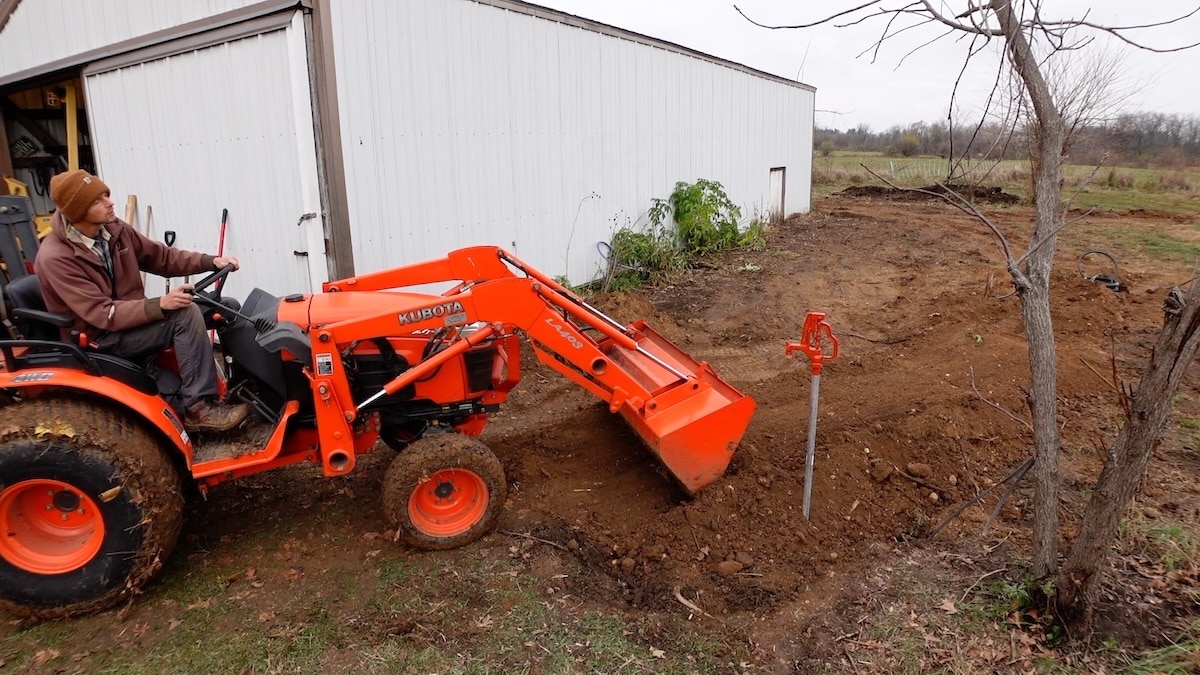
At this point, your new hydrant is fully installed and ready for whatever tasks you have for it!
Can I plan for future hydrants?
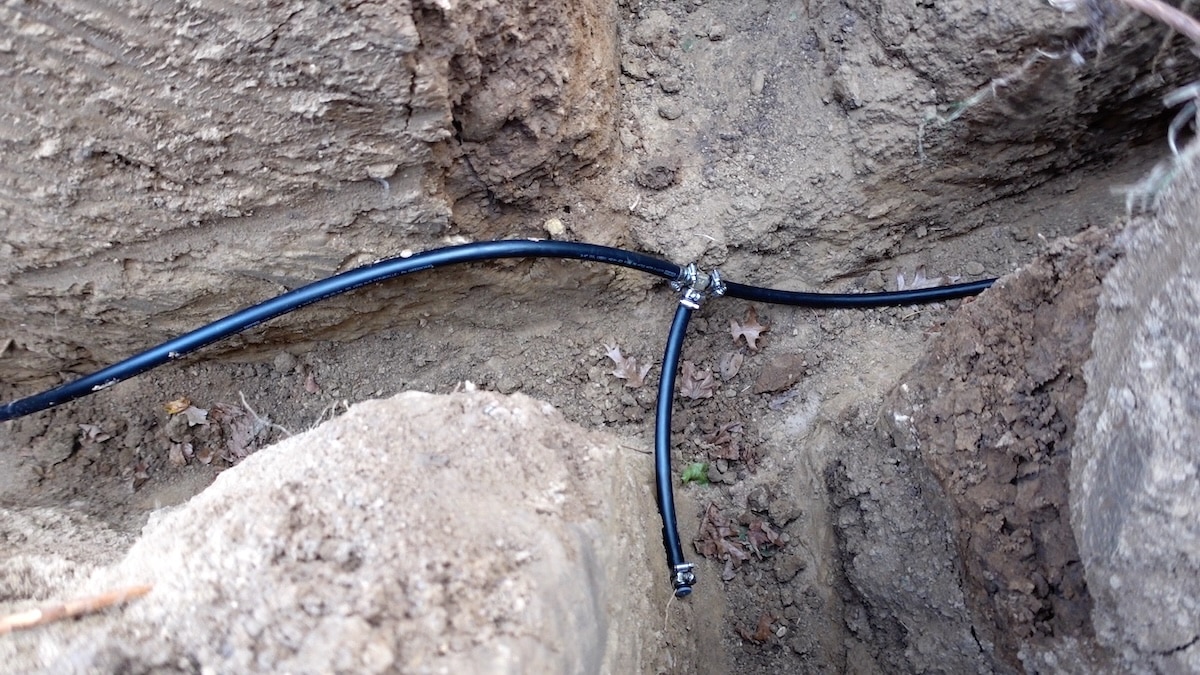
Yes! On my project, I put an extra brass T fitting off the back corner of my barn knowing that I will likely be running additional hydrants around my property in the future. The T has a couple foot section of waterline coming off it with a cap at the end.
I measured where the trench was located and wrote that measurement down so I could easily dig it up in the future. Then, all I have to do is dig down to find the small capped section of pipe I put in and use the already installed T to tie in the new waterline to new hydrant locations.
Avoid hydrant siphoning!
A common rookie mistake with hydrants is leaving your hose in an animal water trough after filling it up, then leaving the hose connected to the hydrant. In the right conditions, this will create a siphoning effect where the water will drain out of the trough, back through the hose, and out the drain at the bottom of the hydrant.
So if your water trough seems to have sprung a sudden leak, or your animals started guzzling an insane amount of water in record time, this is the first place to check!
Other DIY projects and inspiration for your homestead or farm:
- Jug Waterer Review – Best Automatic Waterer for Farms and Homsteads
- Custom A-Frame Chicken Tractor For (Almost) Free
- Drip Depot Review + How To Build A Drip System
- Simple DIY Chicken Coop Inside Your Barn
- 10 Best Homestead Layout Tips + 5 Acre Example
Pin it for later!


