Beginners Guide to Processing Chickens at Home
There are many great resources out there on how to process a chicken at home. But what about all the other details of processing day? Supplies, setup, storage, help? After a few rounds of processing chickens at home on our homestead, our formerly suburban family shares everything we’ve learned to get you fully ready for processing day.
You Got this! You Can Process Chickens at Home!
First off – you’re not crazy for considering processing chickens at home.
In fact, we admire you. We commend you. And we are here rooting you on!
Is it scary? Yes! Is it intimidating? You bet! But is it impossible? NO!
You CAN process your own chickens!
Just a few years ago our family was living in the suburbs raising backyard chickens. We had a couple chickens that needed to be culled from the flock and considered butchering them ourselves. In the end, we couldn’t work up the gumption to do so. Off to a local farmer friend they went.
2021 was our first full year on our homestead and we dove in head first. We raised two rounds of chickens for meat with around 20 birds in each batch.
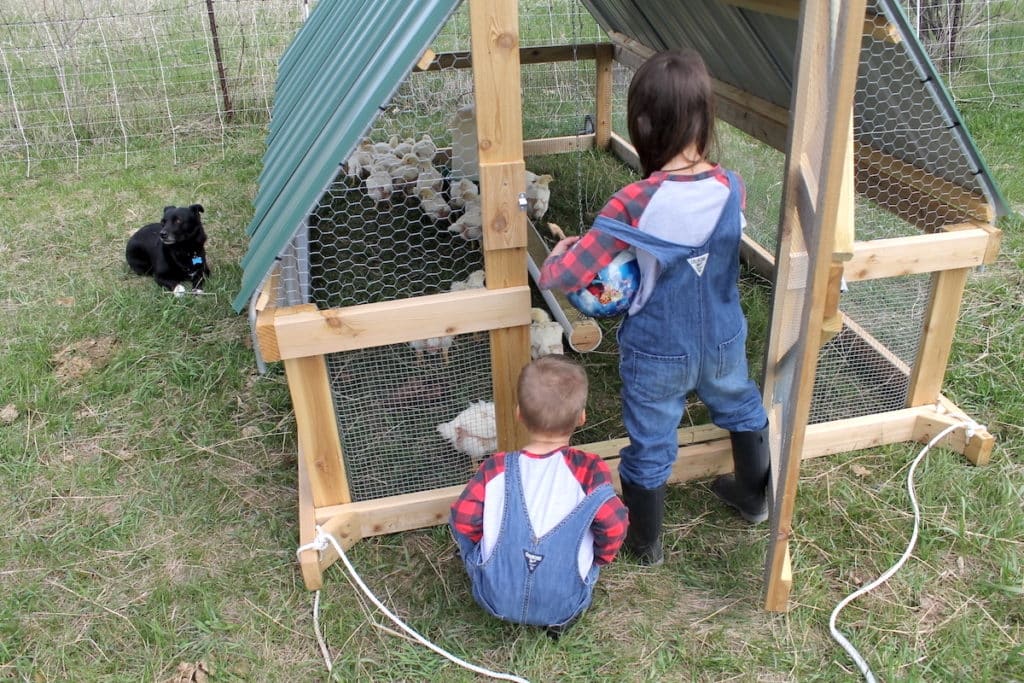
Processing day loomed. But we were bound and determined to figure it out, have our own supply of homegrown meat, and develop the skill of processing chickens at home.
Fast-forward to today, and we just completed successfully processing 60+ chickens right in the backyard of our 5-acre homestead.
If our suburban raised family with little or no experience can do this, you can too!
A Home Butchering Companion Guide
This post serves as a companion guide to processing chickens at home. It will not teach you how to actually process or butcher a chicken. There are plenty of good posts and videos out there on that. Rather, view this post as a companion guide to help you feel prepared and confident heading into butchering day.
(A quick note on that – there is no one way to process a chicken. For instance, you might find a resource that tells you to discard the organs, cut off the wing tips, and get rid of the feet. However, we keep the livers and hearts to make pate, leave the wing tips on the bird, and make the most delicious bone broth out of the feet. Develop a method that works for you!)
What to Prepare For At Home Chicken Processing Day
We’ll get to the butchering day. But here’s a list of what you’ll want to plan out well in advance:
1. Freezers
If you’re processing more than a couple of chickens, you’ll most likely be freezing them. Be ready for this by having appropriate freezer space cleared out and organized. Plug in any freezers that haven’t been in use days before processing day.
Note: Never fill a freezer entirely full of freshly processed chickens! The freezer will likely not be able to chill all the birds down in time before the meat goes bad. Instead, we fill a freezer half full with fresh chicken and then fill the rest of the space with already frozen items. This helps distribute the cold evenly so everything chills down quickly.
2. Packaging
Think through how you will package your chickens and order supplies ahead of time. We recommend using shrink wrap plastic bags. Here are the bags we use. Yep, we don’t like using plastic either – let alone packaging our food in it. But these bags seal up so nice and your chickens will stay fresh longer in the freezer.
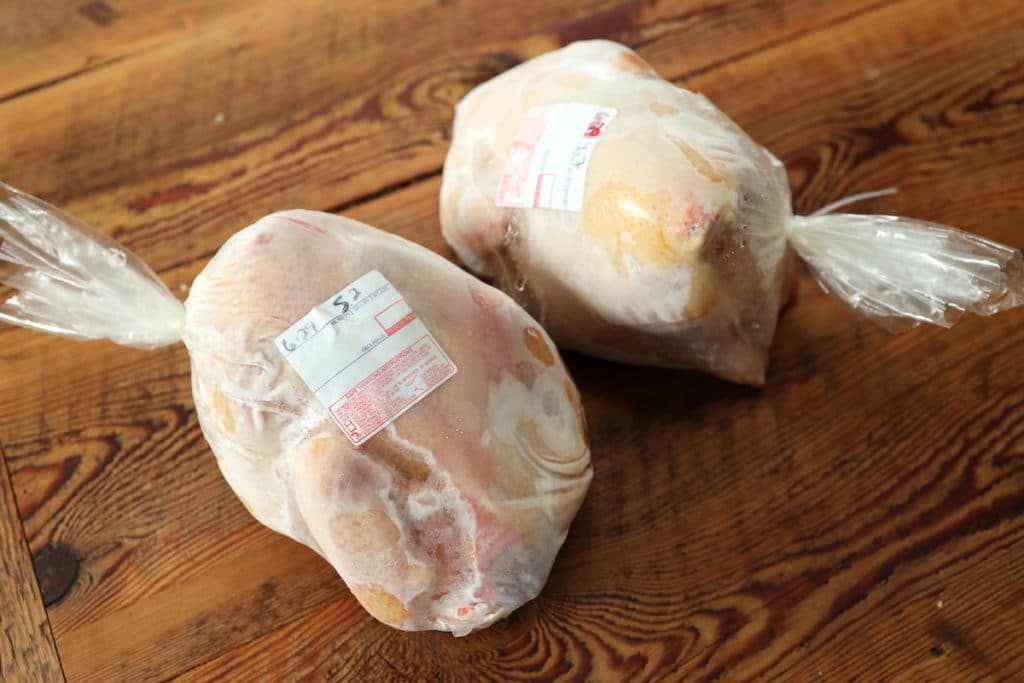
The bags we use come with zip ties and labels. One method to shrink the bags utilizes a straw and you may consider picking up a few of these. They make straws specifically designed for this process. Or, we just used spare aluminum straws we already have.
Note: Pick up a few more bags than you’ll actually need (i.e., don’t order 50 if you have 50 birds). They take some getting used to and you may need to discard a bag or two that doesn’t seal up correctly and start with a fresh bag as you’re getting the hang of it.
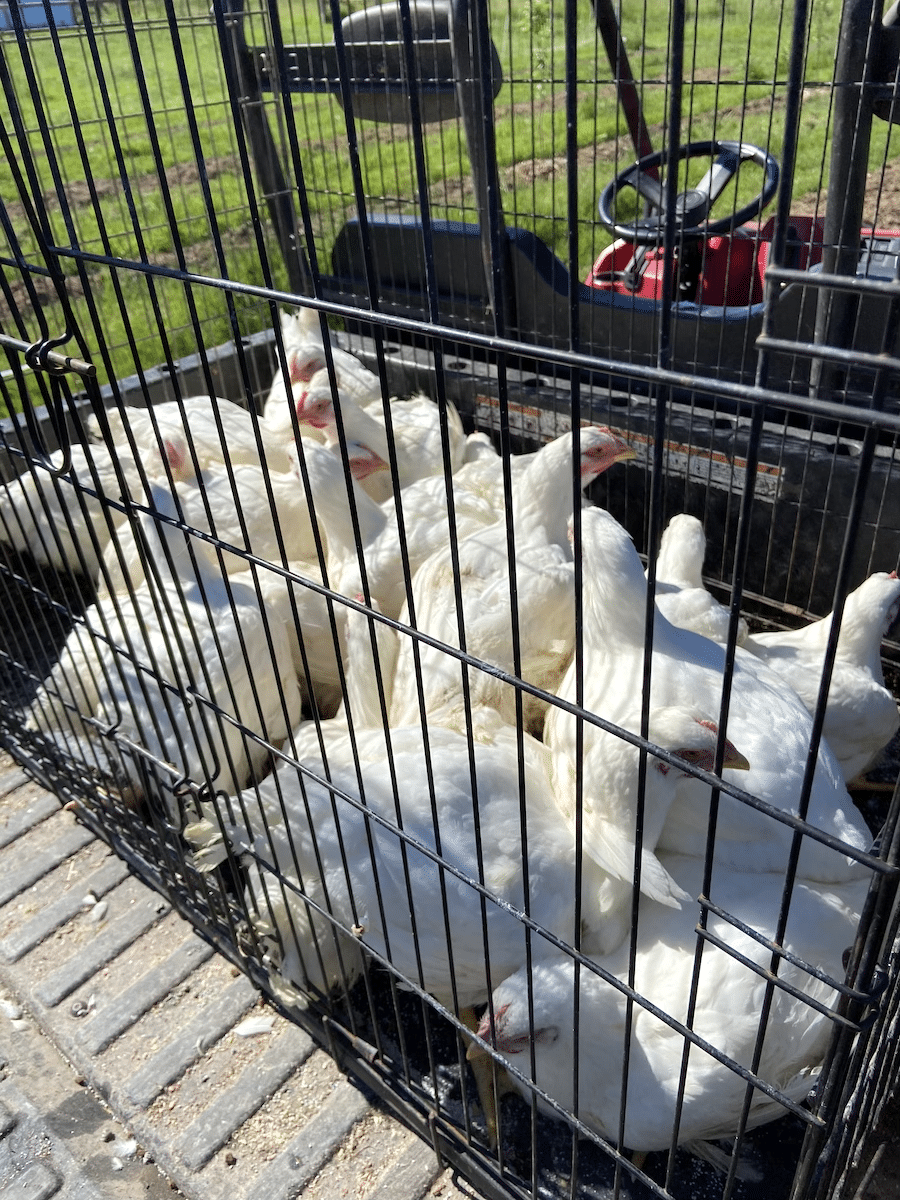
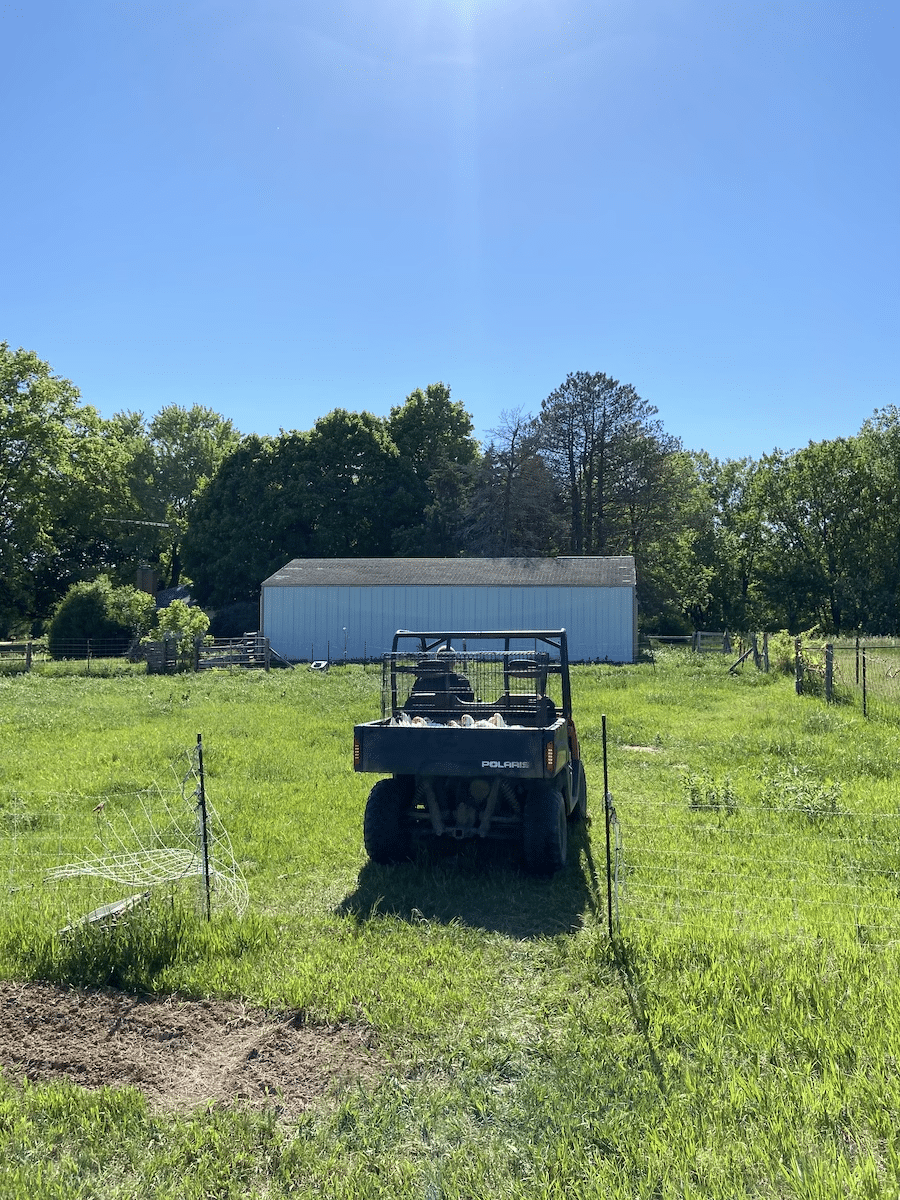
3. Moving Your Chickens
The closer your chickens are to your processing setup, the less time you’ll spend running back and forth during processing. Whether you’re using a livestock trailer, dog crate, or a yard trailer, wheel barrow or cart with a cover, you’ll want to have a plan come processing day. Just moving a couple birds is manageable. But if you have 15 or more, make sure you have an efficient way to relocate them to be close by where you’ll be processing.
4. Cut Off Feed
You will want to cut off feeding your chickens the day prior. We’ve read anywhere between 8-24 hours. The butchering process goes much cleaner and smoother when they don’t have feed in their systems. If your birds are on pasture, you may still find their feed sacks filled with grass, plants, and insects. One option is taking them off pasture the day prior to avoid this. Make sure they always have access to water.
5. Gain Firsthand Experience
Unless you have experienced chicken processors helping out, you’ll want to create opportunities to go through the processing steps before tackling the job on your own. One way to do this is to process just one or two chickens at home yourself before butchering day. It won’t be efficient. But you’ll learn a lot and have the chance to go through each step of the butchering process firsthand.
Another great option is to reach out to a local farm or homesteading family that processes their own chickens and ask about helping out. Learning from seasoned pros is the best way to learn. You can also keep an eye out for chicken processing field days offered through local farm groups and organizations.
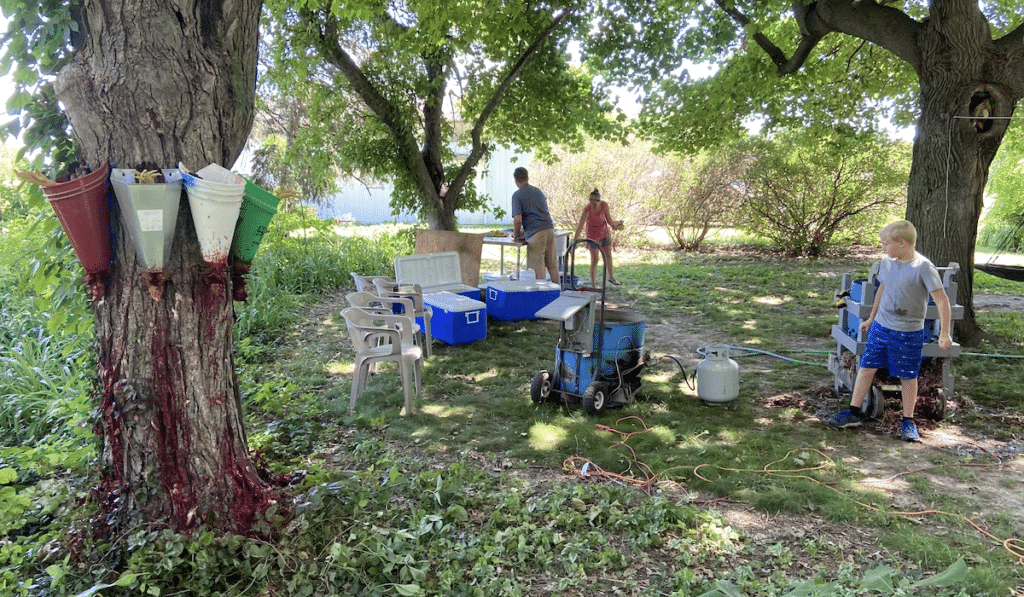
Chicken Processing at Home – Setup & Equipment
Let’s walk through each processing station and what you need to think through and have on hand:
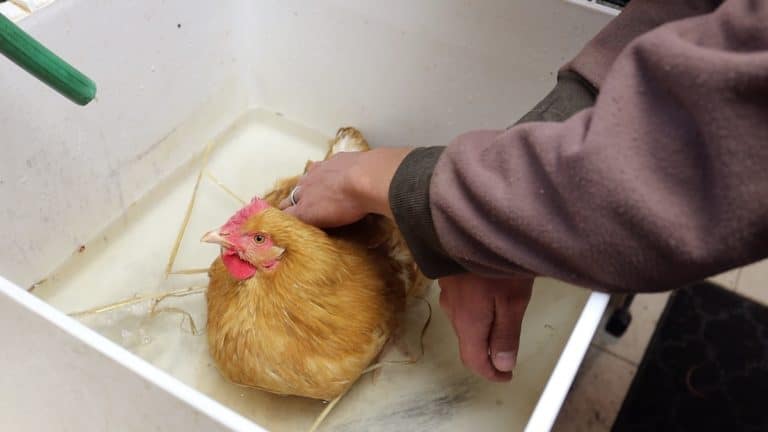
1. Draining the blood
The first step is humanely killing the chicken and draining the blood. We recommend the use of killing cones which can be screwed onto a tree, fence post, or any other stable structure that can easily be rinsed down. These can be purchased, fabricated at home, or, as we found out in our last chicken butchering, made from a 5-gallon bucket.
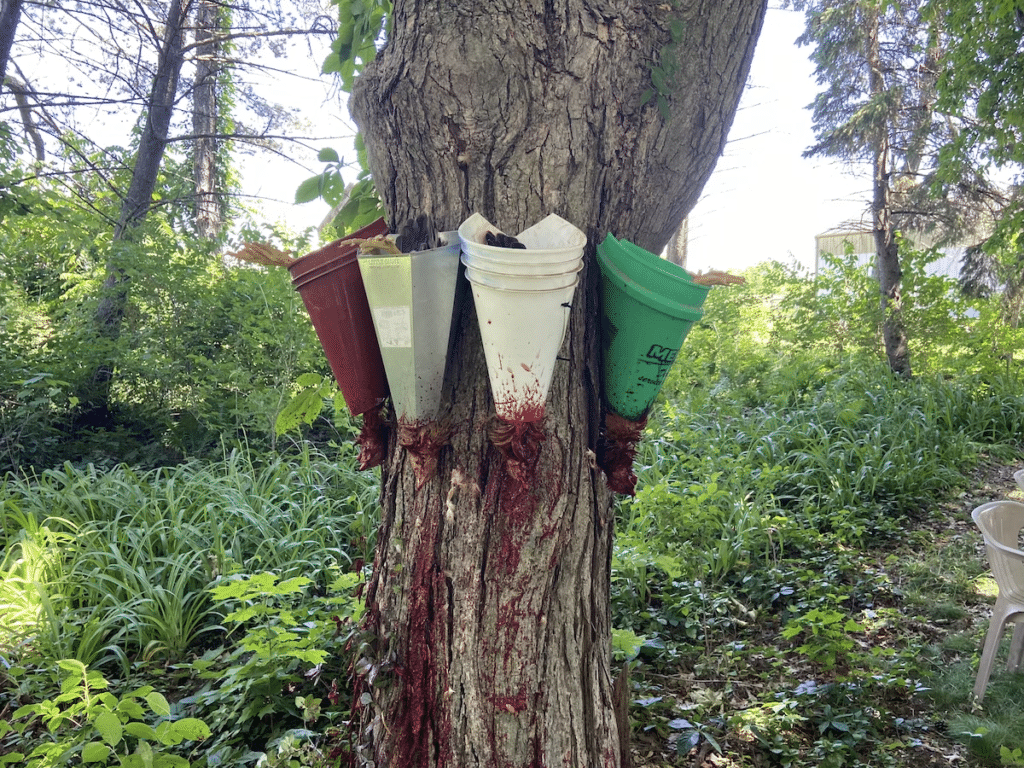
You will want one killing cone for every 5-10 chickens. The blood takes several minutes to drain so the more cones you have, the more efficient you will be. Too few cones will create a bottleneck at this station.
Here’s a list of what to have on hand:
- Killing cones (one for every 5-10 chickens)
- Screws and a drill (for fastening cones)
- Box cutter with fresh blade or very sharp knife
- Spray hose (to rinse off blood occasionally)
2. Scalding
Scalding your chickens loosens their feather for the next step which is plucking. Scalders come in different shapes and sizes but the basic components are a large pot and burner as a base. This can be anything from a large stock pot to a cauldron. A turkey fryer can work great. The more water it holds the easier it will be to maintain even temperature.
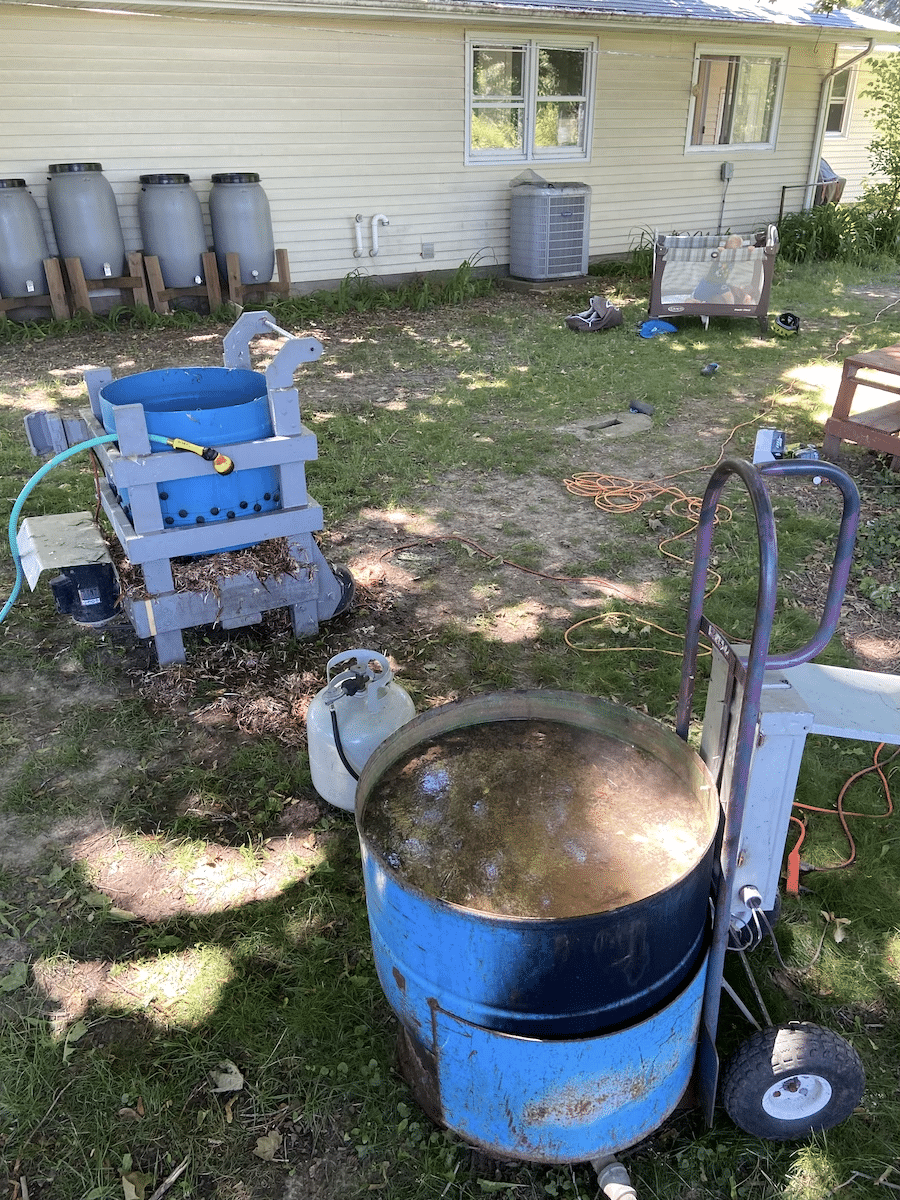
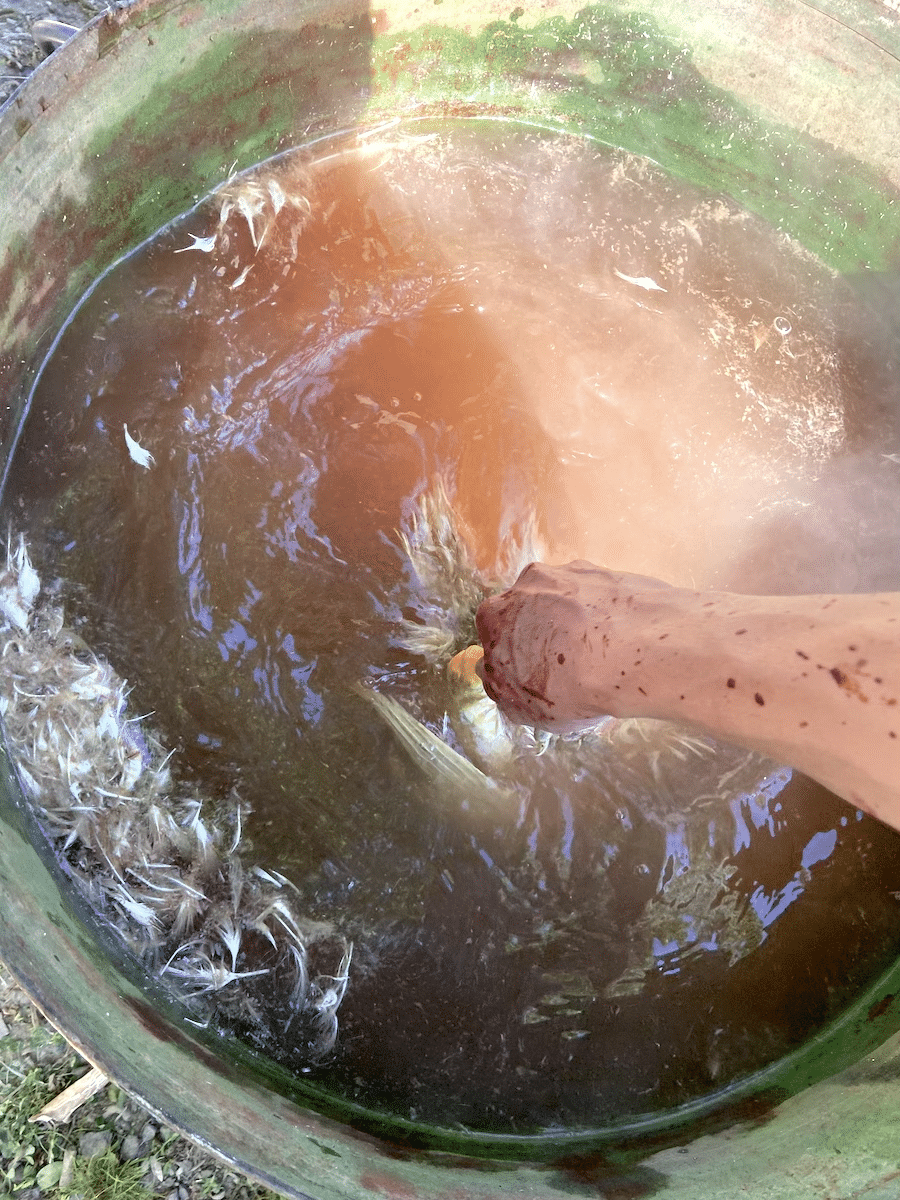
Keep in mind, a very large scalder can take 1-2 hours to bring up to temperature. You’ll want to get this filled and heating well before you start processing chickens.
Here’s a list of what to have on hand:
- Scalding pot
- Burner
- Propane tank (plus a spare)
- Lighter
- Thermometer
- Metal hook or pliers (in case chicken falls in)
3. Plucking
Plucking can either be the slowest or quickest part of the process. Hand plucking is slow and laborious. Using a drum plucker or other plucking machine makes this step a breeze.
With a drum plucker you need a hose and spray nozzle on hand to rinse the chickens as they spin and wash down feathers. Depending on how many chickens you are processing, you may need to clear out the feathers midway through so the plucker doesn’t get jammed.
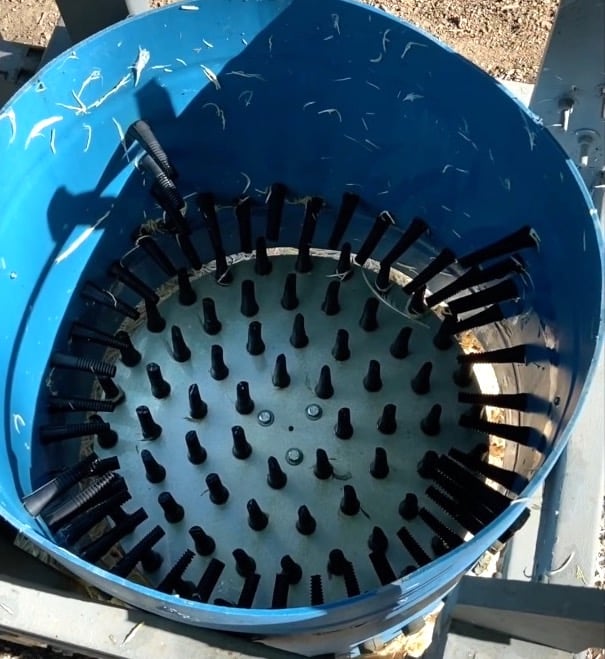
They also make smaller plucking contraptions like this drill attachment plucker that could be a good middle ground.
Here’s a list of what to have on hand:
- Plucker
- Extension cord and power supply
- Hose with spay nozzle
- Rake for cleanup
- Bin, bag, or bucket to collect feathers
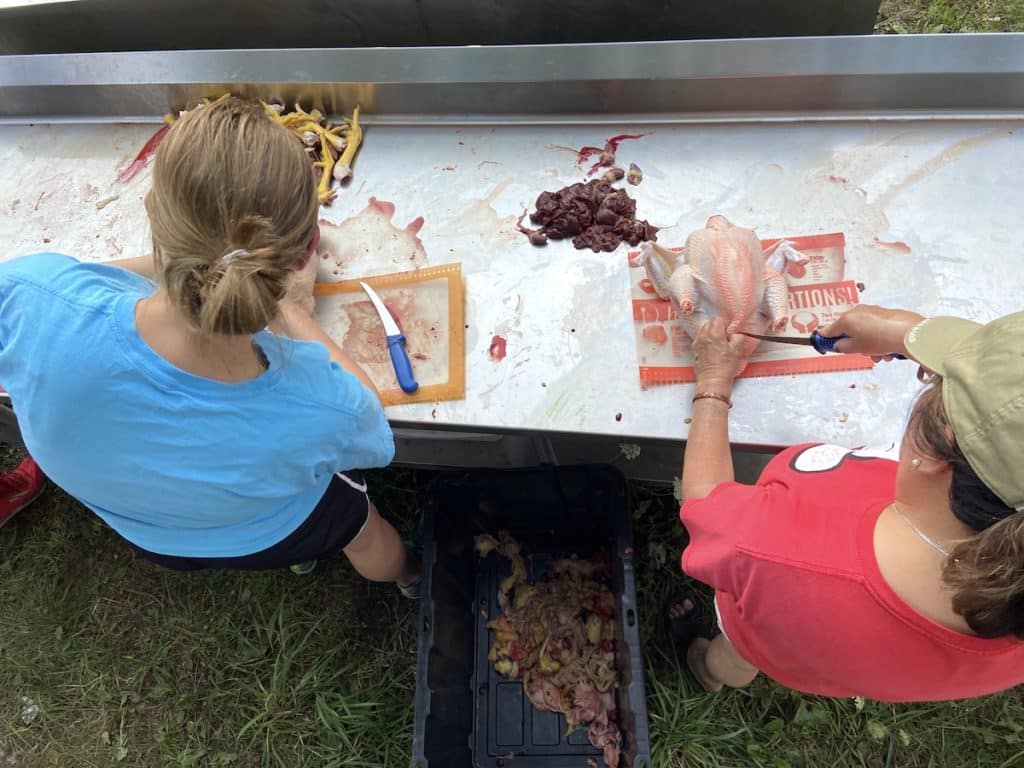
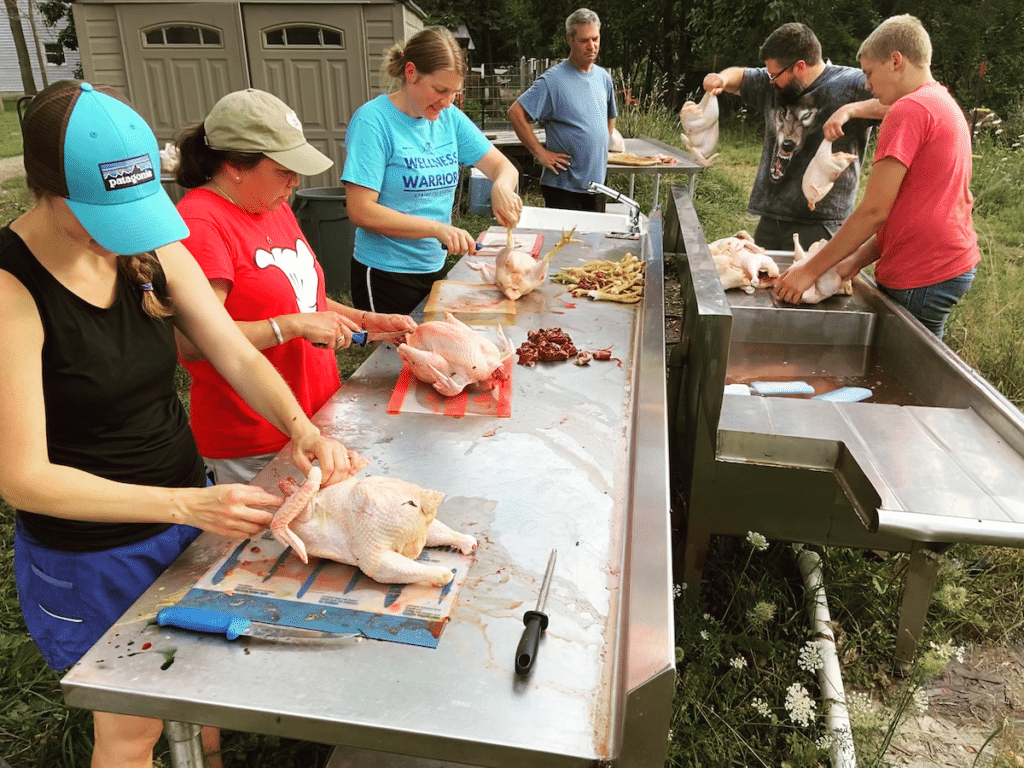
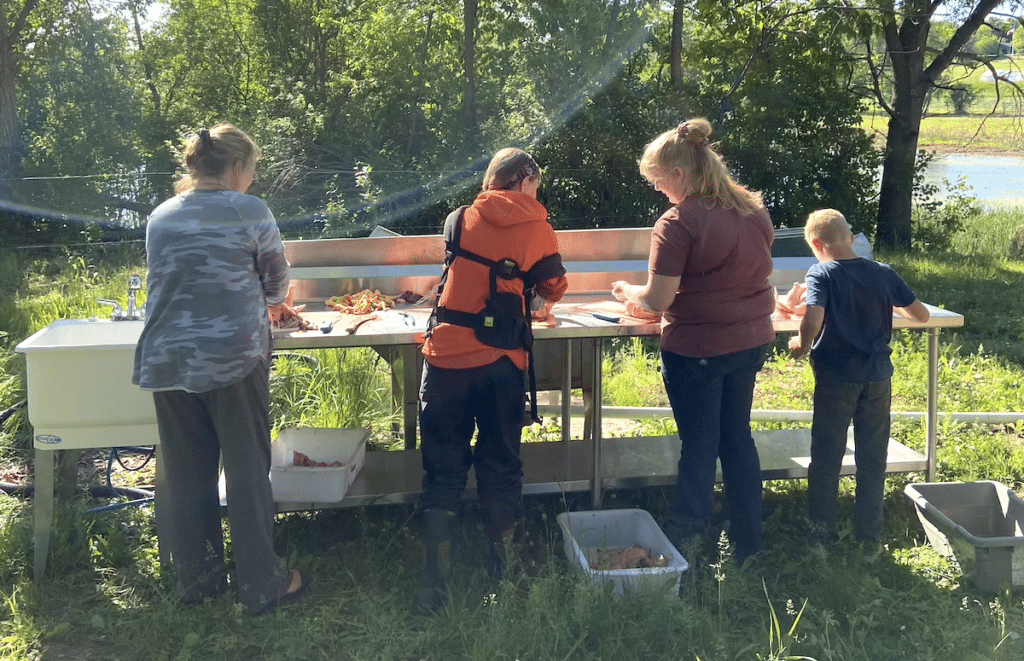
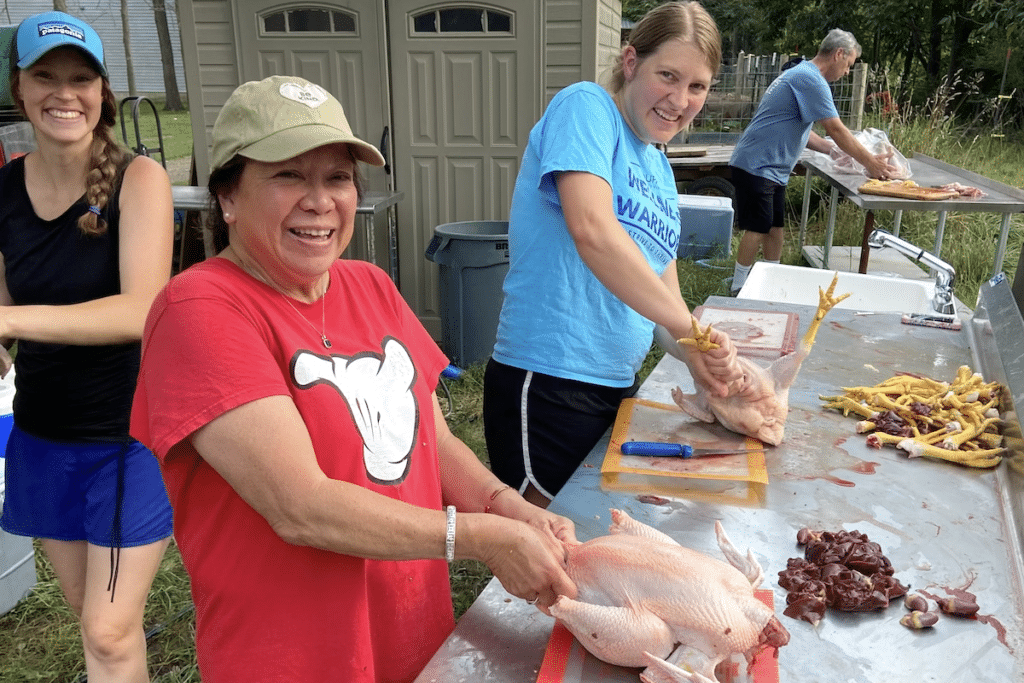
4. Removing the Innards
Once plucked, your chickens move to a table where parts of the chicken are removed. This typically includes the head, feet, and guts inside the chicken. Having a stainless-steel table is ideal, but a sturdy folding table that is easily wiped down will also work.
Next to the table you will want a water supply to clean the birds after removing everything. A hose will suffice, but a sink is most ideal. We used a utility sink with a hose connected to it. This gives you use of both hands to thoroughly clean the birds inside and out.
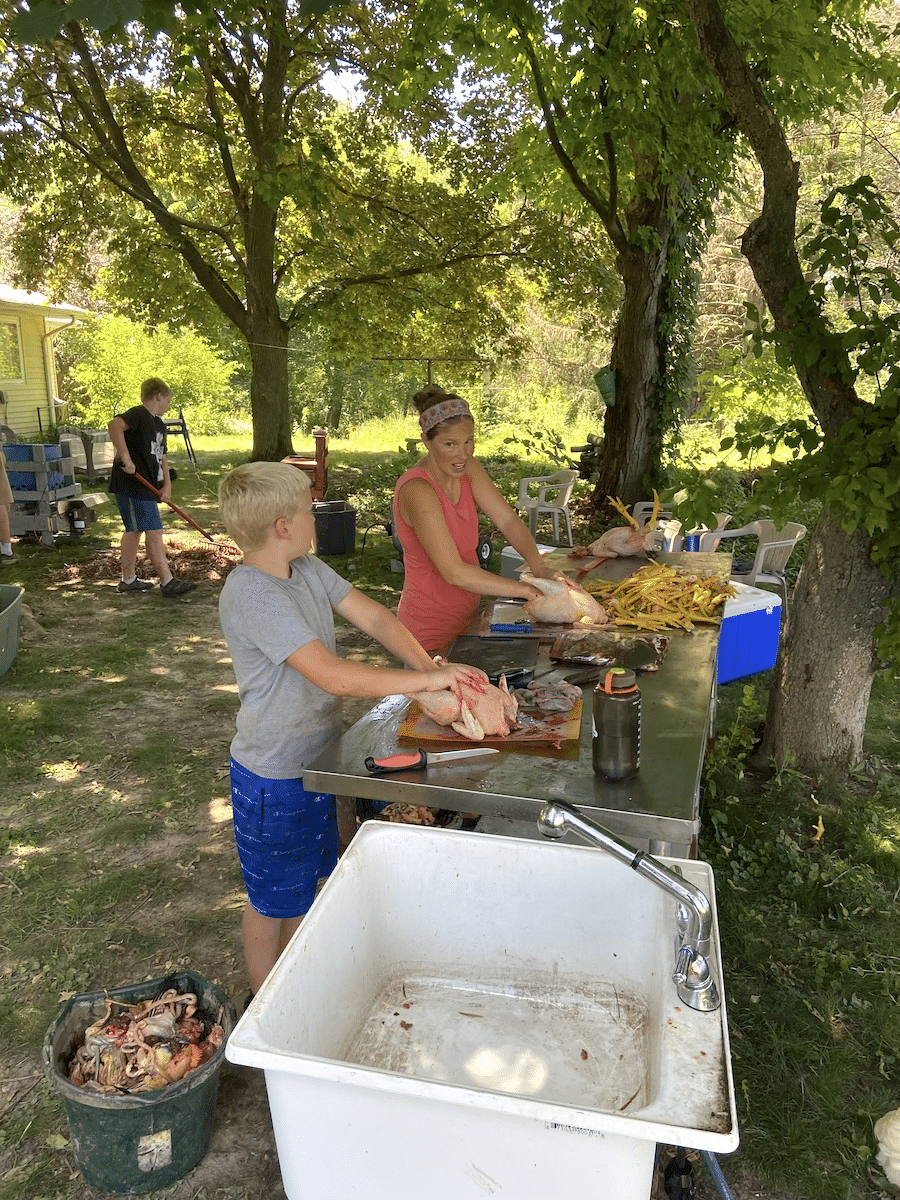
This station is the other area where bottlenecks can occur, especially for beginners who are not yet efficient or confident at removing and identifying parts. Have as many people and cutting stations complete with a sharp knife and cutting board as you can.
We use a sharpened fillet knife for opening up the chicken and removing the insides and the feet. Have a few on hand. A meat cleaver is best for removing the head. One cleaver can typically be passed around and shared for smaller batches of birds.
You will also want a few buckets to collect anything being discarded along with several towels to keep the space clean along the way. And if you are saving parts like the feet, livers, hearts, etc. consider having spare gallon zip lock bags or chicken bags.
Here’s a list of what to have on hand:
- Sturdy, wipeable table (or multiple)
- Sink and/or hose
- Sharp knives (multiple)
- Meat cleaver
- Knife sharpener
- Cutting boards (multiple)
- Buckets or bins
- Towels
- Bags
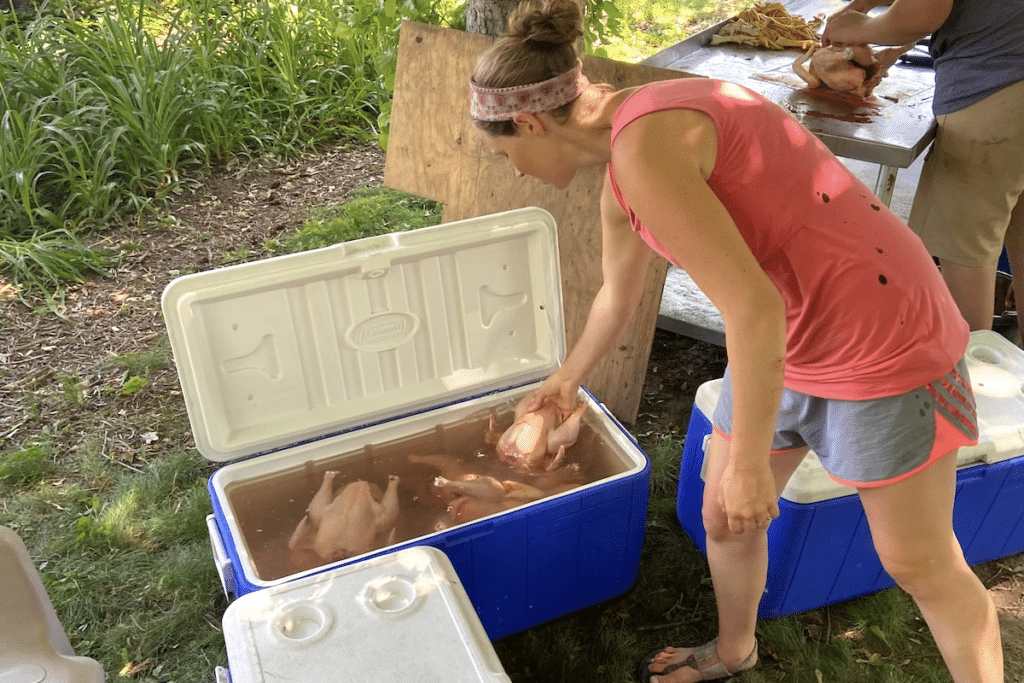
5. Chilling Down the Birds
Once you are left with the chicken in its final form before packaging, you need to chill down the birds. You do this by submerging them in cold water. Multiple methods can be used – cleaned out sinks, stock tanks, or storage bins are fine options. Our preference is to use coolers.
We fill the coolers with cold water and submerge the birds fully in them. Coolers are also great because they have a cover to keep flies away. Make sure you have enough space to fit your birds in. If your chickens are going to be sitting in the coolers for more than a couple hours before making it to the freezer, we also recommend having ice or ice packs to add to the water and further chill the birds.
Here’s a list of what to have on hand:
- Coolers (or another water holding option)
- Hose
- Bags of ice or ice packs (optional)
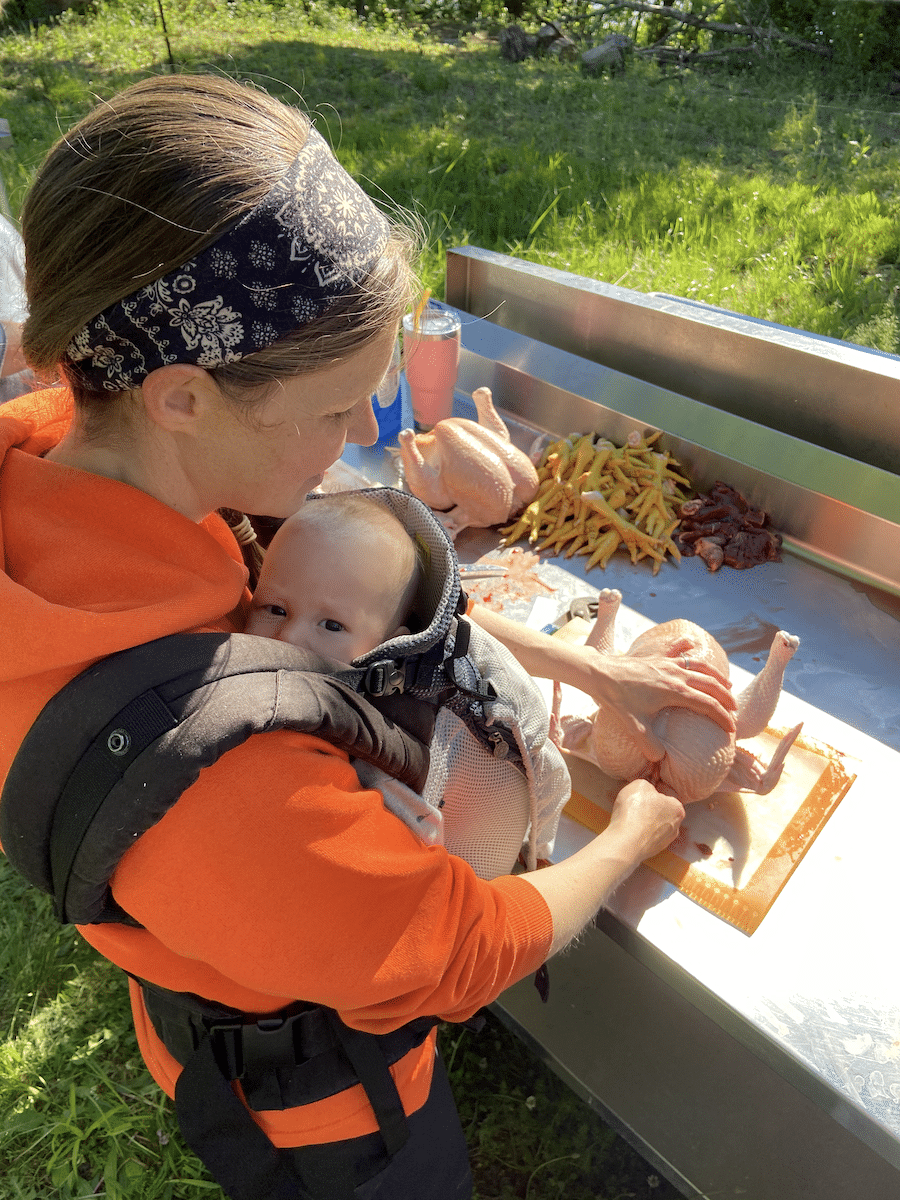
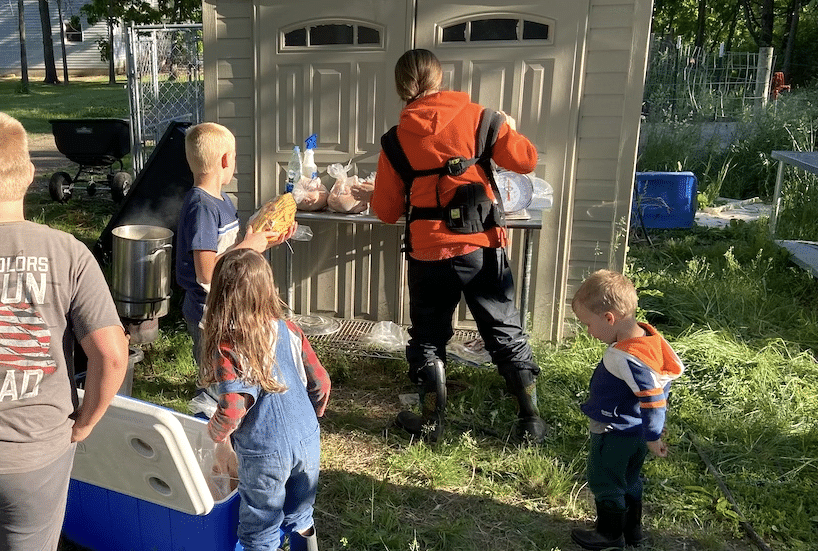
6. Packaging
From here on out, everything with the process should be kept clean.
You will want another clean, sturdy table ready for packaging your chickens. At this table you’ll have chicken bags, zip ties, straws, some fresh towels, and don’t forget a pair of pliers to really draw the zip ties tight after the bags have shrunk.
Next to the table is your large pot on a burner with a propane tank for shrinking the bags. We used a turkey frier. If you are using the same pot you used for scalding make sure to dump the water, clean the pot, and start fresh. The temperature needs to remain between 190-205°F so you’ll want to monitor the temperature fairly closely. Have a thermometer on hand.
This is also your final chance to give the birds an inspection to make sure everything was properly removed or pluck any overlooked feathers. The lungs are easy to miss, so double check for those!
I also like to tip the bags upside down once the chickens are inside and give it a good shake to make sure all the liquid has drained prior to zip tying and shrinking.
Here’s a list of what to have on hand for chicken processing at home:
- Large pot + burner + propane
- Lighter
- Thermometer
- Chicken bags (or other packaging supplies)
- Zip ties
- Straws
- Pliers
- Towels
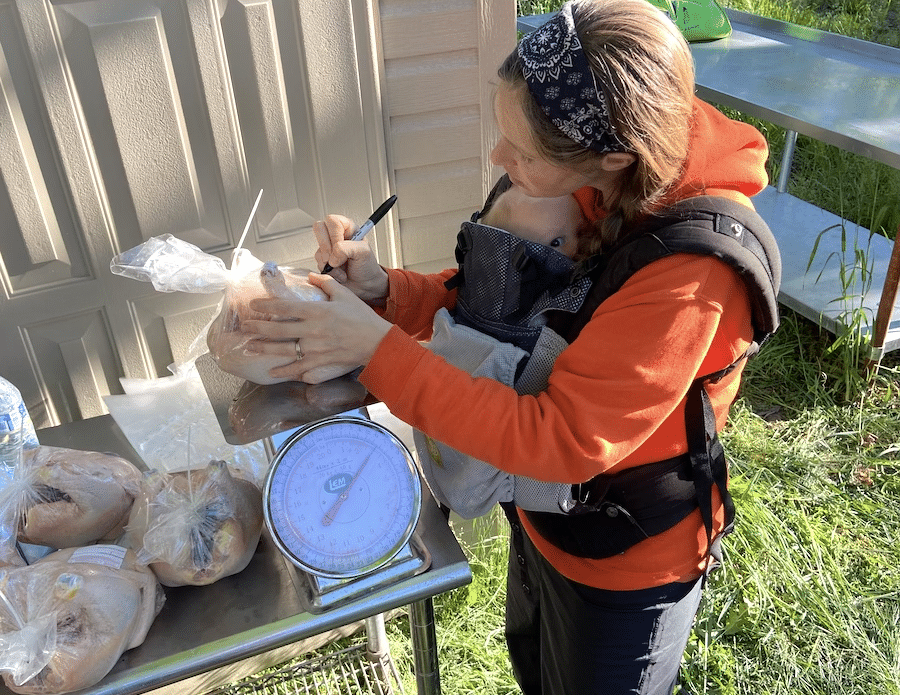
7. Weighing and Labeling
Next, you will need another clean table space with your scale and a permanent marker. We weigh each bird and like to put the weight and date on the label. Note that the bags should be dried prior to applying the label for it to stick. So have some clean towels on hand here too.
Here’s a list of what to have on hand:
- Kitchen scale
- Labels
- Permanent marker
- Towels
8. To the Freezer!
From there, your birds are ready to head to the freezer (or fridge for fresh eating). Move them to the freezer as quickly as you can following the packaging. Keep in mind what we mentioned above to not overstock any one freezer with fresh chickens.
What if I don’t have chicken processing equipment?
For chicken processing at home, owning your own plucker, scalder, or even things like killing cones or a turkey fryer might not be practical. We ourselves don’t own any of those things! This is where networking in your local farming or homesteading community comes in handy.
Give that farm you purchased chickens from in the past a call and inquire about their equipment. Or, see if they know anyone who has equipment. Check with those neighbors that you see raising their own meat chickens. Maybe you can work out a deal to rent what you need or barter something of value with them.
Even our local feed store has a plucker that they rent out at a reasonable rate for at home chicken processing.
If you ask around about processing equipment, a good option in your local rural community is bound to pop up!
How do I find the right help for processing chicken at home?
Believe it or not, butchering chickens is not everyone’s cup of tea. But as you talk to more family, friends, and people in your community, you are sure to surface those who are fascinated by it, want to be more connected to their food, or want to learn the skill to someday butcher their own chickens.
Here are some ideas of ways to find help:
- Offer a chicken or two in exchange for someone you know who’s interested to come help on processing day.
- Find a fellow farmer or homesteader who processes chickens at home and offer to help with their processing in exchange for them helping with yours.
- Better yet, talk with them before ordering chicks to line up your processing days so you can do them the same day and share equipment and help.
- Post on a local farm Facebook or other social group to see if anyone has experience and can help, or who wants to learn and can volunteer.
Many hands truly does make for light work when it comes to processing chickens at home. There is always a job to be tended to. We recommend lining up more help than you think you will actually need. For instance, when we processed around 20 chickens at a time there were 6 or 7 helping and the whole process went quick and was finished in around 2 hours. This past butchering with 60+ chickens there were only 5 of us and it was a full day job. We were exhausted after our day of processing chickens at home!
Processing Chickens at Home IS Possible!
So, remember – you are not crazy for wanting to be tied to the ways your ancestors butchered and prepared their own food for generations. In fact, it’s entirely human.
My Mother still recalls her Busia (Grandma) grabbing a chicken from their backyard in downtown Chicago, chopping off its head, butchering it, and preparing it for a meal that day. We use that same meat cleaver on our chickens today!
Think through the steps of chicken processing at home. Track down the equipment. Line up some help. You are entirely capable of figuring it out from there and having your freezer stocked full of your own homegrown chickens!
But, friend, what questions do you still have? Or what’s been your experience with processing chickens at home? Drop a note in the comments below and we look forward to connecting!
Some of the above links are affiliate links. This means we earn a small commission on qualifying purchases at no cost to you. We are so appreciative of your support!
Looking for more information about raising chickens for meat? Check out these posts:
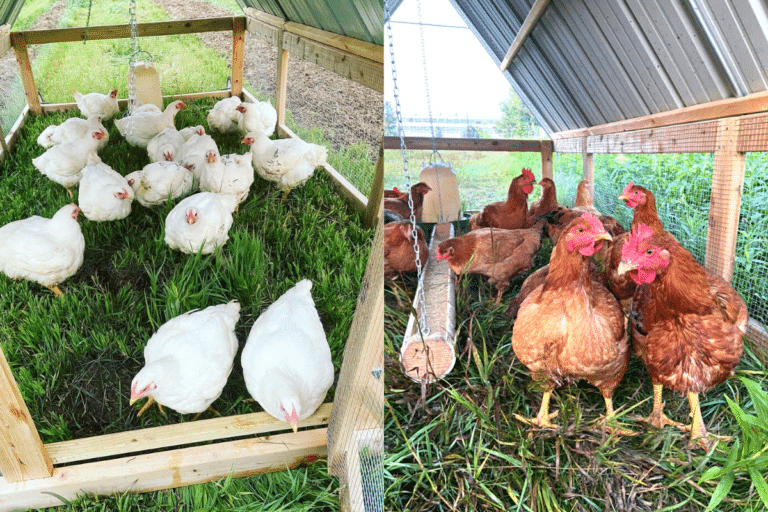
- Cornish Cross Vs. Freedom Ranger Chickens
- Chicken Tractor Plans For 25 Chickens
- How To Create A Quarter Acre Self Sufficient Homestead Garden
Pin it for later!


Great advice here. I have learned all the same lessons myself. Getting help is major, processing 24 in a day by yourself is no fun. One thing I would recommend is waiting 2 days before freezing. This allows rigor mortise to pass and more tender meat. I leave mine whole in coolers in ice water for 2 days, then break down the birds and freeze the meat. The carcasses become awesome stock.
Awesome, thanks for that tip! We’ll need to try waiting before freezing. Good luck to you!