How To Store Potatoes From The Garden Long Term
Few foods store better than homegrown potatoes. With the proper storage steps and conditions that is! We’ll break down how to store potatoes from the garden and the best tips and methods to keep them firm and fresh for months.
Growing and Preserving Potatoes for the Whole Year
When our family moved to our 5 acre homestead we were determined to learn what it meant to truly live off the land and feed our family year round from what we produced on our own or could find locally.
Potatoes have been a main contributor. In fact, we grow around 1,000 lbs. of potatoes each year in our 1/4 self sufficient homestead garden.
And they have required relatively minimal effort for us to grow them. While it may not be optimal, we plant a couple roughly 150′ rows of potatoes in the spring, don’t weed them much or mound them, and harvest plenty in the fall to feed our growing family.
My how we love potatoes! They are delicious and versatile in the kitchen, a great source of energy and nutrition, and truly allow for year round eating.
So let’s dig into potato storage methods.
Where to Store Potatoes from the Garden Without a Root Cellar
Garden potatoes will stay firm and fresh for up to 8 months when stored properly. Potatoes store best in a cool, dark, and dry space that stays around 45-50°F. If kept above 60°F for more than 2 weeks, or when exposed to too much sunlight, they will begin to sprout.
If you have a root cellar, then you’re in business! This underground storage space has the ideal temperature and humidity levels to keep your potatoes fresh for the long haul.
But many don’t have one – us included! Here’s some other options of where to store your potatoes:
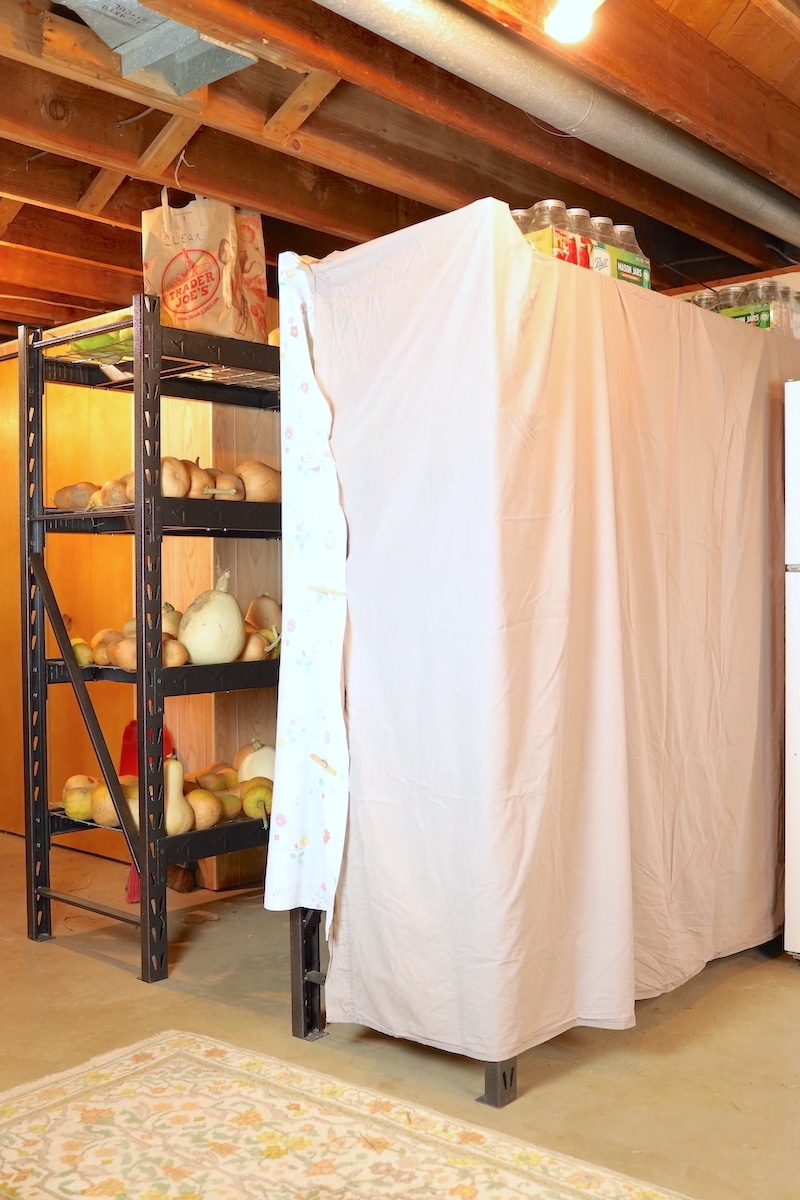
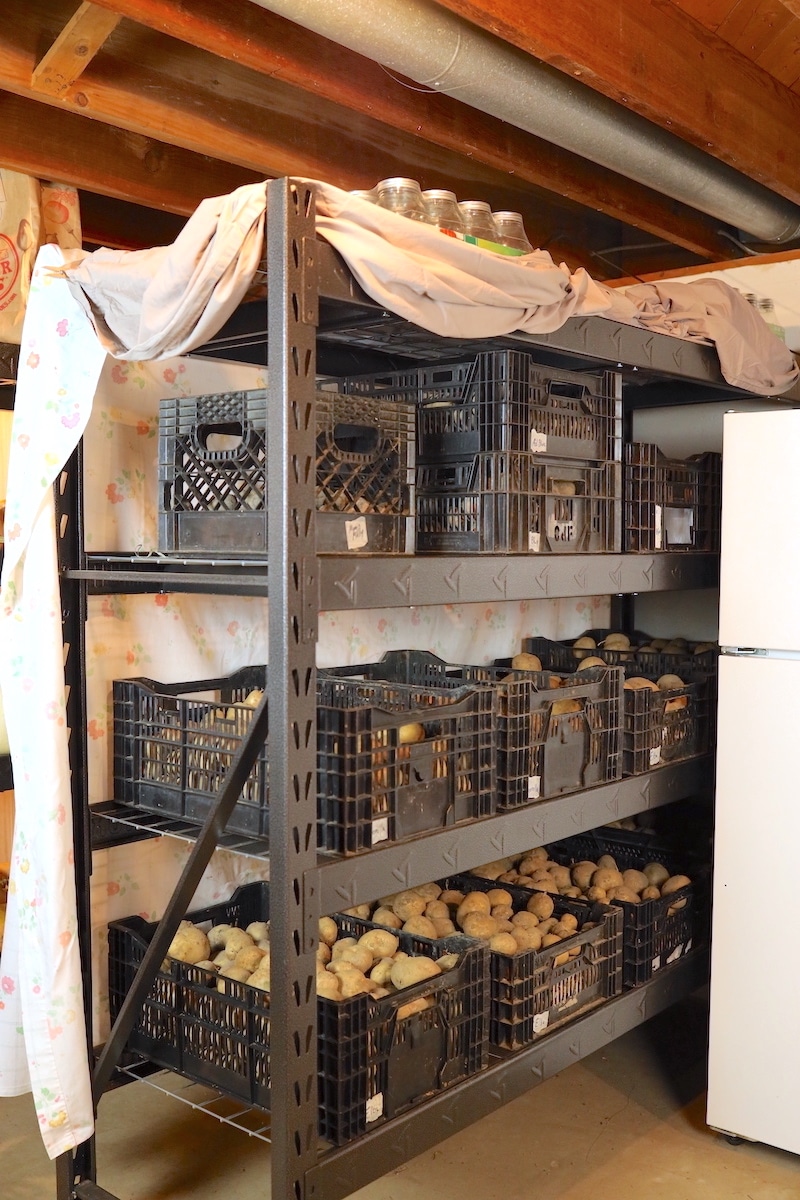
Basement
An unheated basement can be a great option for storing potatoes. We store ours on storage shelves in our basement and have been able to keep potatoes into the late spring or early summer months. And no need to worry about high humidity. Potatoes are composed of a high percentage of water and higher humidity levels will help keep them from shriveling.
Crawlspace
While less ideal than a basement, a crawl space can also provide the cool environment needed to keep potatoes fresh for months. Keep it dark and cool and your crawlspace can keep your spuds fresh for months.
Garage
In many areas a basement or crawlspace isn’t practical or feasible. In these instances, depending on your climate, a garage can also provide the right conditions for potato storage. Just remember, you don’t want your potatoes to get above 60°F or to freeze. Since a garage can have less stable temperatures, you’ll want to monitor your potatoes more closely when stored in the garage.
Other Options
Working with what you have is the most simple solution, even when it’s not the most ideal. We’ve had great success using our basement for potato storage, and have heard from others that have long term storage success in the crawlspace or garage. If none of those are an option, you may need to look into building a cold storage area or DIY root cellar.
Storage Container Options for Potatoes
When it comes to what you store your spuds in, potatoes are not picky. The most important thing is that they can breathe. So plastic bags won’t work. Here are some options:
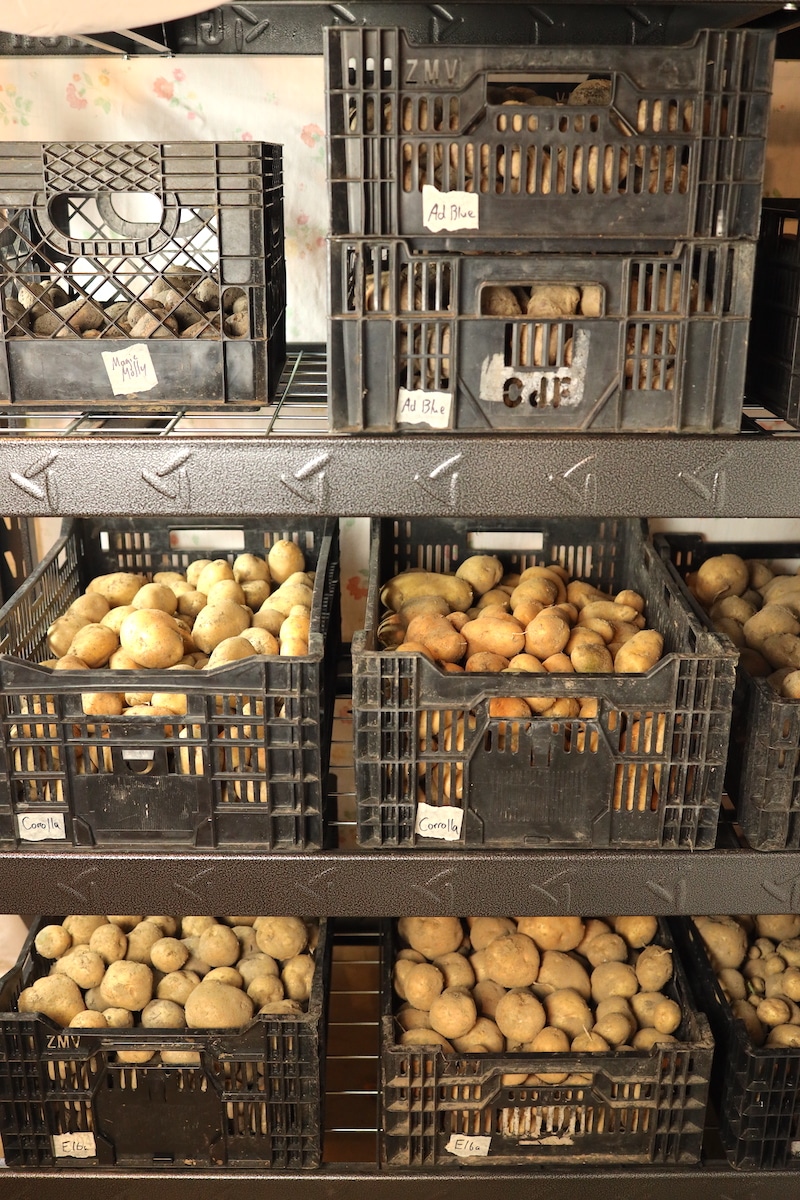
Crates
Milk crates or even wooden crates can be common to come by and provide a sturdy and breathable container for potato storage. I haven’t tried this yet, but rumor has it that you can track down free crates galore at Costco!
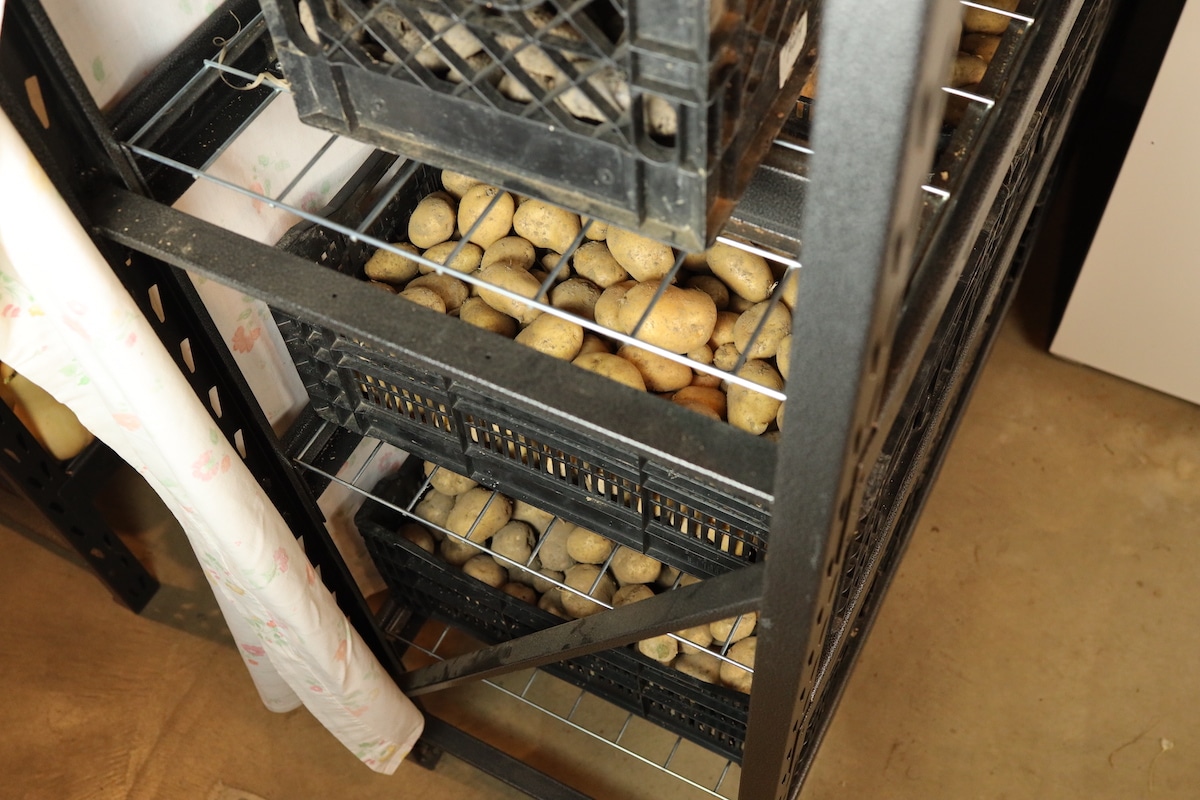
Food Storage Bins
Plastic food storage bins are the ideal container for harvesting, transporting, and storing any produce from the garden, including potatoes. They are durable, stack well, and are plenty open on the sides to allow potatoes to breathe. Keep an eye out on Facebook marketplace or Craigslist for grocery stores, restaurants, or food distributors looking to unload their stock. Or, talk to your local veggie farmer about where they find them. These foldable storage bins are also a great option and stowaway conveniently when not in use.
Cardboard Boxes
Sturdy cardboard boxes also meet all the potato storage qualifications. They’ll provide a dry and dark storage space but the main thing to look out for is breathability. You’ll want to poke holes or cut openings in the box to allow for ventilation.
Brown Paper Bags
In her book The Resilient Gardener, Carol Deppe swears by brown paper bags for storing potatoes. We have used this method with great results. Large brown paper bags from the grocery store can be easy to come by. Even when closed on top, they tend to breathe well. But you may still want to poke some holes in the bags to allow for airflow.
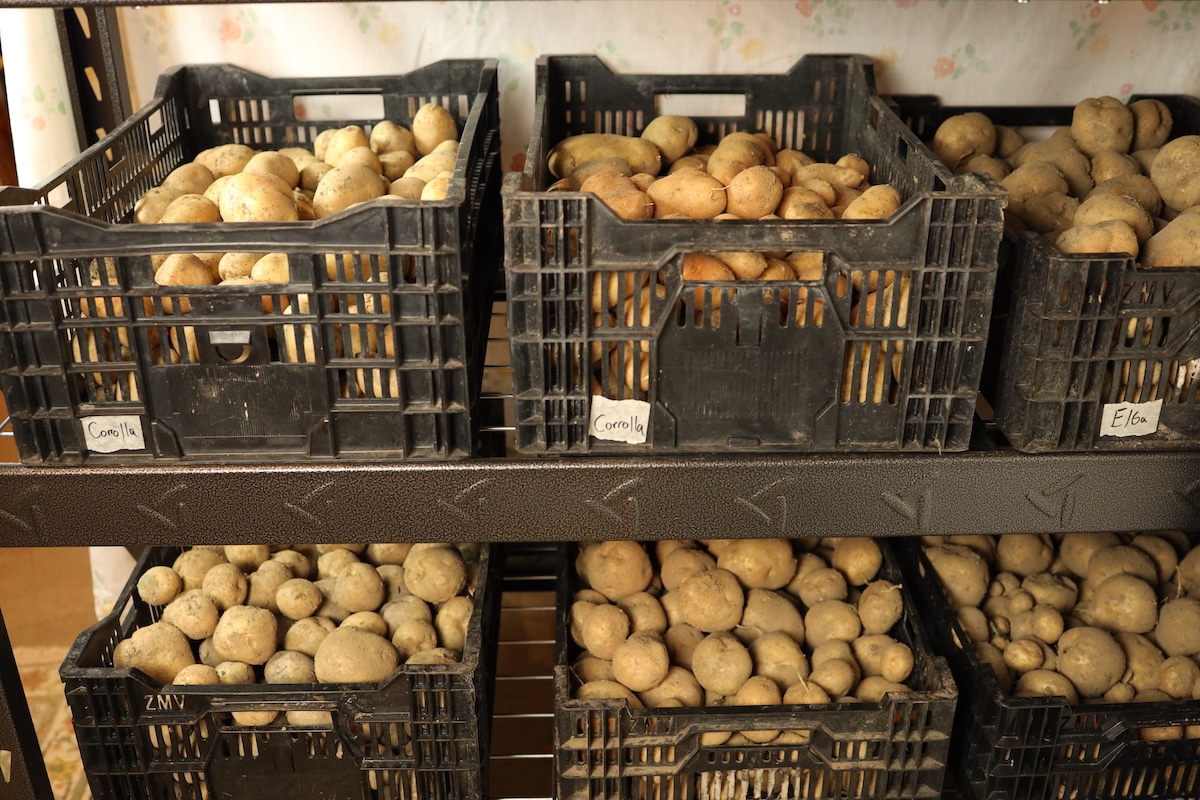
Best Potato Varieties for Long Term Storage
Look for potatoes that are late-maturing varieties with thick skins for optimal long term storage. White and yellow potatoes will store better than red or purple potatoes.
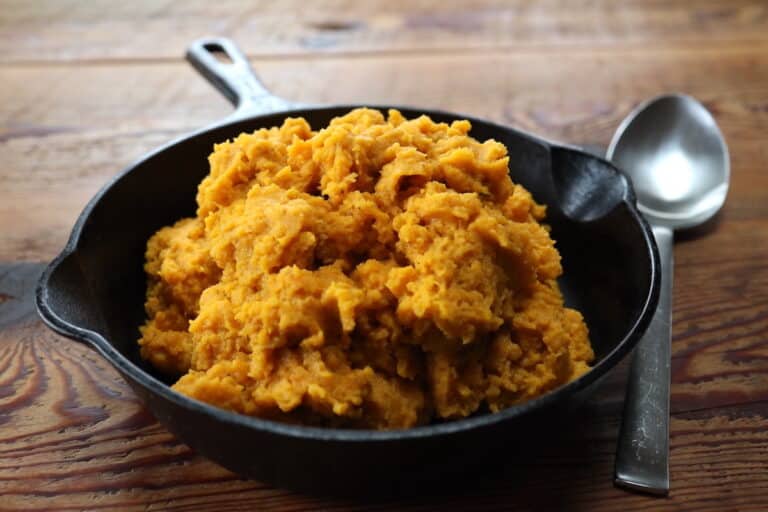
Our favorite storage potato is the Elba. This late season white potato has a very thick skin and stores beautifully. We have been able to continue eating them through June of the following year. Even though they’ve softened some by that point, they’re still fine for mashed potatoes where the texture doesn’t matter as much.
We grow other potato varieties – Carola, Magic Molly, Adirondack Blue, and Red Endeavor – that are not as well suited for storage, but still will keep well into the winter. We start harvesting and eating these varieties first and harvest the Elba potatoes last for longer term storage.
Harvesting and Curing Potatoes for Long Term Storage
Potato storage begins at harvest. Some important steps and precautions should be taken well before you tuck those taters away to maximize their storage.
Don’t wash them!
Rule number one of potato storage is to not wash them. Knock off as much soil as you can while harvesting, but unwashed potatoes will store WAY longer than washed potatoes will. You can just wash as needed for use throughout the winter months.
Wait until they dieback
Once the potato plants’ foliage on top dies back and shrivels, the plant will shift its energy toward growing those tubers underground and start thickening up their skin. We tend to wait at least a couple weeks after dieback occurs so mother nature has plenty of time to naturally prepare those spuds for storage.
Don’t wait too long
One, you don’t want them to freeze. Take advantage of those nice fall days and bring in that potato haul. The closer you get to winter the more you’ll deal with the chance of snowfall or your potatoes freezing, which could ruin their storability. And two, you might also run into more pest pressure taking their share of your prized potatoes the closer you get to winter.

Try not to damage them
When harvesting by hand, a knick from a pitchfork or shovel could ruin their chance for storage. Always start wide when harvesting around your potato plants. Tubers can sometimes sprawl far from the above ground plant. There’s nothing worse than the crunch of a pitchfork piercing an otherwise perfect potato!
Ditch the green ones
Potatoes that are too close to the surface (or exposed to too much light in storage) will turn green and bitter due to the buildup of a chemical called solanine. When consumed it can be toxic. If only the skin of the potato has turned green or has minor green inside, the green part can be cut off and the rest of the potato can be consumed. If a large portion is green, add it to the compost pile.
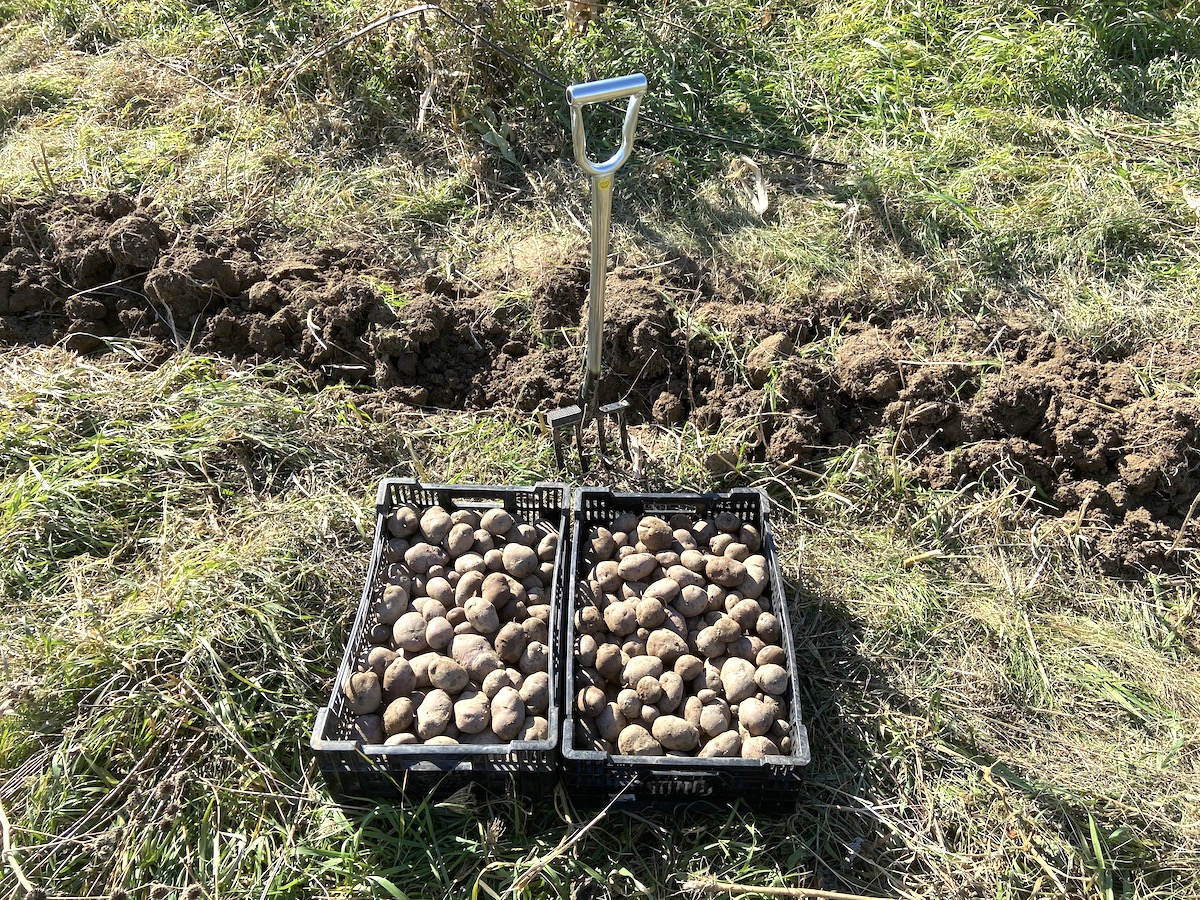
Sort the good and the blemished
The best suited potatoes for storage are ones that are fully intact without any bites or blemishes. We tend to harvest with 2 separate bins. One bin is for the perfect potatoes that we’ll keep for long term storage. The second we call our “blemish” bin that collects potatoes with any sort of marks or abrasions. These are still perfectly fine to eat, so we’ll eat through the blemish bin first and keep the unblemished beauties to eat later or save for seed.
Allow them to cure
Curing potatoes is the process of allowing their skins to thicken and any imperfections to heal before tucking them away for long term storage. Similar to curing squash, lay your potatoes out in a single layer on racks, shelves, or tables so that they are not touching each other and have plenty of airflow. Temperatures should be a bit higher during curing; around 60-65°F. They’ll cure in this fashion after 7-10 days and can be moved to crates, bins, boxes, or bags for long term storage afterward.
Other Potato Storage Tips
Once your potatoes are in storage, you have a wonderful crop of high energy and delicious food at your disposal to last you until the next growing season! But there are some considerations to best preserve your potatoes and make sure they taste great!
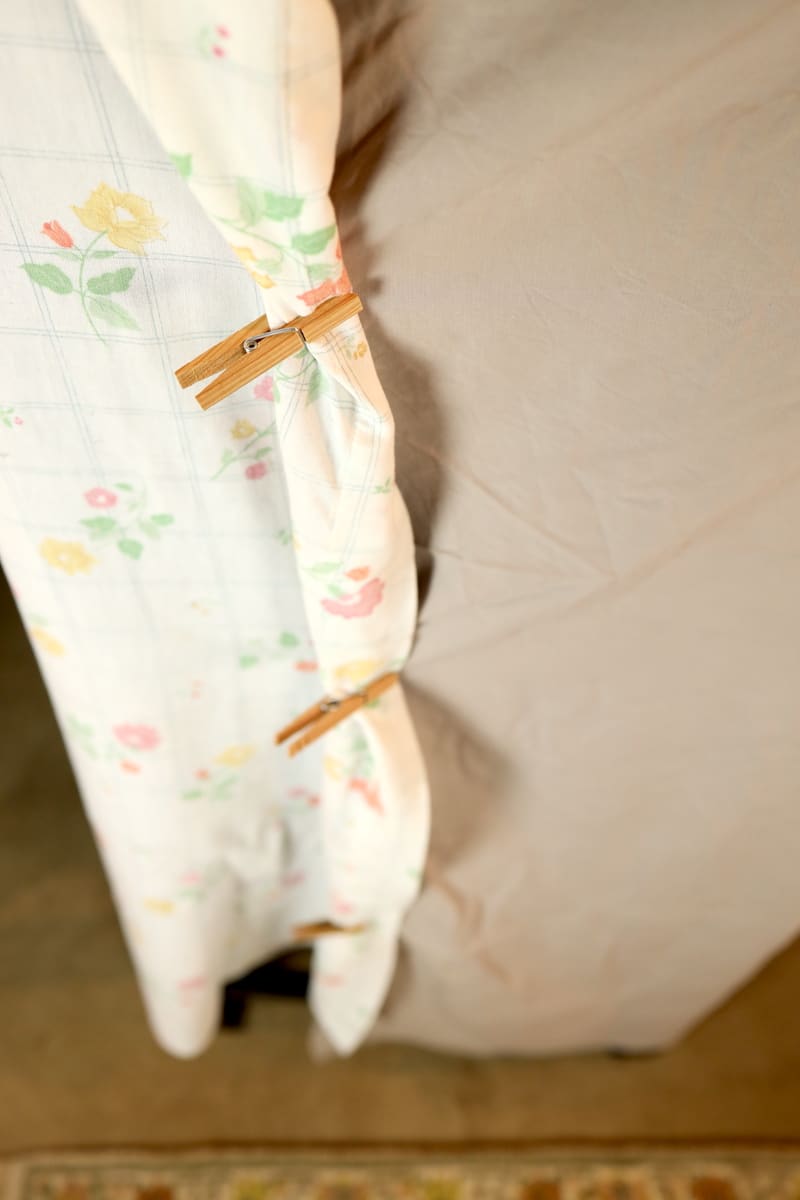
Make sure it’s dark
Storage potatoes and light don’t get along. Light can both cause a toxic chemical response from your potatoes as described above or cause them to sprout prematurely. To prevent this, create a light barrier. We drape sheets over our storage shelves to keep light away but still allow for airflow.
Keep them separate
Apples and other fresh fruits release gases that will cause your potatoes to sprout and spoil more quickly. Onions are especially dangerous – onions and potatoes each emit gasses that will cause the other to have a decreased shelf life. So find a spot where those potatoes can live in solitude and be separate from those items.
Check them regularly
One bad potato can ruin the whole batch if not caught in time. It’s best to check your potatoes at least once a month, if not more frequently, to make sure none have gone rotten. If any have, remove the rotten potatoes and any others around it that have been compromised.
Label your varieties
If you are growing more than one variety of potato, label them! We grow 5 different varieties. While we might be able to easily recall their placement now, after a few months you’re likely to forget. Especially if they’ve shriveled a bit and don’t look the same. A piece of masking tape on their storage container and a permanent marker does the trick.
Remove the sprouts
A potatoes goal is to survive and replenish itself. Sprouting, or growing eyes, is the start of that process. Removing the sprouts can help keep a potato from dehydrating to remain fresh longer.
Let them recondition before eating
Potatoes in storage change their physical makeup by converting their starch into sugar. Removing potatoes from storage 4-7 days prior to eating will reverse this process and restore their full flavor.
Create Your Own Grocery Store
We’ve been amazed in this homesteading journey that we now rarely need to make trips to the grocery store – even during the winter. We have our own ‘grocery store’ right in our basement!
Wherever you are at, potatoes are one of the best ways to move toward a more resilient and self sufficient life.
Some of the above links are affiliate links. This means we earn a small commission on qualifying purchases at no cost to you. We are so appreciative of your support!
For more information on how we feed our family all year round, check out these posts:
- Beginners Guide To Self Sufficient Homesteading
- How To Create A Quarter Acre Self Sufficient Homestead Garden
- Urban Homesteading | 25 Ways To Begin Today
Pin it for later!


How do you keep mice out? I get mice in my basement from time to time….
Hey! We do too, but amazingly we haven’t really had issues with them getting to our storage crops. We keep bait stations and traps around so they tend to not really make it that far and haven’t gotten out of control. So I don’t know that we have any great wisdom to share on how to keep them out of or away from what you have stored. I think the better investment is to try and prevent them in the first place.
I love your channel! I find it to be super thorough and informative! I have a question – how far apart do onions and potatoes need to be in a cold storage room? I can’t seem to locate the answer! Thanks!
Thank you! We’ve always just kept them in completely different rooms or spaces to be safe.