Starting Seeds Indoors Without Grow Lights
You CAN start your own seeds! And do it simply and inexpensively. We’ll teach you the ins and outs of starting seeds indoors without grow lights with our step-by-step guide.
One of the simple joys of gardening for us is putting tiny seeds in the soil, watching them sprout, take root, grow into healthy plants, and produce delicious food all season long. There’s nothing complex about it. You’re just letting nature do its thing, and enjoying the beauty and bounty along the way!
How our simple seed starting method began
On our farmstead, we like to keep things basic. The fewer tools and equipment we need the less cluttered our life will be. With less clutter, we’re freed up to engage more with each other and the work of our hands. Whenever we attempt something new, we try to find the most frugal and simplified way to go about it.
So, when it came to attempting to start our seeds for our garden several years ago, we were quickly turned off by all that might be entailed. Greenhouses, heat mats, a grow light or two. Just continuing to buy seedlings seemed more and more appealing.
At one point we did get a small plastic greenhouse as a gift. That spring we set it up and attempted to start seeds in it. Long story short, temperatures were difficult to regulate in that small of a space and our hard work did not pan out.
After a farmer friend bailed us out with some extra seedlings that spring, we regrouped and thought that there had to be an easier way.
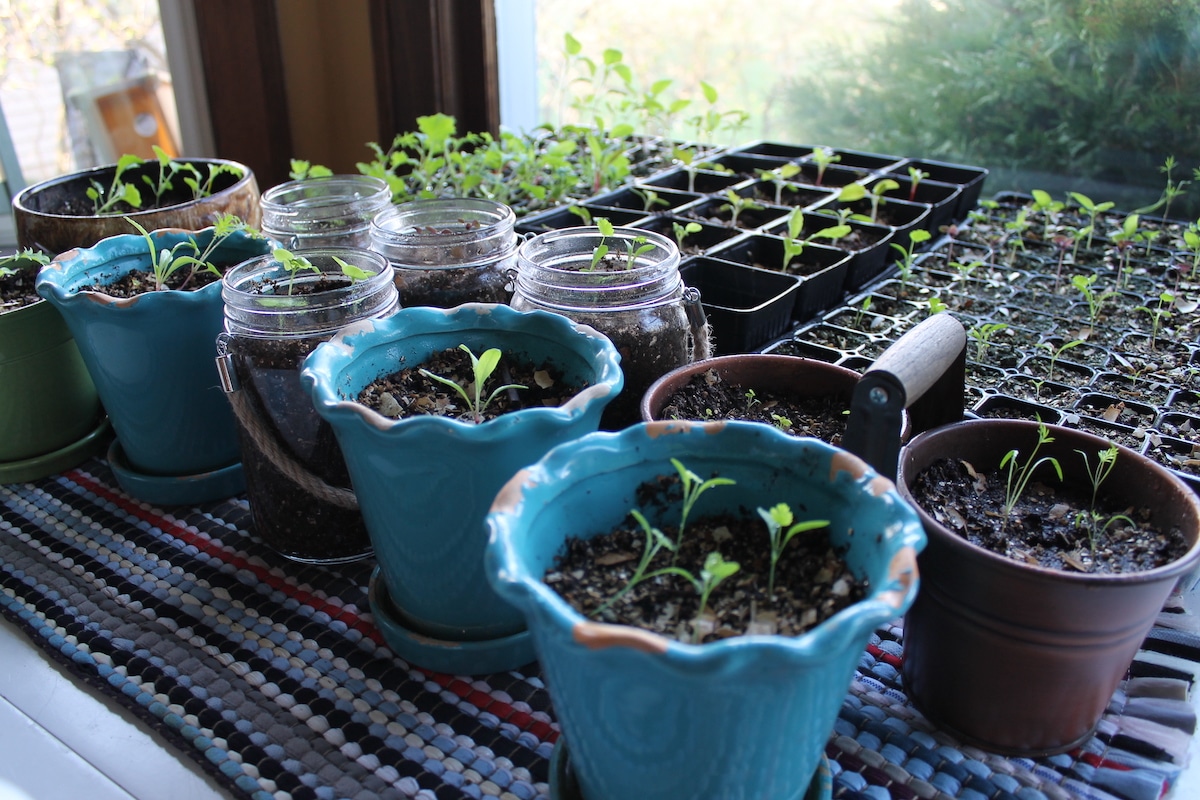
The south-facing window in our home drew in a lot of natural light—could this be enough light to start seeds with? The following year we placed our seed-starting set-up in the sunniest window spot we could find, planted seeds, watered, and waited.
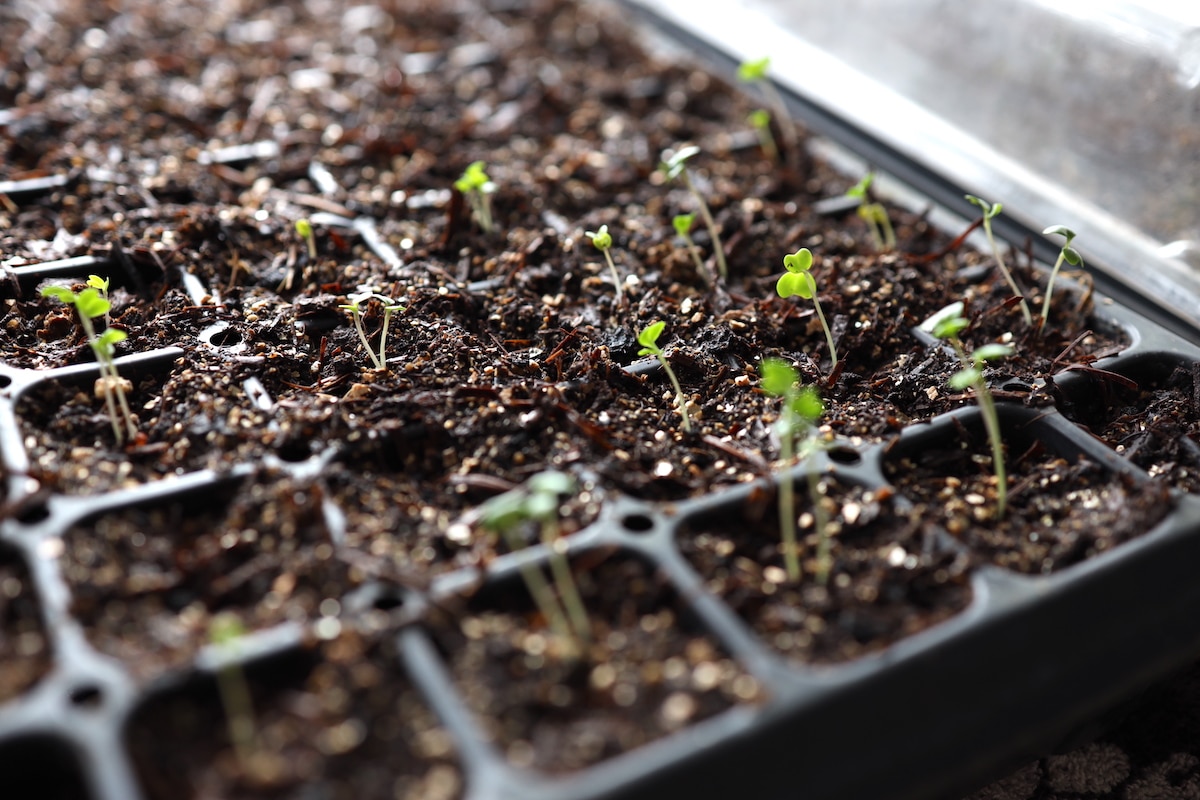
The seeds sprouted. The young plants grew. And we used our seedlings for our garden that year!
Finding the right window to start your seeds with
Finding the right window or window sill to start your seeds in is the first and most crucial step in the process. Your home naturally maintains the heat needed for seeds to germinate when given the right growing medium. The issue will be getting the right amount of light to your plants.
You will want to find a south-facing window location that brings in as much natural light as possible. Find the window area that seems like the best candidate and observe the light coming through it in the morning, throughout the day, and at night. Are there trees shading where your seedlings would sit? Does anything else impede the sunlight from hitting the plants directly? You will want to make sure your plants are soaking in that sunlight for the bulk of the day.
Tip: Most garden plants need a minimum of 14-16 hours of sunlight each day (source, University of Missouri Extension Service). Plants will grow with less but adjusting them often to catch the most sunlight will help them develop optimally.
Many homes will have a south-facing window situation with adequate natural light. If you don’t, you can either get creative with rotating your seed trays to other sunny windows that bring in sunlight throughout the day or consider different options like grow lights.

What do I need for starting seeds indoors without grow lights?
The great news is you don’t need much!
Seed Trays – We typically use 72-cell seed trays to start seeds in. Plastic trays can come with more or less cells, but we’ve found the 72-cell trays to be the most universal for different plant types. You can find seed trays at most garden centers. We buy ours from Johnny’s Garden Center and have found them to be durable and hold up better than the ones most big box stores carry.
In addition to the seed tray, you will want a fully enclosed bottom tray along with a clear top cover or humidity dome. The seed tray will sit inside the bottom tray and keep water and soil contained to not make a mess inside. The humidity dome is used early on for germination to trap extra heat and moisture.
Seed Starting Mix – You can either buy a premade mix at a local garden center. Or, it’s really easy and cost-effective you make your own seed starting mix. We show you how in our DIY Seed Starting Mix post.
Watering Can and Spray Bottle – You will want both a watering can and a spray bottle to cover your bases. I use the watering can for deeper watering to make sure water is penetrating the entire depth of the seed tray cell. The spray bottle will help you keep things moist without over-saturating your seed starting mix. Regular watering is essential to ensure healthy plants.
Dibble – A dibble is a useful tool that is basically a pointed metal or wood finger for penetrating soil. I like to use it to poke my holes for planting seeds, which keeps my hands clean. Handling tiny seeds is hard enough and having clean hands makes it SO much easier.
Tip: A dibble, or similar hand weeding tool, is not only helpful in seed starting, but also for loosening soil while pulling weeds or harvesting root vegetables.
Seeds – You can find vegetable garden seeds at many locations. We try to buy organic seeds when possible and Seed Savers Exchange has been our seed supplier of choice. Johnny’s, High Mowing, and Baker Creek are also very good options.
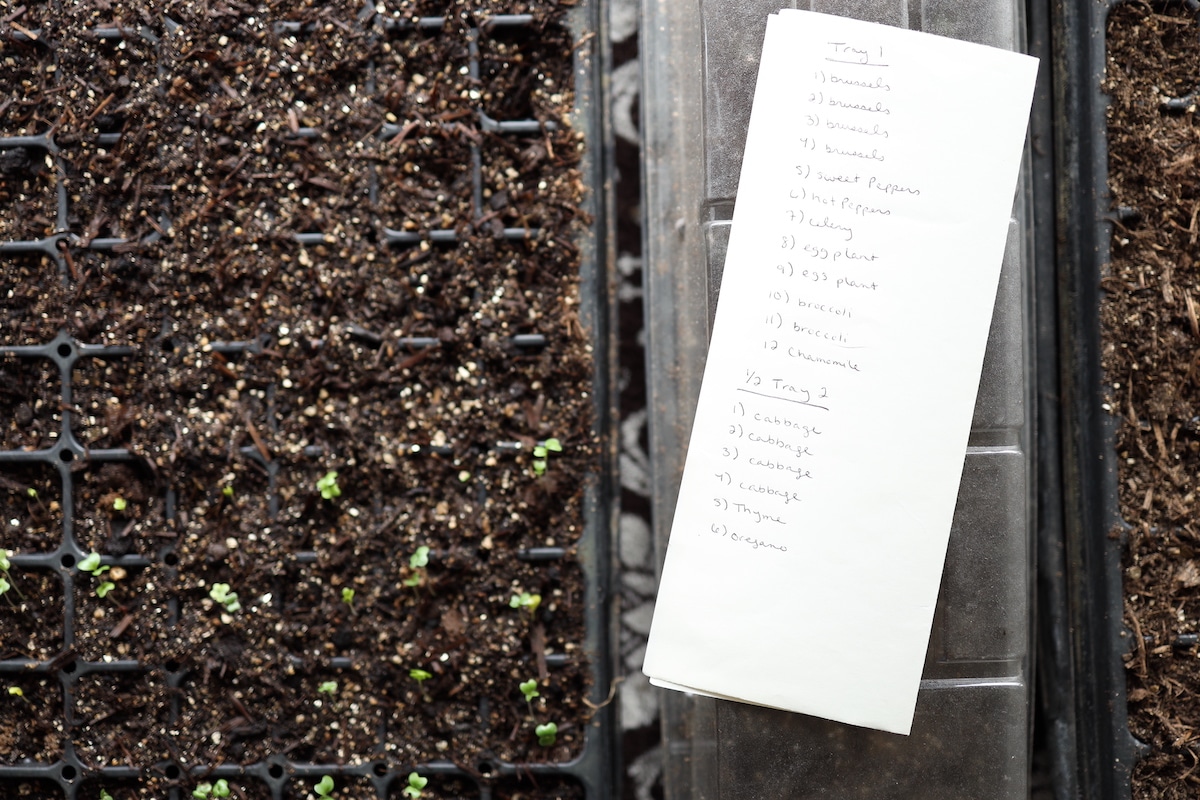
Don’t forget to keep detailed records!
Believe me, in a month you won’t be able to tell the difference between the three different varieties of tomato plants you are growing! Have a plan before you plant a single seed and write it down. This will make the planting process go so much smoother and also help you keep track of what seeds you planted where for each tray.
Step-By-Step Guide to Starting Seeds Indoors Without Grow Lights
Step 1 – Find the best south-facing window location in your home. See section above for tips.
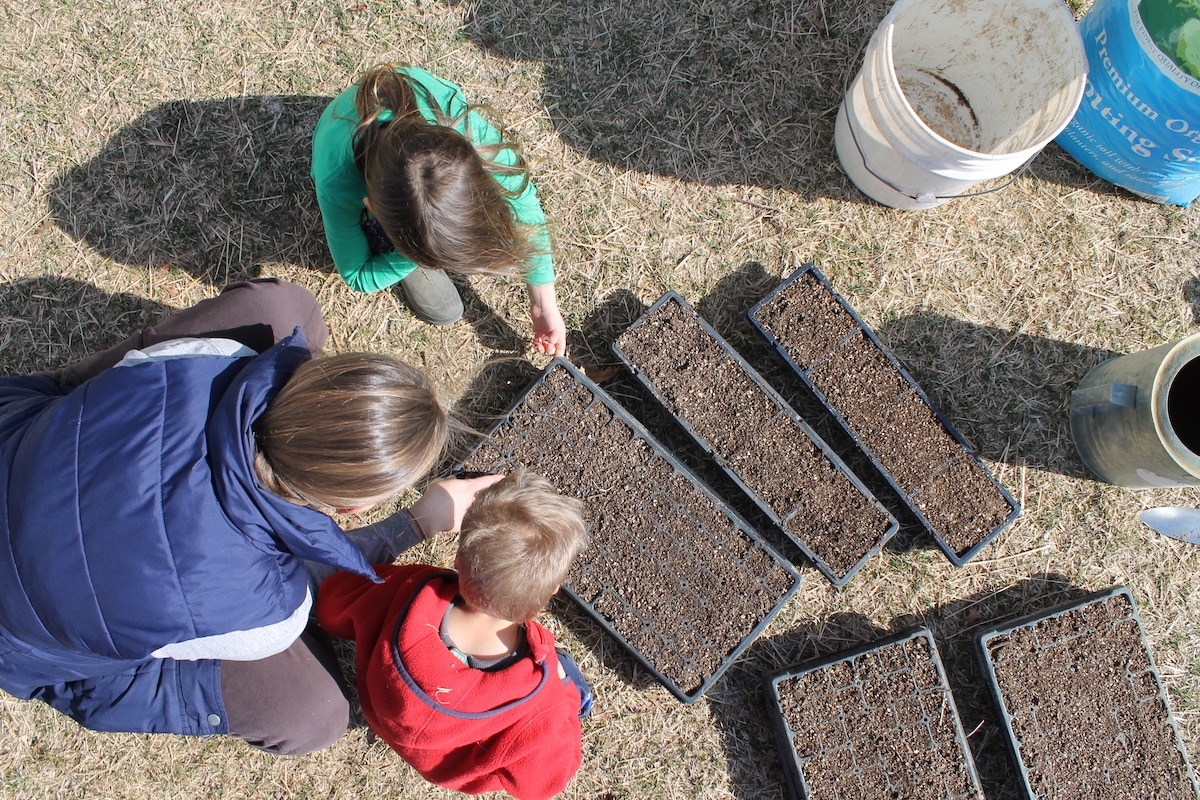
Step 2 – Add potting mix to seed trays. We do this outdoors in a wheelbarrow to not make a mess inside. This post will show you how we do this and make our seed starting mix.
Step 3 – Plant your seeds. First, read the planting instructions of the seed packet you are planting. This will specify the depth at which the seed should be planted. Going one row at at time, use your dibble to poke holes in the seed starting mix in the middle of each cell for each row. Place 2-3 seeds per hole to ensure at least one will germinate. Cover seeds back up with seed starting mix, being sure not to compress soil.
Step 4 – Water as needed. The moisture level in the potting mix should be moist, but not saturated. Watch out for excess water and low temperatures.
Step 5 – Place the humidity dome on top of your tray. Hooray—your seeds are planted!
Other indoor seed starting tips and care instructions:
- You should check your trays daily, if not multiple times a day. Check the moisture level and add water as needed.
- Remove the plastic domes once the seeds are germinated. Occasionally, I will leave the plastic domes off, or prop them up slightly, for some time during the day even before germination for air circulation. Be sure to not leave the dome on too long or mildew or mold may result.
- Consider rotating your seed trays daily or every couple days I’ve found the rows closest to the light source or window can get more natural light than those further away. Rotating trays regularly helps each plant get maximum sunlight and grow straight.
- Nourish your tiny seedlings. Add a couple of tablespoons of apple cider vinegar to your spray bottle. This can aid both seed germination and plant growth.
What if more than one seed germinates per cell?
This will require a process called thinning. A week or two after the seeds germinate, select the healthiest-looking seedling from each cell and snip the other seedlings in that cell with scissors to eliminate it. The reason is that each cell is only made to support one plant. Plus, multiple plants per cell will make transplanting a nightmare down the road after their root structures are intertwined.
If the thinning process makes you sad or seems wasteful, you are not alone. One option is to only plant one seed per cell initially. Then you run the risk of empty cells from seeds not germinating.
As another option, I have occasionally had luck very delicately pulling out extra young seedlings that I would otherwise snip, then transplant them to another cell or pot. It doesn’t always work, but I’ve been able to give many seedlings a second life this way.
How do I prepare my seedlings for transplanting outdoors?
This will require a process called hardening off. Hardening off is the process of bringing your seedlings outdoors to get them used to wind, hot, cold, and other elements.
7-10 days before transplanting, bring your seedlings outdoors. Day one of hardening off, only keep them outside for one hour, then bring them back inside. Each day following, increase the time they are outside by 30-60 minutes. If plants are thriving, increase with more time. If plants are wilty or having difficulty adjusting, increase with less time. Start in a sunny spot, but switching to a partially sunny spot may be necessary if direct sun is too intense for your plants to handle.
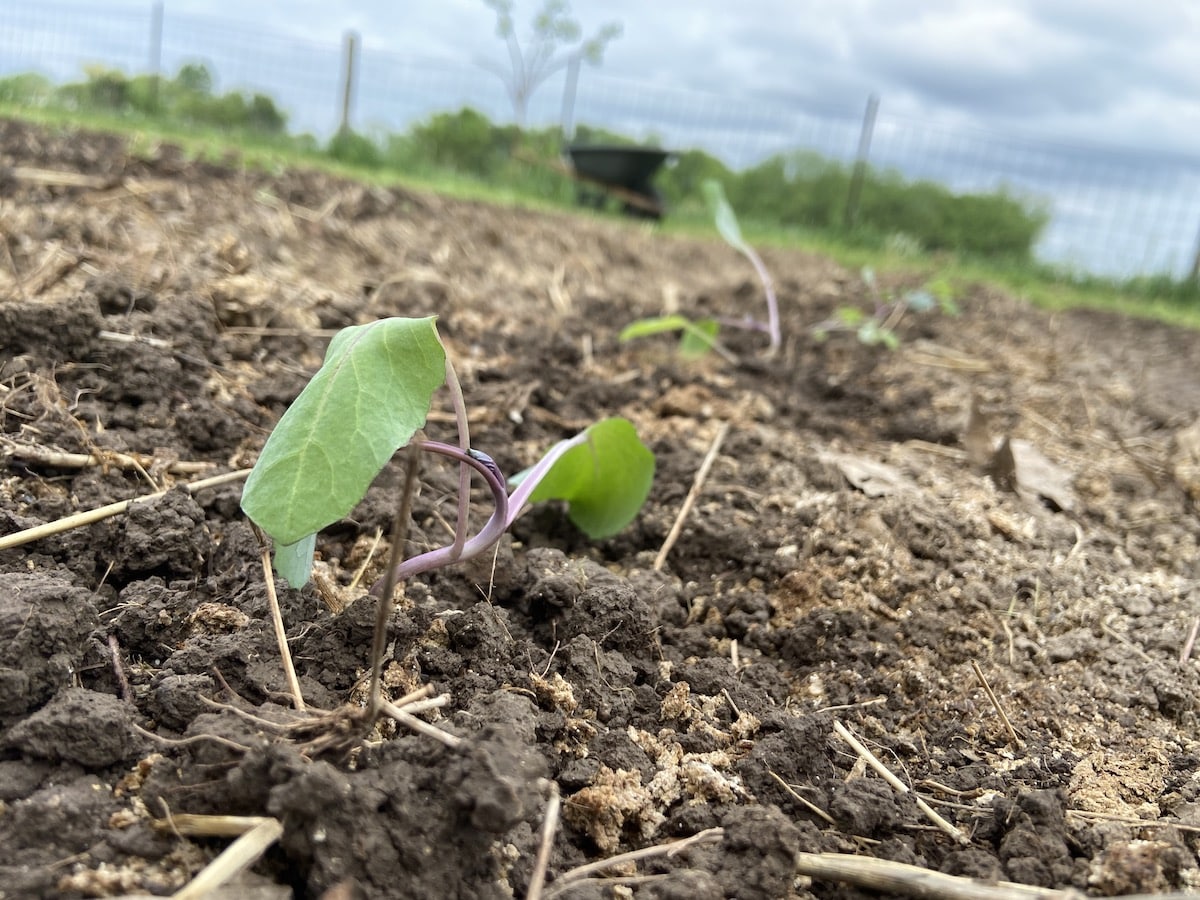
After a week or two of hardening off, your seedlings will be ready to transplant outdoors!
Are there downsides to starting your seeds indoors?
The method we have laid out for starting seeds indoors can save you a lot of upfront investment in equipment and provide a really easy and accessible approach for starting your seeds. But are there downsides?
If you are used to buying robust seedlings from a farmer or a store, the seedlings you grow using this method may not match up. Often, you’ll find they grow leggy, meaning they grow tall with thin stems. This is because, while the sunlight they receive through a window is adequate, it might not be optimal. The result is that the plant stretches itself out very thin to reach for more sunlight. Because so much energy has gone into stretching on top, you might also find less developed root structures below the soil.
That said, we have still had lots of success transplanting our seedlings into our garden using this method. You may need to take a bit more delicate approach during transplanting to protect the young plant. But our seedlings have almost always taken root and grown up to be healthy and productive plants.
Tip: Because your seedlings will likely be more fragile using this method, consider planting extra cells of seeds for each variety you are planting. That way, if you lose a few plants during the transplant stage—no sweat—you’ll have backups ready to go!
This method worked great for us as beginning gardeners just starting out and not wanting to invest in a lot of equipment upfront. But, as we’ve scaled up our gardening we’ve often wondered if we need to upgrade to something that allows for more streamlined transplanting. However, we continue to come back to this method each spring because it is just so simple!

Time to get that garden going!
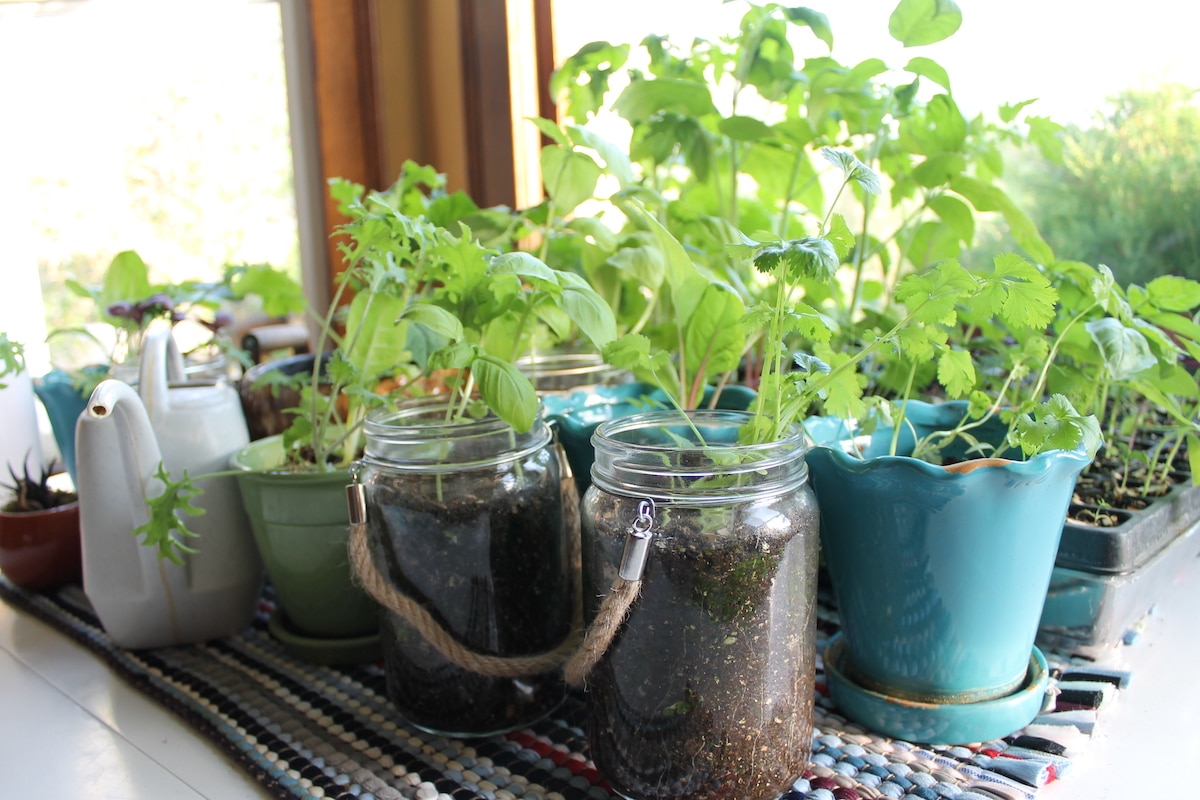
And we forgot to mention the number one rule with gardening—have fun! It is so rewarding watching your sprouts begin to grow and being able to see their progress day by day, or even hour by hour. They bring so much life to your living space each spring after seeing very little green all winter. It’s almost like having an indoor garden again, bringing life and greenery to your living space, after a long winter off!
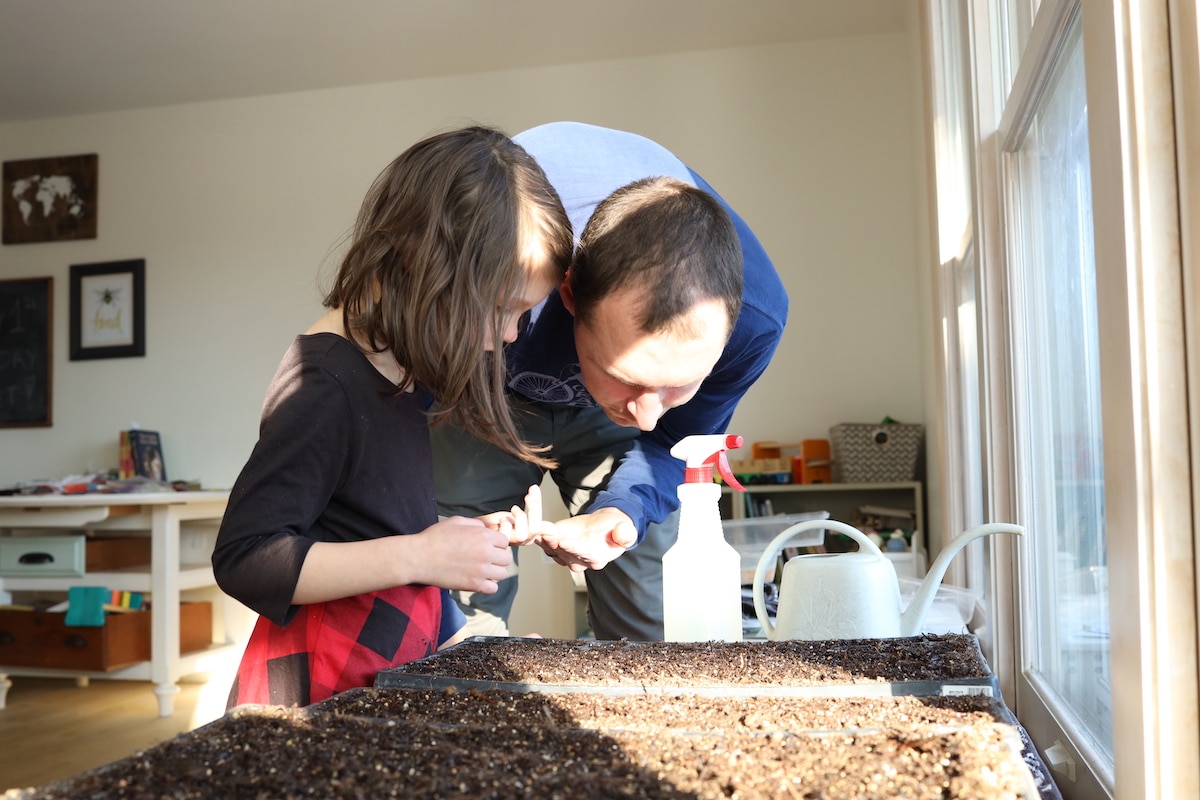
Plus, if you have kids this is such a great way to get the whole family involved in the garden and excited to grow their food. You should have heard the shouts of joy as our daughter announced the first seedlings popping up this week. Hand off the spray bottle to the littles in your life and they’ll want to continue nurturing those plants and enjoy their fruits all through the growing season.
If you take anything away from this post, let it be that you CAN garden and it doesn’t have to be complex. What methods have you tried for starting seeds? Or what questions do you have? We’d love to hear from you below!
Interested in more gardening topics? Check out these posts:
- DIY Seed Starting Mix with Compost
- Benefits of Rural Living on a Homestead
- Beginners Guide to Self Sufficient Homesteading
- Homestead Garden Plan – Year Round Food on 1/4 Acre
Pin it for later!


Which plants do you start indoors and which do you plant seeds straight outside??
Most of the root vegetables we plant straight into the soil – carrots, beets, potatoes, etc. We also plant lettuce and corn directly outside. The rest we pretty well plant indoors – tomatoes, peppers, eggplant, celery. Most herbs we’ll also start indoors. Basil is one we’ve done both ways and it’s grown well either way. We’ve also done kales and chard both indoors and outdoors, but try to start them indoors if we can. Hope that helps!