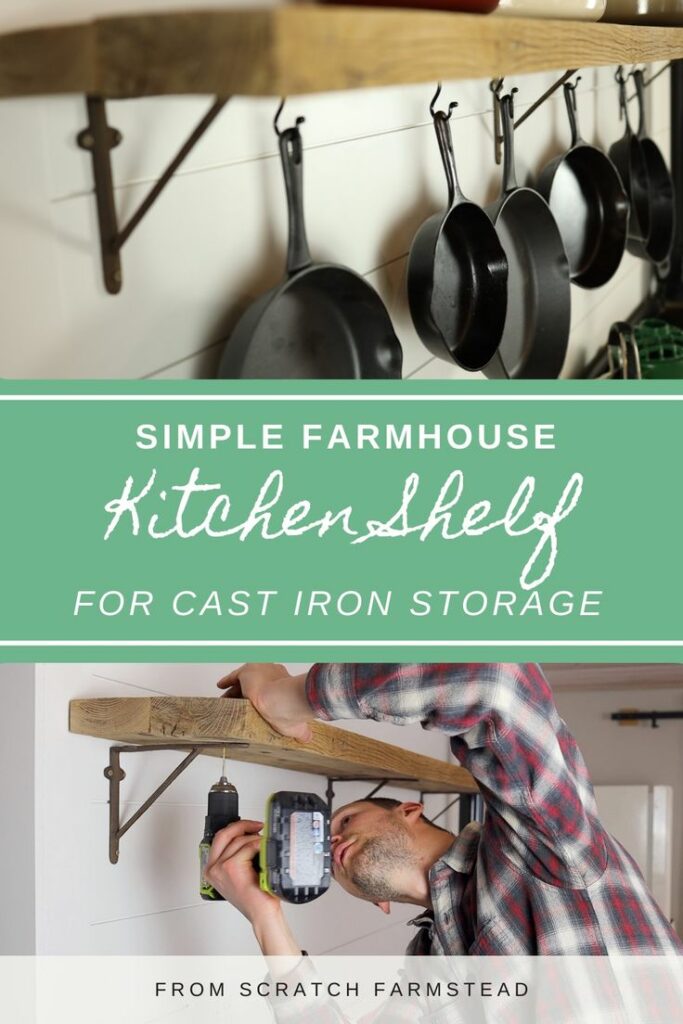
Simple Farmhouse Shelf for Cast Iron Storage
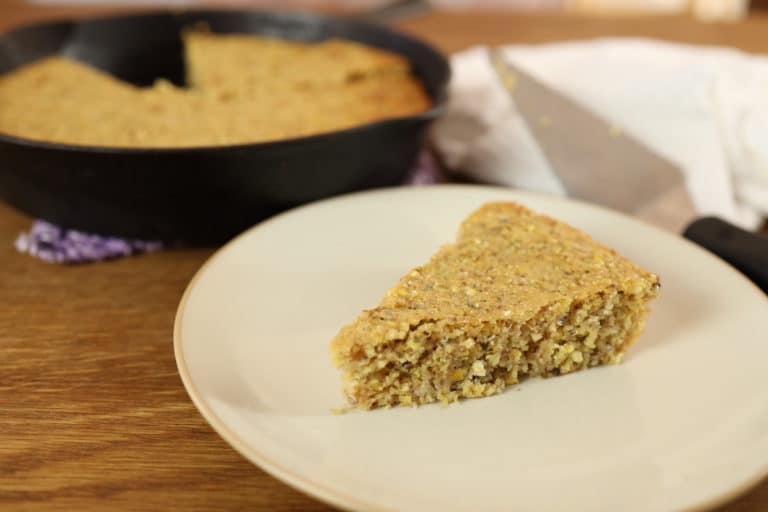
Cooking food from scratch requires the right cooking vessels. Cast iron pans. Enameled dutch ovens. They are big, sometimes greasy, take up a lot of space in cabinets, and need to be easily on hand when duty calls… basically every meal of every day! Our solution – this easy DIY farmhouse shelf that is perfect for cast iron storage. This farmhouse shelf is a great beginner woodworking project, gives that rustic farmhouse charm, and is completely natural and toxic-free!
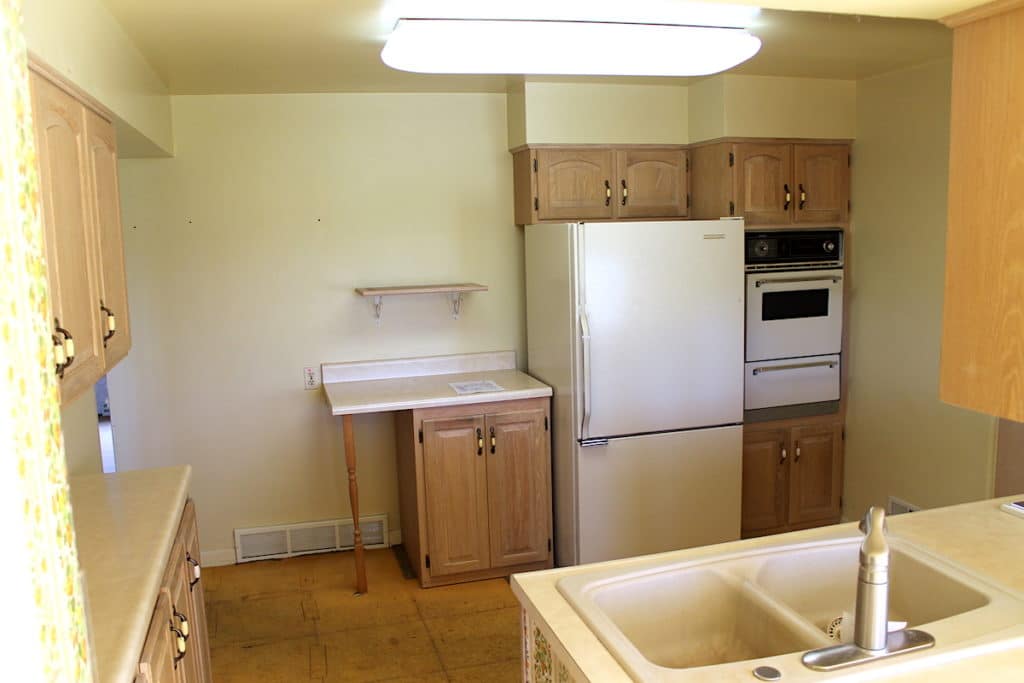
Our 1957 ranch house on our homestead needed some work. We purchased a foreclosure on 5 acres and focused the majority of our efforts on building our dream kitchen. At a garage sale, we found a complete set of barely used kitchen cabinets and installed as many of the base cabinets as we could fit in. But, we were never sold on the uppers and thought there must be a more practical and more aesthetic option for our space.
In the meanwhile, our cast iron collection kept growing! Six cast iron pans. Three Le Creuset’s. Shoving them in the back of the cabinet was a pain. So, most of the time they sat out on the counter and got in the way!
We both spend a lot of time in the kitchen, but Joelle especially. I could tell she had enough of the cast iron shuffle when the only thing she wanted for Christmas this past year was a shelf to store everything on. While I wasn’t quite able to deliver by Christmas, we are feeling so much better about 2022 having this practical farmhouse storage shelf to complete our kitchen.
Will this work in my space?
The great thing about this shelf is that you can adapt it to fit your own needs and your own space. We made ours 6’ long by roughly 12” wide. But a smaller shelf works just as well. All you need is open wall space. And, you can adapt it to repurpose almost any lumber you have on hand or buy your wood of choice.
The top of our shelf sits at 32″ above counter height. This is the perfect height for both of us to reach the shelf and even the largest cast iron pans hang high enough above the counter to not be in the way. But again, you’ll want to play with this height for your space and needs.
What type of wood should I use?
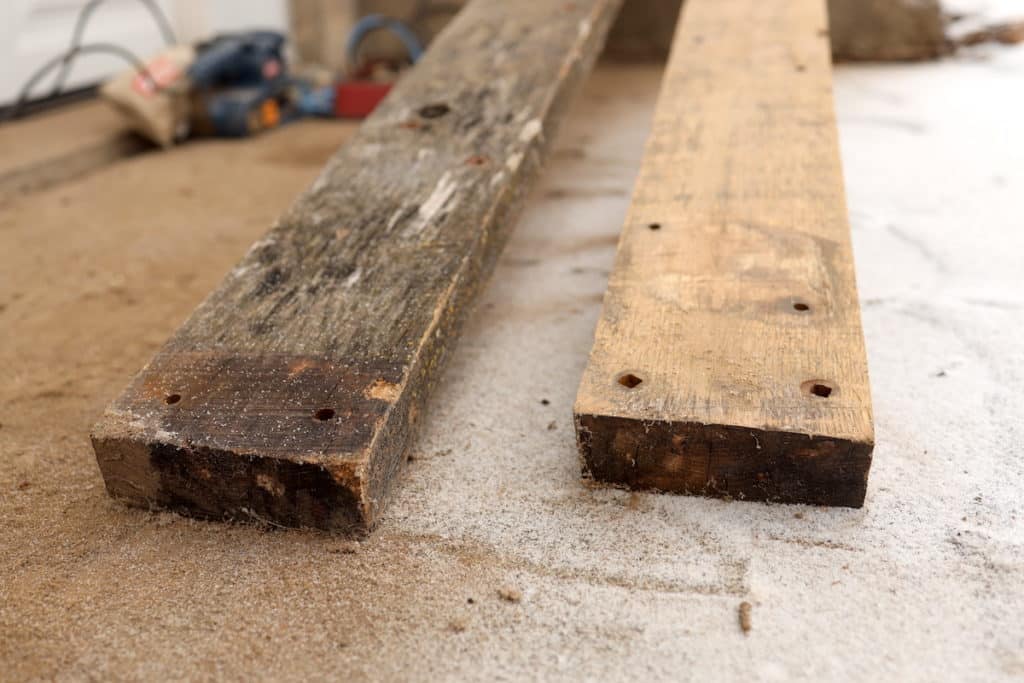
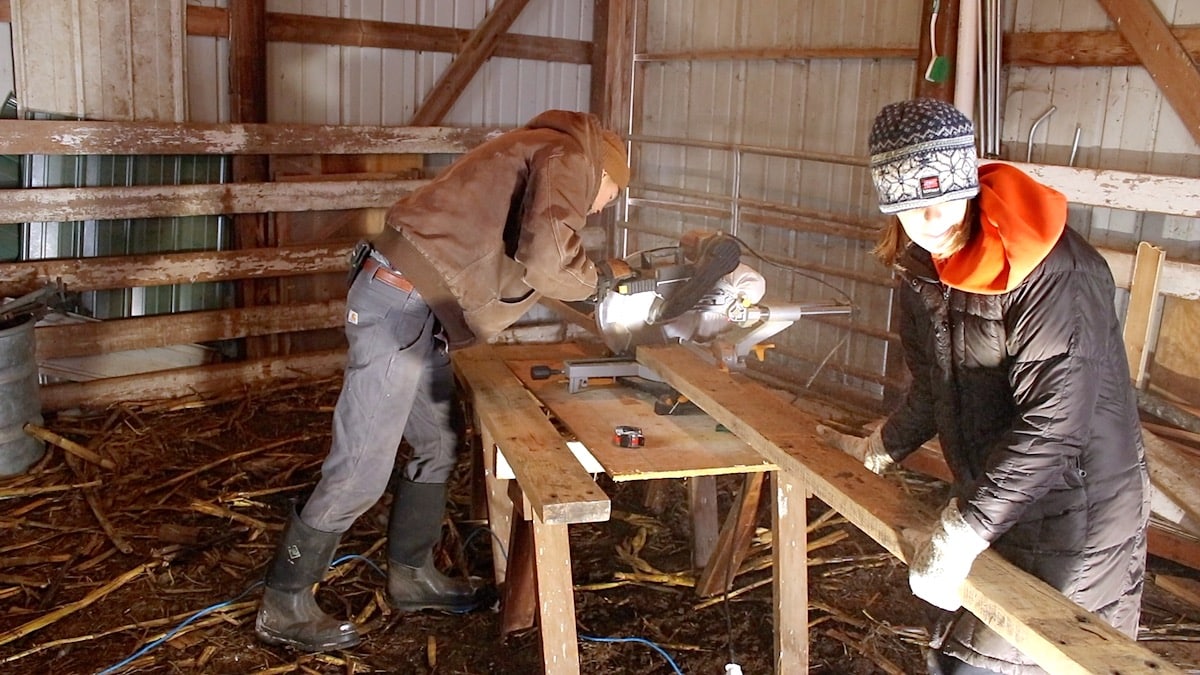
We salvaged some wood off an old Amish hay feeder made of solid white oak. The boards were gray and weathered and had some slight rot spots. But with a good sanding from a belt sander, the boards brightened up and looked as good as new. The bolt holes and rough sawn look provide the perfect authentic farmhouse feel for our space.
Our boards were 2”x6”. Joining two of them together made the shelf about a foot wide, which was the perfect size to set some of our larger dishes on. We also made our shelf 6’ in length. This was the perfect size to hang our six cast iron pans on. It also allowed the shelf to span 5 studs in the wall so the brackets used to hang the shelf could be spaced in a symmetrical way.

You don’t have to use salvaged boards. Any hardwood or softwood 2×6 lumber should work. But it is worth noting that the harder the wood, the heavier the shelf will be and you’ll have a bit trickier of a time getting the bolts through to join the boards together.
When selecting boards, you want to spend some extra time making sure they are straight. This is how you avoid needing fancy tools to cut straight edges. In my case, the boards weren’t necessarily the straightest, but after playing with configuration, I found a layout for the boards that fit together nicely with hardly any gap in the middle.
Or, you can also make it WAY easier and just get a 2×12 board to start.
What if I’m not a woodworker and what do I need?
This is a great project for anyone, regardless of experience, to start! No fancy jointers or planers. No gluing. You can build this shelf with a drill, impact driver, miter saw, some clamps, and a few other miscellaneous tools. That’s it.
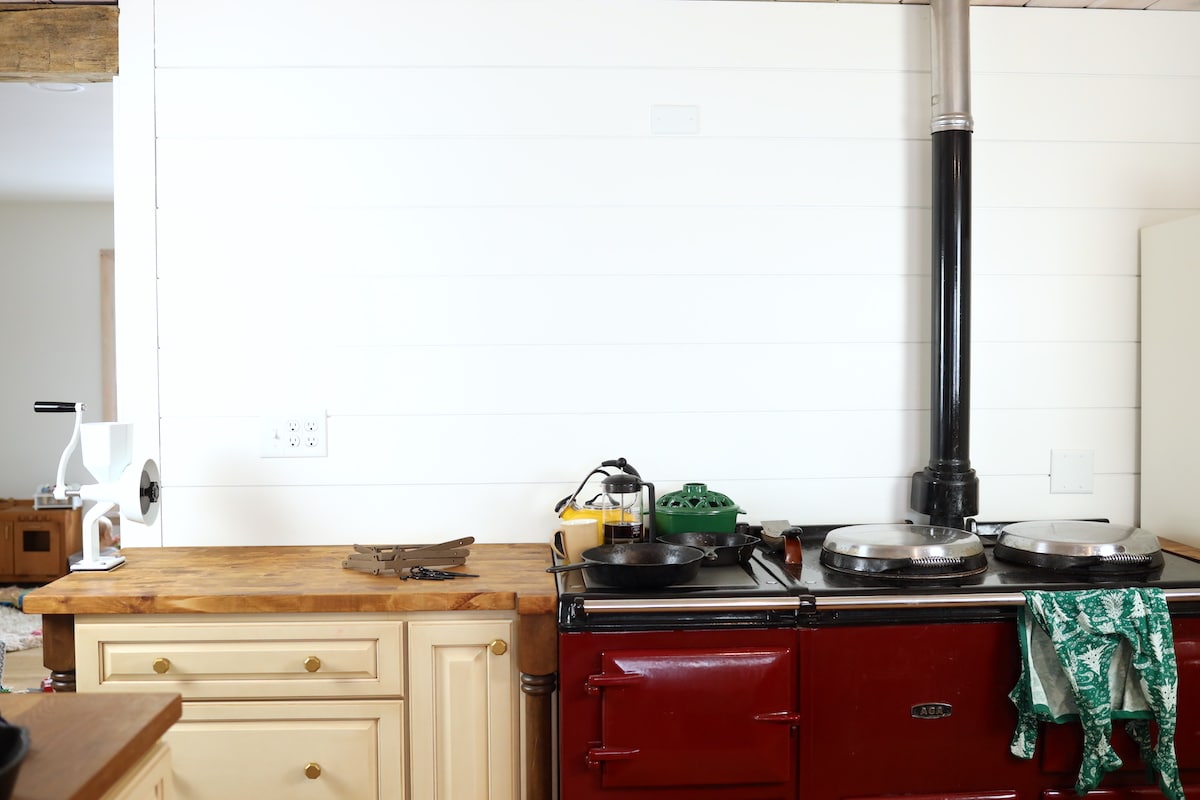
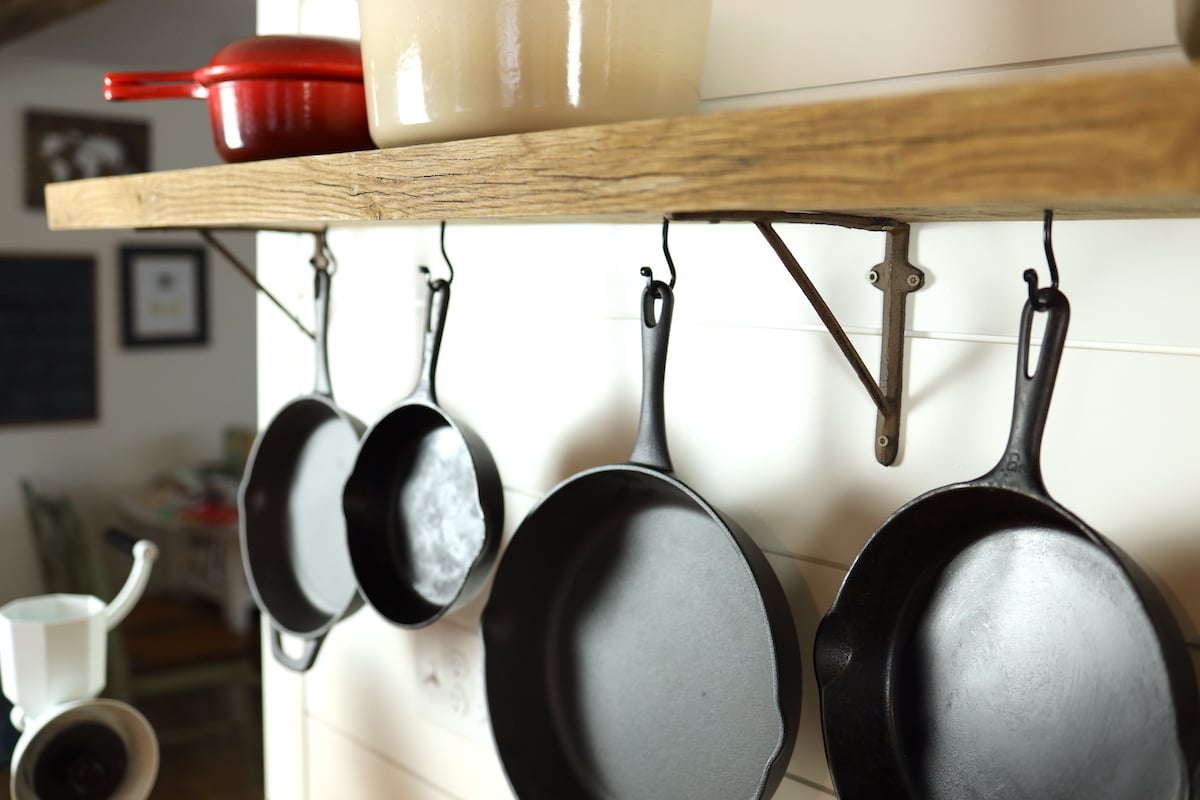
To make it simpler, the boards are supported by these cast iron brackets that both look great and are very secure. I recommend installing them at least every two stud spaces (32”) since they’ll carry a fair amount of weight with the pots, pans, and shelf itself.
On the underside of the shelf, these hooks are the perfect blend of decorative and functional. Our hooks were placed 4” off the wall, which seemed to be the right distance to not bang the pans against your wall but also not feel like they were intruding on your counter space. The middle hook on either side we offset a bit at 5” off the wall which helped the pans hang and not bang into each other. You’ll want to play with the hook locations based on your pan sizes.
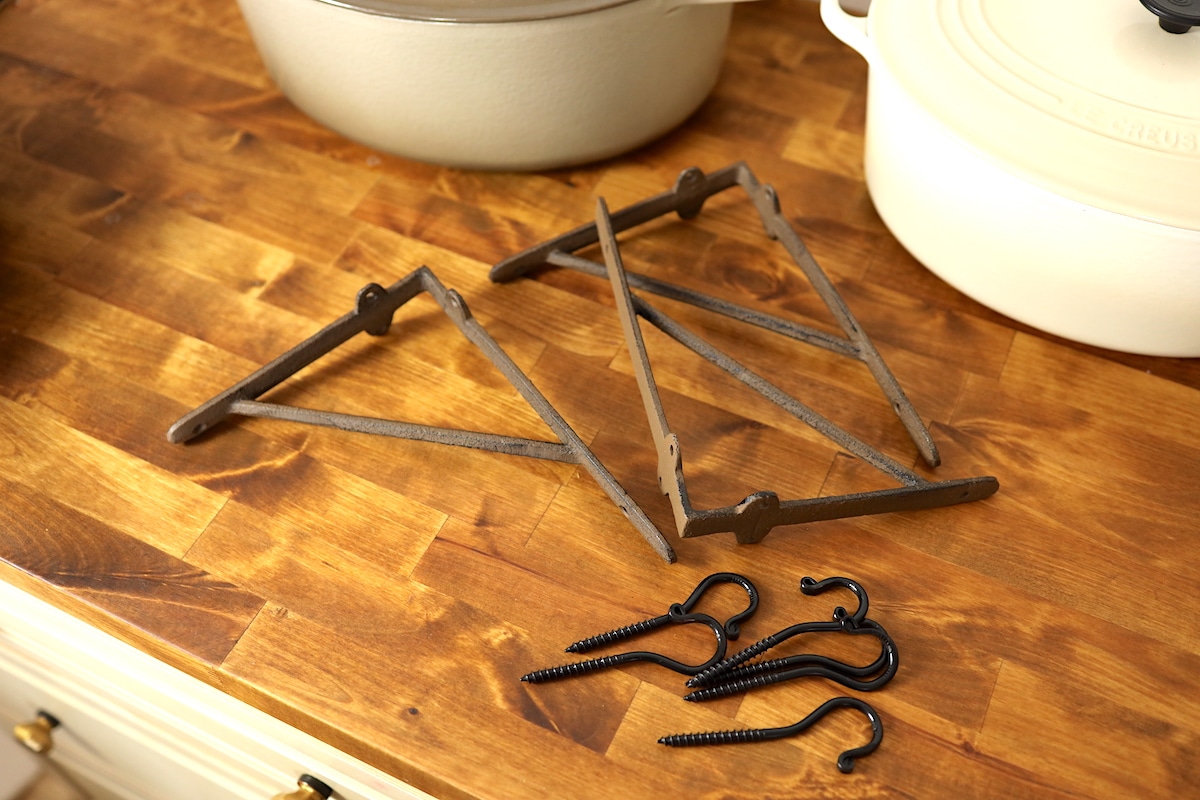
Both the brackets and hooks were handmade, crafted in the USA products that we felt good about supporting and were pleased with the quality of.
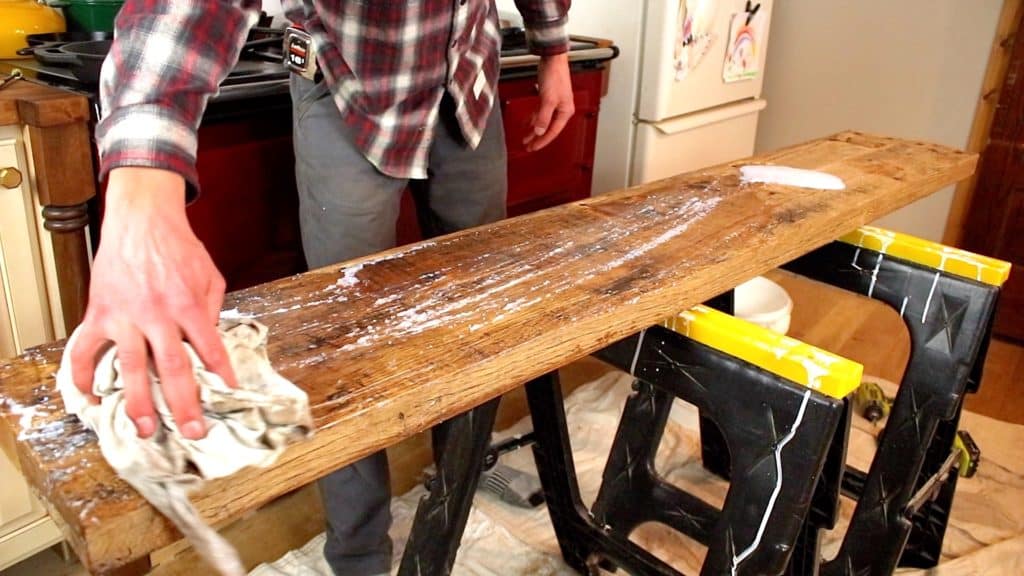
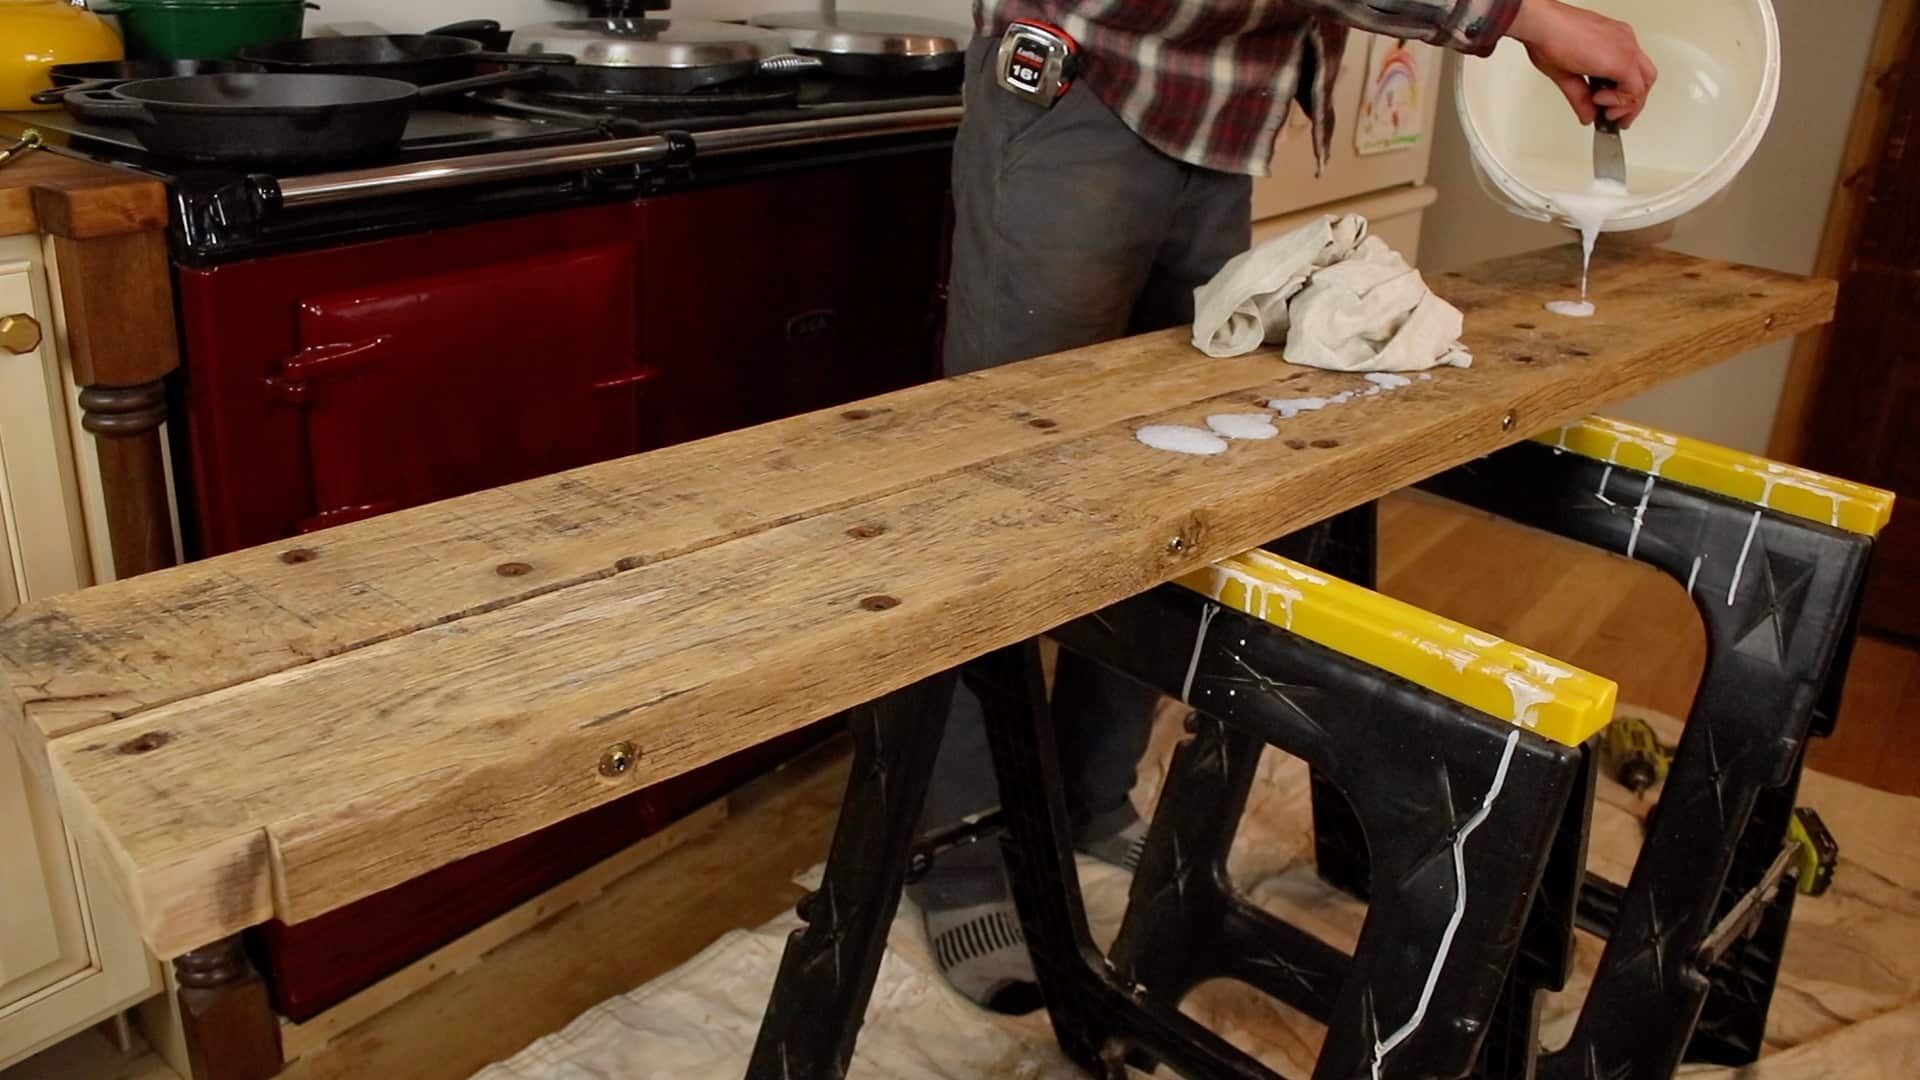
And for the finish, we’ll introduce you to the most foolproof finish method: Soap!
What is the soap finish method in woodworking?
Soap finish is a traditional method of sealing and preserving wood. You’ll read about the Wilders scrubbing down their wood floors with a lye-based soap in Farmer Boy to both clean and restore them to a glistening white. It has a bleaching effect that really brings out the whites and natural tones of wood.
Compared to oil and water-based sealers, both sides have their pros and cons. Soap will not seal against water and moisture like other modern sealers. You’ll want to wipe up water or other liquids before it has a chance to set it. But you also don’t get the yellowing effect that oils and other finishes will give. We really like the toned down, natural look and feel that a soap finish gives.
Other finishes can also be unforgiving if the finish is ever damaged requiring a complete removal of the finish and starting over. Reapplying soap is SO easy. If you ever need to refinish a spot, simply give it a light sanding, and reapply a fresh coat or two of the soap and let it soak in. The wood will be as good as new!
And, it’s 100% toxic-free, which most wood stains and sealers can’t compete with.
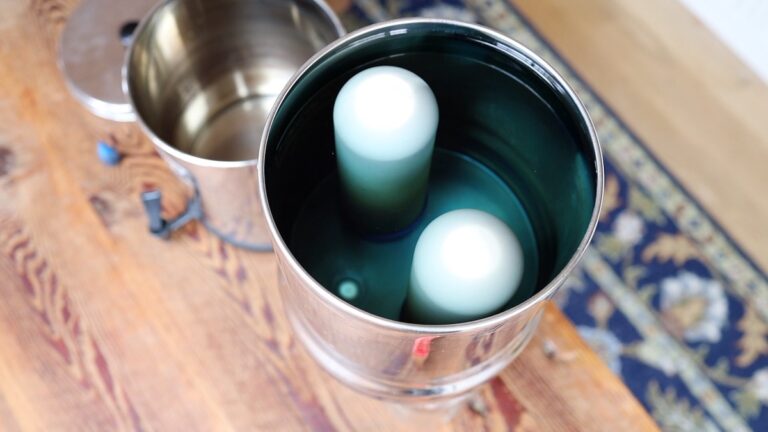
To make your soap finish, simply buy these soap flakes, boil water, then add two tablespoons of flakes per quart of boiling water. One quart is sufficient for this project. Stir it up well, let cool, and this is important – LET IT SIT OVERNIGHT BEFORE USING.
Inexpensive. Foolproof. Safe for your family. And you’ll channel your inner Almanzo Wilder and feel like a true turn-of-the-century woodworker!
Materials List:
- Cast iron brackets*
- Hooks*
- 8” GRK Screws**
- 3” screws (for fastening bracket to wall)
- 1-1/4” screws (for fastening bracket to shelf)
- Soap flakes
* The quantity of brackets and hooks will be determined by your layout and needs. I recommend not going more than two stud spaces (32”) without a bracket.
** GRK Screws are only needed if joining boards. If joining smaller boards you can get a smaller size GRK. And don’t forget to pick up the correct star bit size for the screw.

Tools List:
- Drill
- Impact driver
- Miter saw (or a skill or circular saw will work)
- Bar clamps (quick clamps can work if your boards are straight)
- 4’ level
- Various drill bits*
- 1” spade bit
- Sandpaper or belt sander
- Tape measurer
- Pencil
- Speed square
- Safety glasses
- Stud finder (optional if no other way to locate studs)
- Bucket for mixing soap finish
- Rags and towels for applying soap finish
* I will recommend you pick up a long, thin drill bit to pre-drill the holes when joining the boards. I used a quarter-inch, boring spade bit because that’s what I had. Either way, make sure it’s long enough to go at least 6” into the wood. Otherwise, you’ll give your impact driver a massive work out and spend a lot of time driving in the GRK screws.

How to make your farmhouse open shelf?
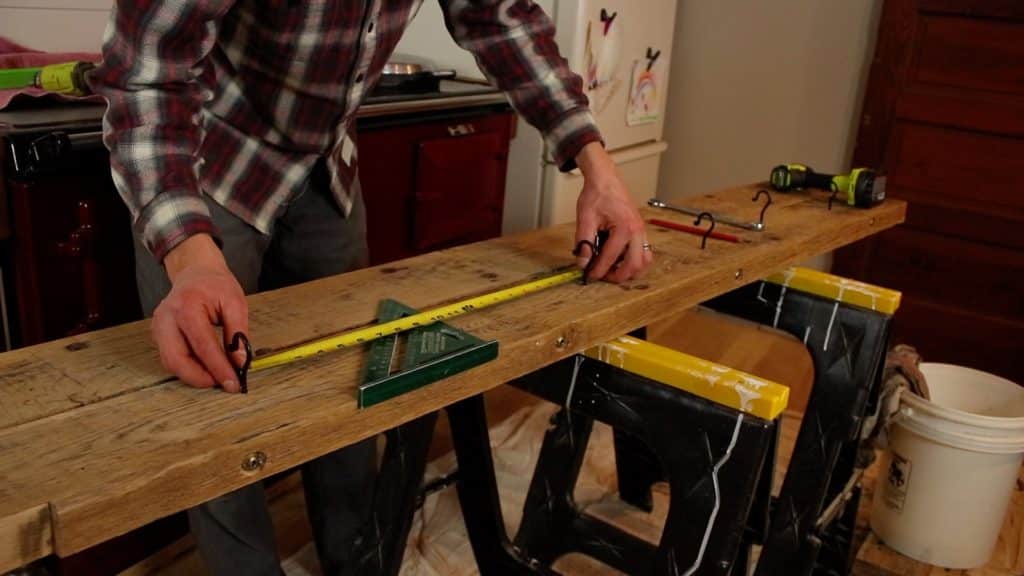
1. Determine the size of your shelf and cut your wood to length with a miter saw or circular saw.
2. Align your boards side-by-side so they line up with little or no gap between them. You may need to rotate the boards and try different configurations to get the best layout.
3. Clamp your boards together securely. You want to spend plenty of time getting this step right. Make sure they clamp nice and straight across. You’ll want a minimum of one clamp in the center and one on each end. You may want to consider placing a scrap piece of wood between your clamp and shelf, so the clamp does not leave impressions in the wood.
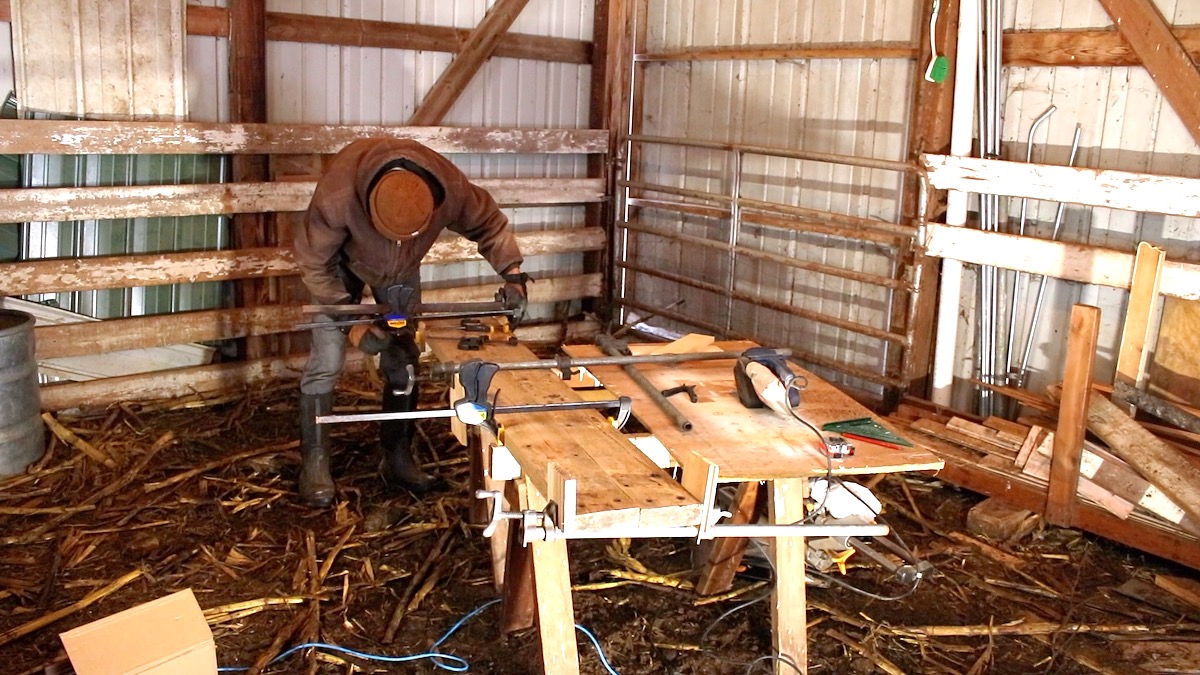
4. Layout where to put your screws for joining the boards. I recommend one at least every 2 ft. Keep them centered on the boards. Use your 1” spade bit to start the hole and go in roughly 3/8” so the head of the GRK screw will be countersunk into the board. This will allow the shelf to sit flush against your wall.
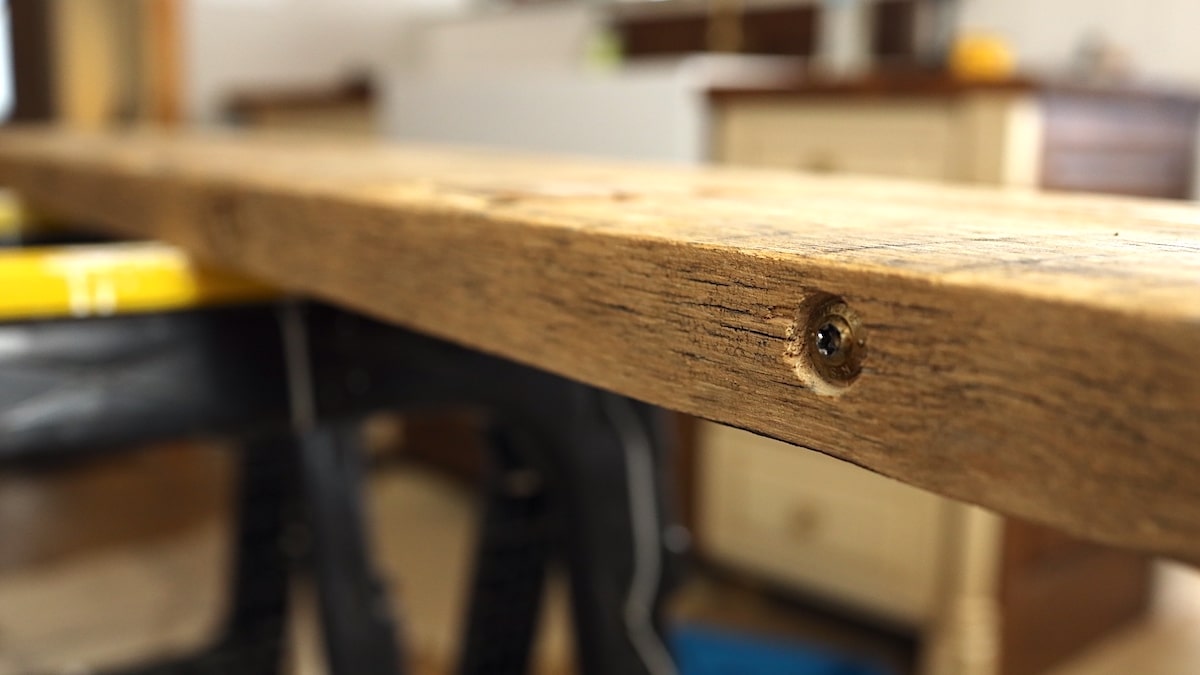
5. Drill a small pilot hole as level and straight as you can. If it’s not straight, the GRK screws runs the risk of popping through the top or bottom of the board. Then switch to your longer, 1/4” drill bit to pre-drill each hole at least 6”.
6. Use your impact driver to install a GRK screw into each pre-drilled hole. You may need to back them out and drive them in a couple times for them to fully screw in. If you are having major issues, back out the screw and go a little deeper with your ¼” drill bit.
7. At this point you can remove the clamps and do any final sanding that is required to level out and finish the shelf. I used a belt sander with 40-grit sandpaper on some of the rough areas and switched to an 80-grit sandpaper to finish the shelf.
8. Apply 2-3 coats of soap finish. Work it with the grain and against the grain for best penetration. Results are best if you let it dry between each coat, but you can do multiple coats simultaneously if low on time. Wipe away excess soap with a towel. Allow about an hour to dry.
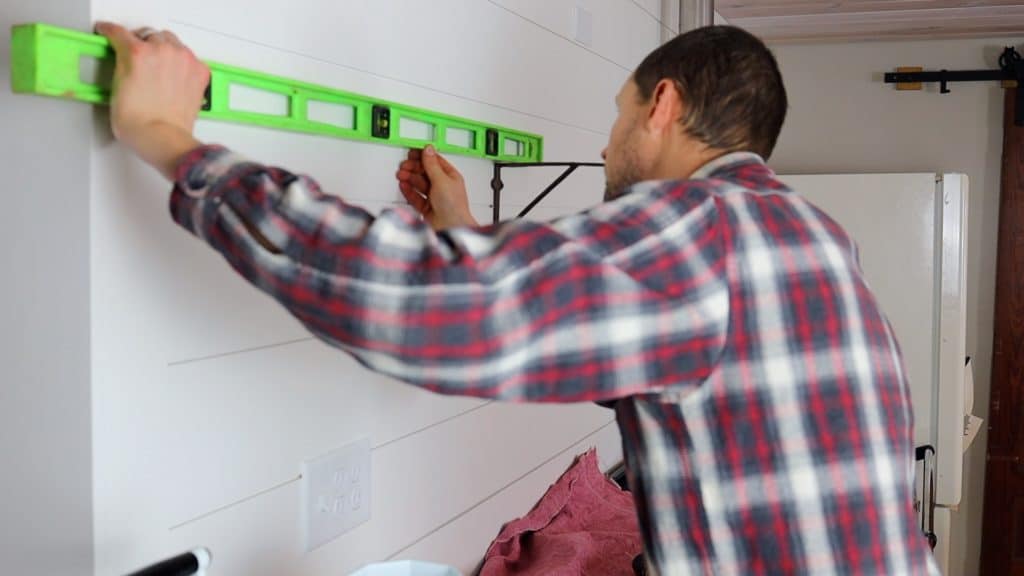
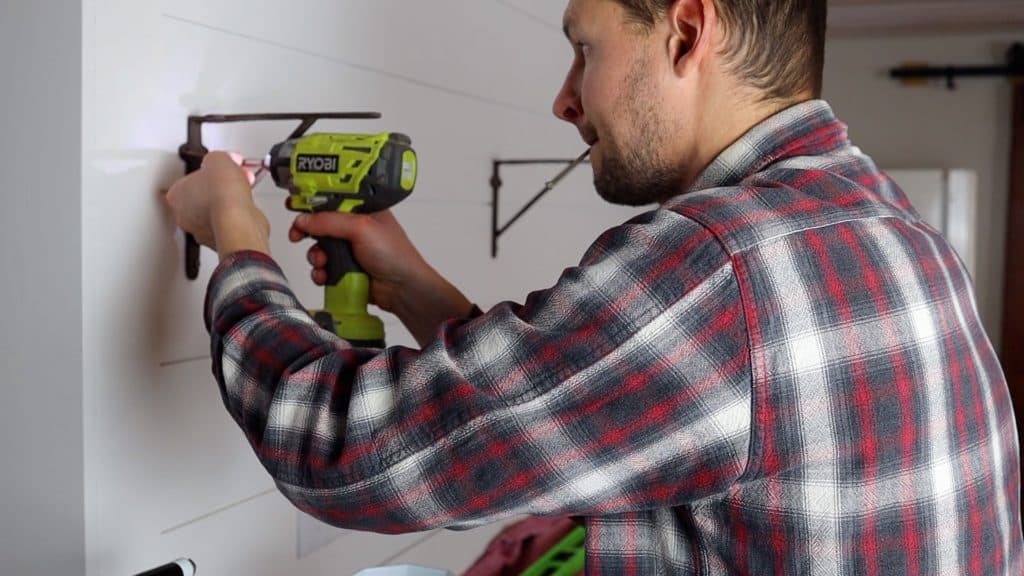
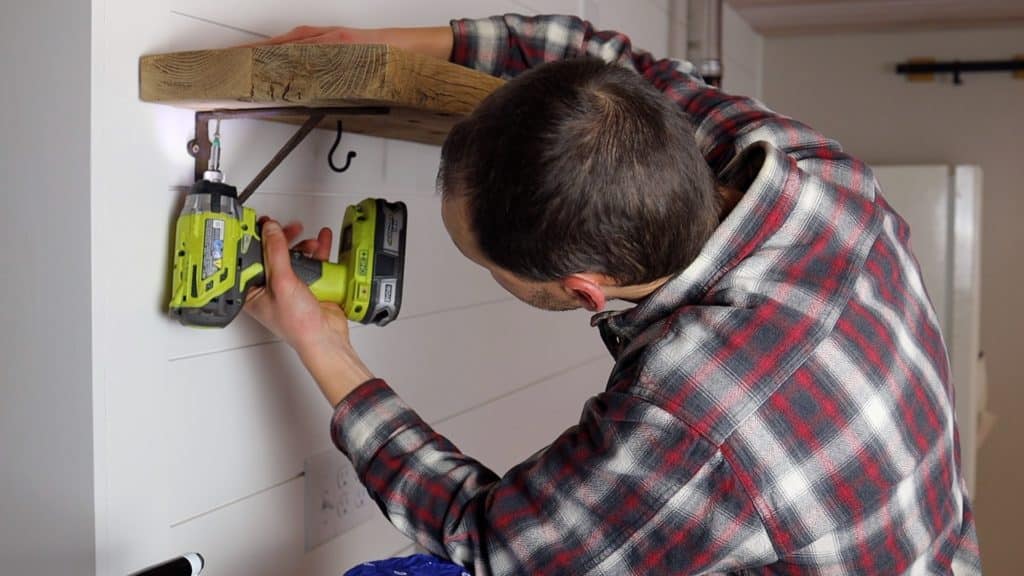
9. Mount the brackets onto your wall securely into studs using 3” screws. Predrill holes prior to installing screws.
10. Place your dried shelf on the brackets and predrill holes for screws to secure the bracket to the underside of the shelf. Also determine your layout for hooks and mark where those will go.
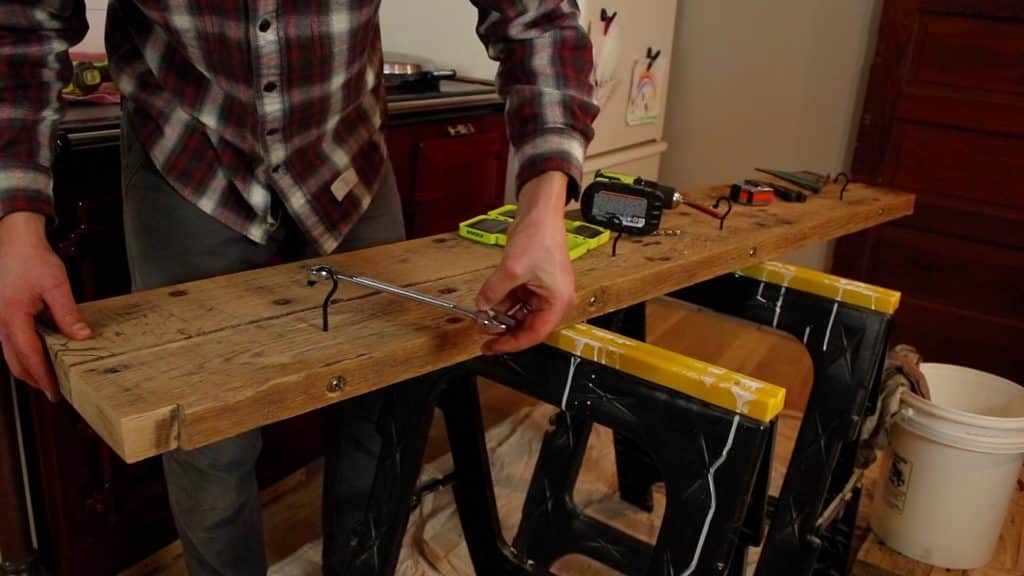
11. Remove shelf and predrill holes where hooks are to be placed. Make sure drill is vertical so the hooks hang straight. Also make sure you assess the depth of your boards to assure you don’t drill through the board. I recommend starting with a smaller drill bit and sizing up until you find the right size bit for the hooks. You don’t want to drill too big a hole so the hook does not screw in tightly. Using a long wrench to help screw in the hooks will save a lot of time and hassle!
12. Place shelf back on brackets and secure the brackets to the underside of the shelf using 1-1/4” screws.
Then go ahead… hang some pans… place some pots… step back and admire your new farmhouse open shelf and say goodbye to the cast iron clutter! This is a project that can be wrapped up in a day and is so rewarding to see the massive change it can bring a space in so little time!
If this is the answer you’ve been looking for in your kitchen, we hope you’ll give this one a shot, and please let us know in the comments if you do! We’d love to hear how it goes or if questions come up.
Some of the above links are affiliate links. This means we earn a small commission on qualifying purchases at no cost to you. We are so appreciative of your support!
Pin it for later!