Breaking Down The Cost Of Chickens For Eggs
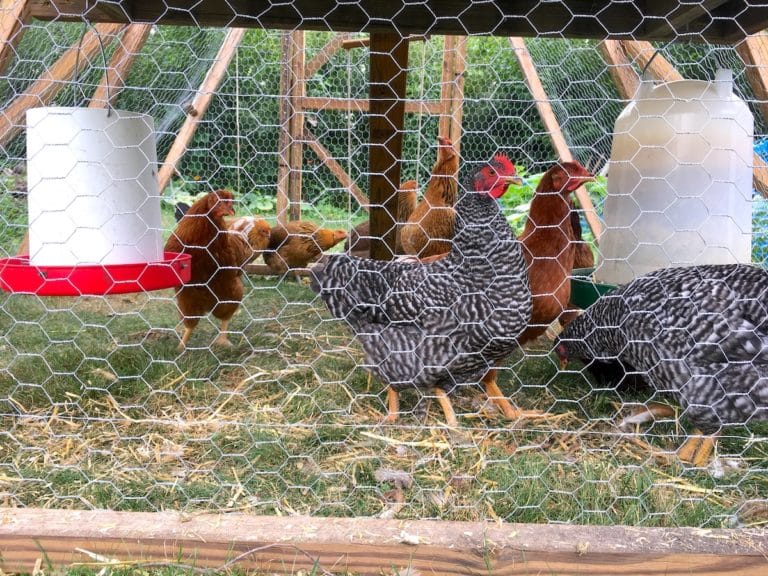
How much do backyard chickens cost? Will they pay for themselves? Can I even make money selling eggs? These are common questions when considering a flock of laying hens. Let’s break down the cost of chickens—both to get started and monthly. Your Cost For Chickens Will Vary Everyone’s costs for raising chickens will be different….