Custom A-Frame Chicken Tractor For (Almost) Free
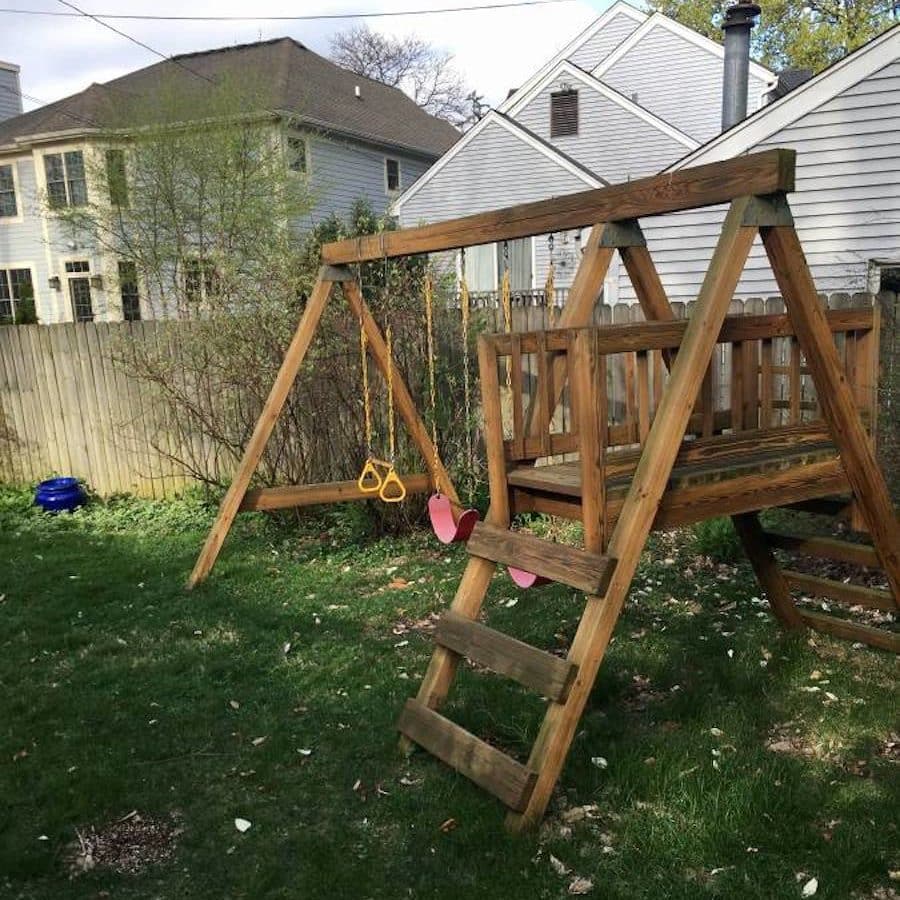
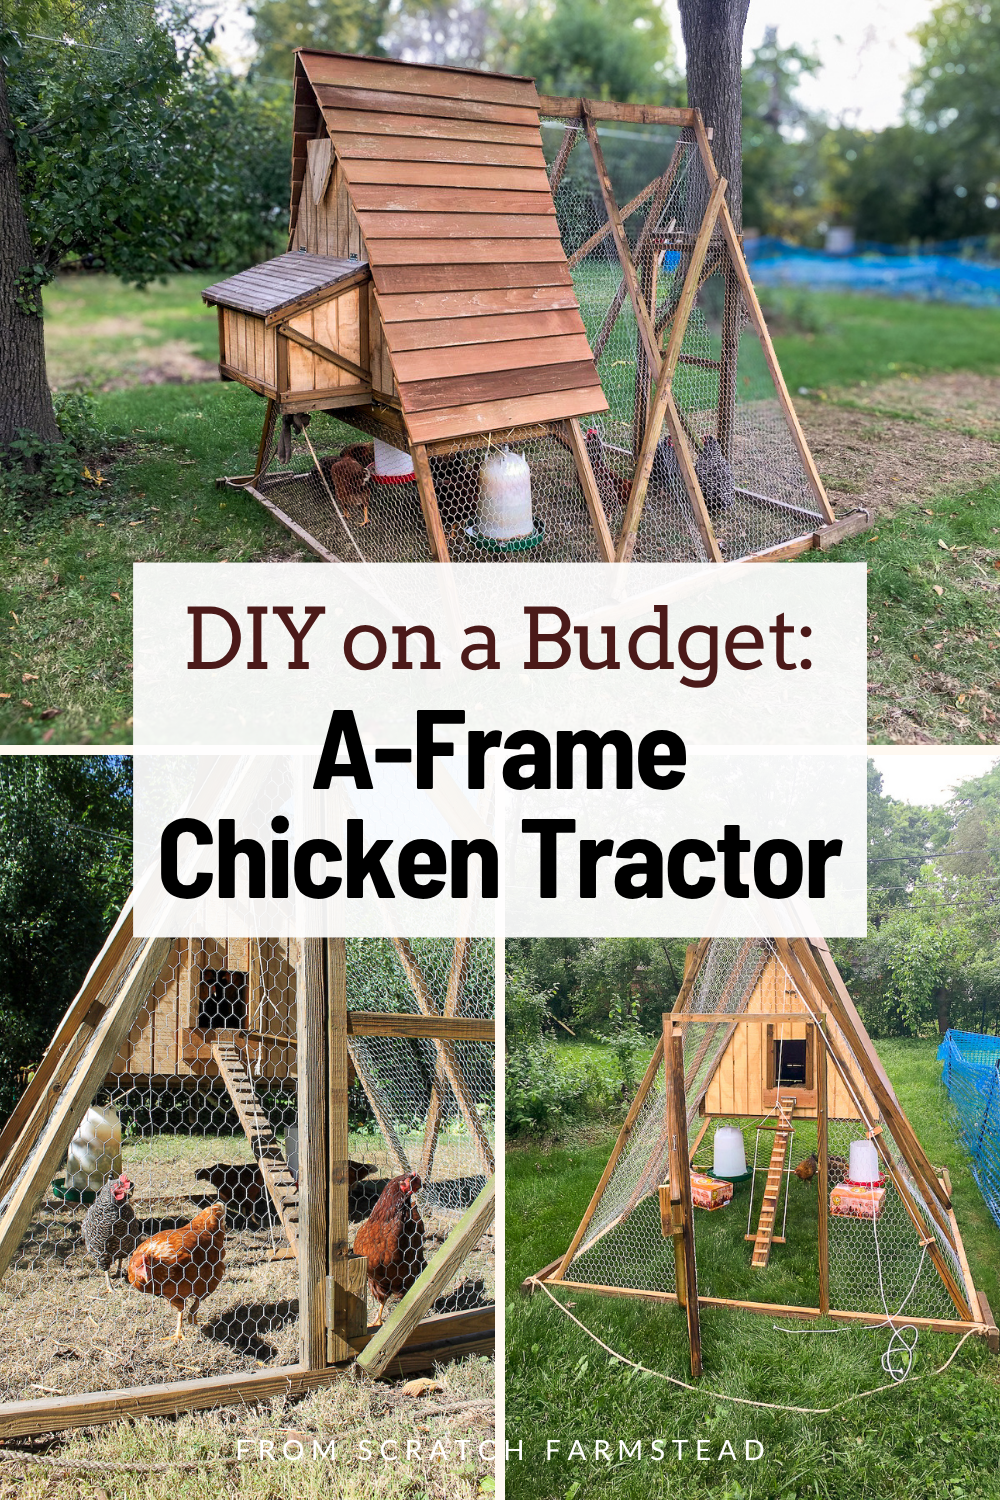
When we wanted to expand our backyard chicken flock beyond our small stationary coop without spending a fortune, it was time to get creative. So, we picked up a used, wooden kids playset for free and transformed it into a mobile A-frame chicken tractor.
This post talks about the benefits of mobile chicken coops and how to build your own custom A-frame chicken tractor for around $150.
What is a Chicken Tractor?
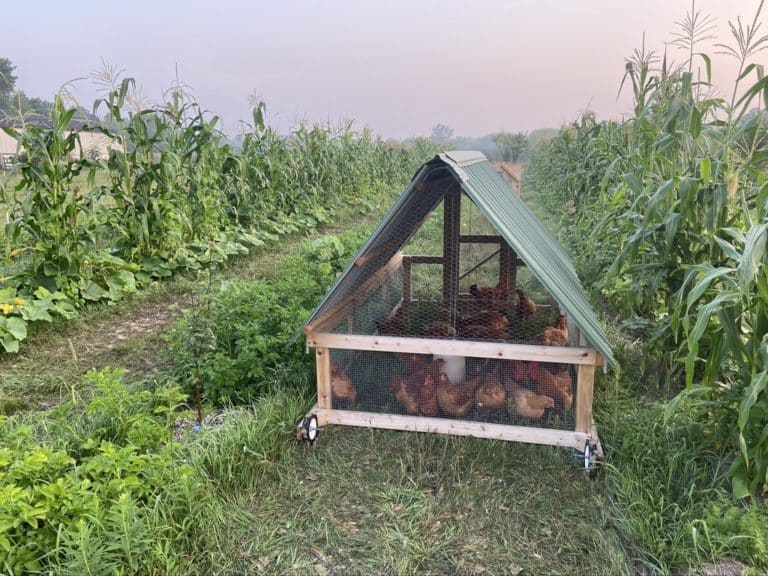
A chicken tractor is simply a mobile chicken coop that is regularly moved to patches of fresh grass. They come in all shapes and sizes (A-frame, rounded, rectangular) and can be constructed using a variety of materials and methods.
The typical chicken tractor design sits on rails (or skids) at the base with an attached rope, bar, or handles used to pull and maneuver the tractor. Sometimes they have the addition of wheels on one or both ends to make this task easier.

Mobile chicken coops have long been used. Here, Laura Ingalls Wilder recounts the moveable coop that Pa had built from Little Town On the Prairie:
“She carried the chicks in her apron, to set them one by one into the coop that Pa had already made. It had a front of laths, to let in air and sun, and a little door with a wooden button to fasten it. It had no floor, but was set on clean grass that the chicks could eat, and when the grass grew trampled and dirty, the coop could be moved to fresh grass.”
Beyond moving chickens regularly onto fresh grass, chicken tractors offer many benefits. Let’s look at those.
Benefits of a Mobile vs. Stationary Chicken Coop
Our homesteading journey began with 6 laying hens in our suburban backyard. We kept them in a stationary coop that was a kit from Costco. It was bare bones. But it worked and allowed us to easily get started as backyard chicken keepers.
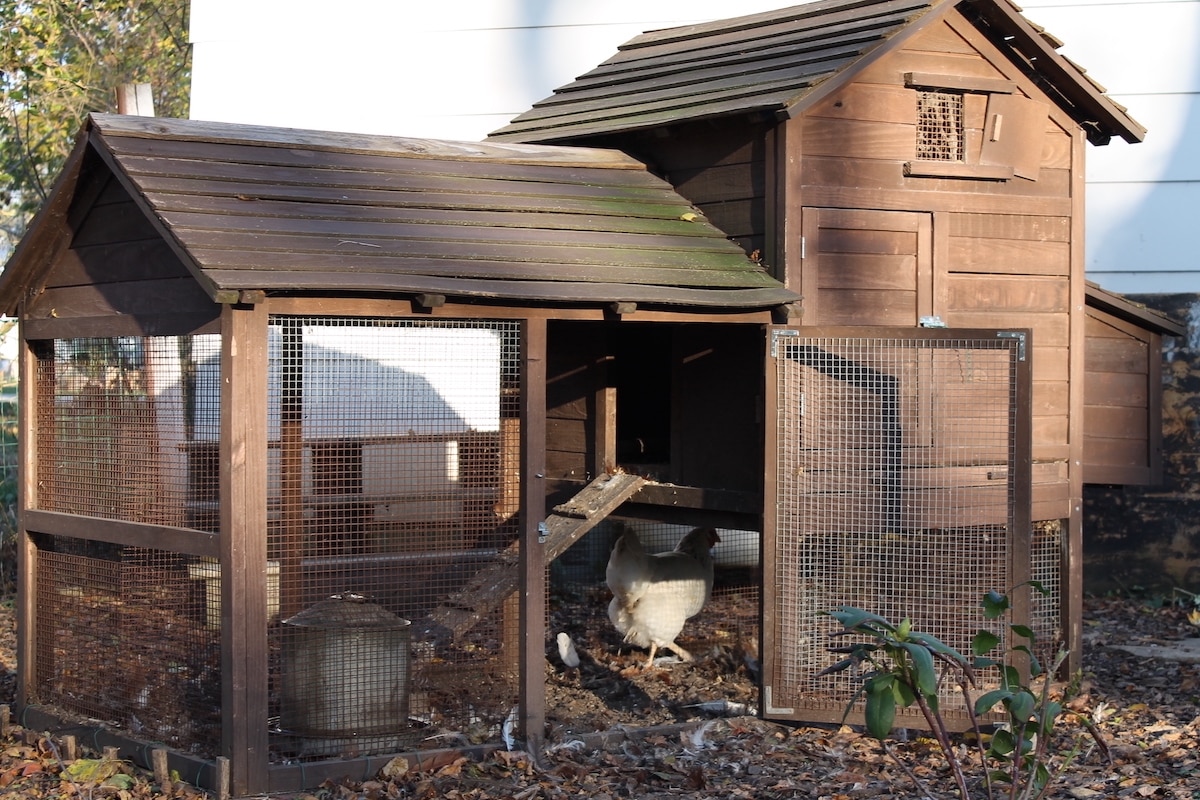
A couple years in, we started to see some of the challenges and limitations of that stationary coop:
- It was tight (for us and chickens!)
- Needed frequent cleaning.
- Increased predator pressure while free ranging.
- Trouble keeping free ranging chickens contained to only our yard.
- And then the difficulty of trying to wrangle the chickens back into the coop during the day when we needed to run out somewhere.
Our video on stationary vs. mobile coops gives a more thorough breakdown of the pros and cons of each and what we ran up against.
But, because of some of those cons of the stationary coop, we decided to venture into the world of mobile coops, or chicken tractors.
Here’s a quick list of the benefits a chicken tractor can offer:
Fresh grass! Chicken tractors are typically moved onto fresh grass each day giving your gals new forage opportunities.
Large run. Tractors come in all shapes and sizes, but often have a larger footprint offering space for chickens to move about.
Easy access. A-frame chicken tractors are tall making maneuvering inside them for daily chores like food and water more manageable.

Safe & secure. Your chickens have many of the benefits of free ranging with less risk of predators getting to them.
Urban friendly. Whether you’re often on the go or have close proximity neighbors, your chickens stay in one place and keep your mind at ease.
Less mowing. My personal favorite—when appropriately moved and managed your chickens will mow down your lawn for you while also fertilizing it!
A-Frame Chicken Tractor FAQ’s
Before we get into how to build your own custom A-frame chicken tractor, you’ll want to make sure it’s the right fit for you, your lot, and your flock. Here are some frequently asked questions:
How much land do I need for a mobile chicken coop?
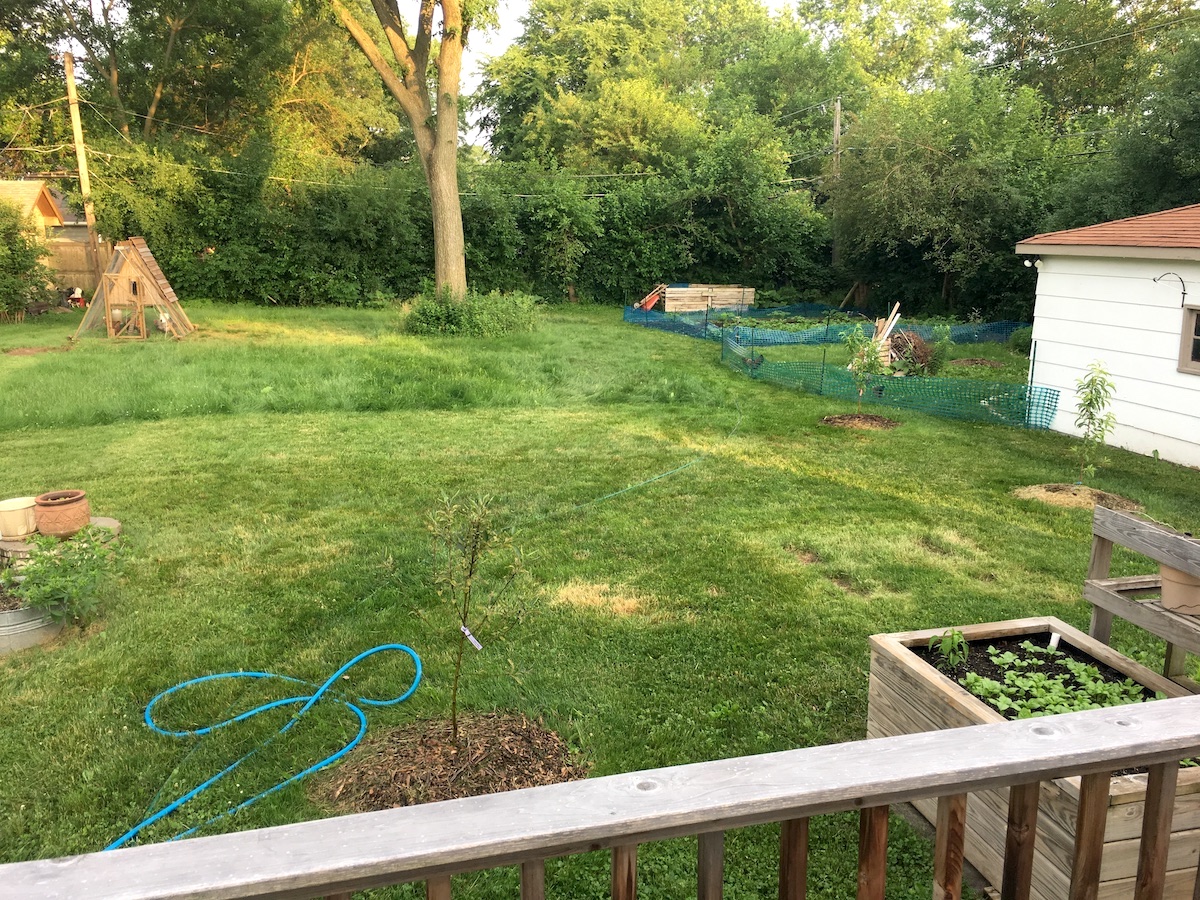
There are several factors that will play into this including the size of your tractor, how many chickens you have, and your yard space. We had our tractor on our 1/3 acre lot, which felt plenty spacious. The minimum time for grass to regrow is 30 days. And it is typically best to move your tractor onto a fresh patch of grass every day. Based on this, my recommendation would be to size your tractor to allow at least 30 moves through your yard before being brought back to its starting point.
How many chickens can I fit in my chicken tractor?
Chickens need anywhere between 4-8 square feet of run space per bird to be happy, healthy layers that aren’t cramped. So, step one is deciding the appropriate size of your backyard flock and then building a chicken tractor to suit. We recommend getting a lesser quantity of chickens to start and increasing as able over time as opposed to maxing out your space right away.
Can I let my chickens free range with a chicken tractor?
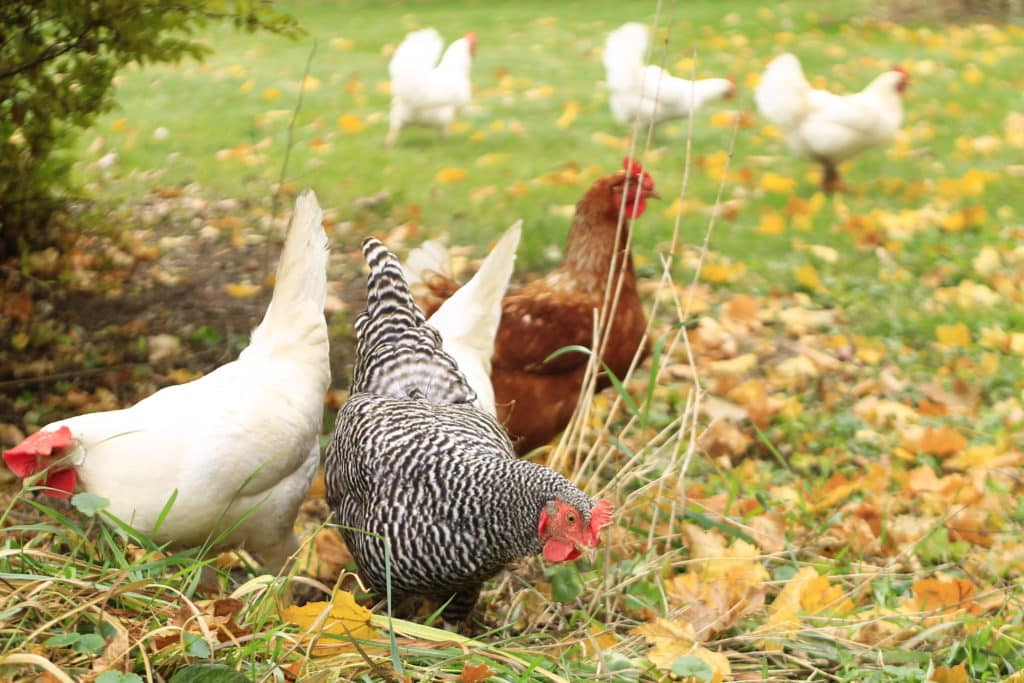
Yes, you certainly can! Just because the coop is designed to move while still keeping your chickens contained doesn’t mean the door needs to stay shut. If you’re comfortable with them free ranging and have a good setup to do so, then have at it! We would still let ours free range as much as possible if we were at home and keeping watch on them. But, for many of the reasons already mentioned, keeping the chickens in the tractor most of the time was the perfect option to keep our chickens safe and happy in our suburban backyard.
What about predators?
We never lost a chicken to a predator in our chicken tractor or our stationary coop. With the stationary coop, we were able to dig down and run hardware cloth underneath it to keep predators from digging under the coop. However, the bottom is obviously exposed in a mobile coop. But, most predator pressure comes at night when the chickens have retreated to the enclosed area of the tractor. This means, if you design the enclosed area to keep predators out and make sure they are securely locked up each night, then your flock will likely stay well protected.
How To Build an A-Frame Chicken Tractor From a Kids Playset
Many stationary coops come as a kit or prebuilt. Mobile chicken tractors, however, are much less common to come by and few plans for them exist. Therefore, you will likely end up building your own custom tractor—like we did!
This post is not an exact A-frame chicken tractor plan to follow. Rather, it can give you the inspiration and general guidance to build your own custom A-frame chicken tractor. And do so at a very low cost.
Here’s what you’ll need to start.
Materials
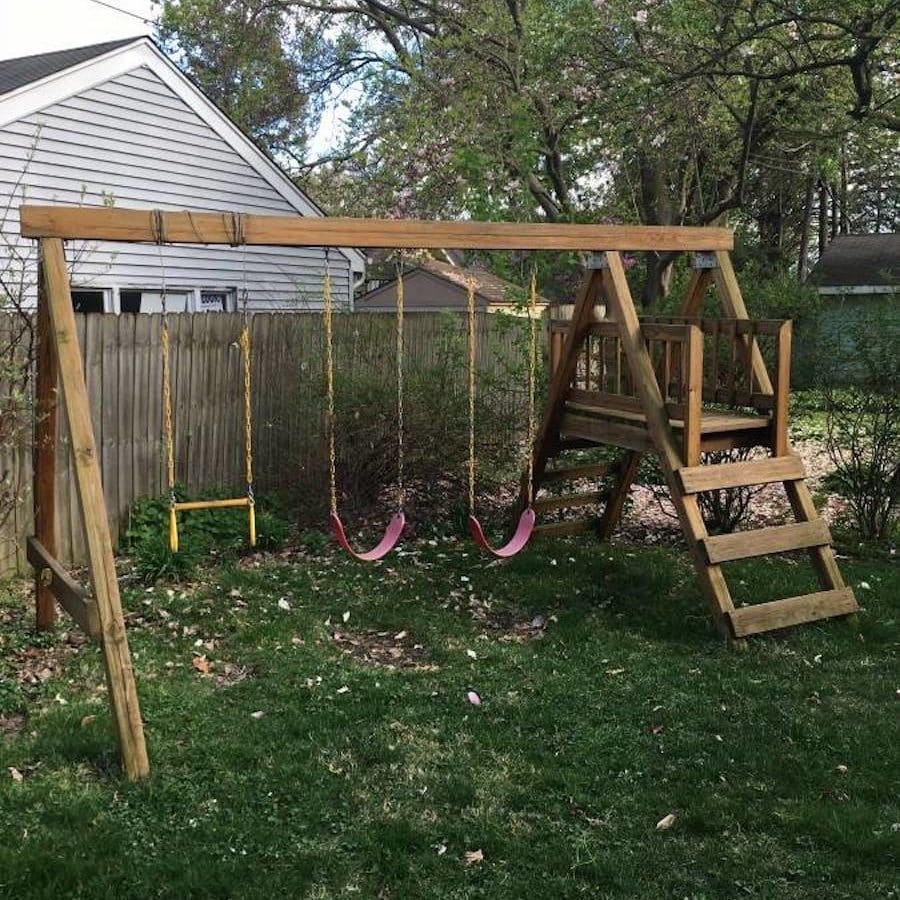
Kids Playset – This project gives you the added bonus of up-cycling lumber from a used children’s playset to give it a second life. If you search for playsets on Craigslist or FB Marketplace there are usually TONS of options. And many are free! Look for something simple with an A-frame design for swings and other playset accessories. This will give you enough lumber for the majority of your chicken tractor.
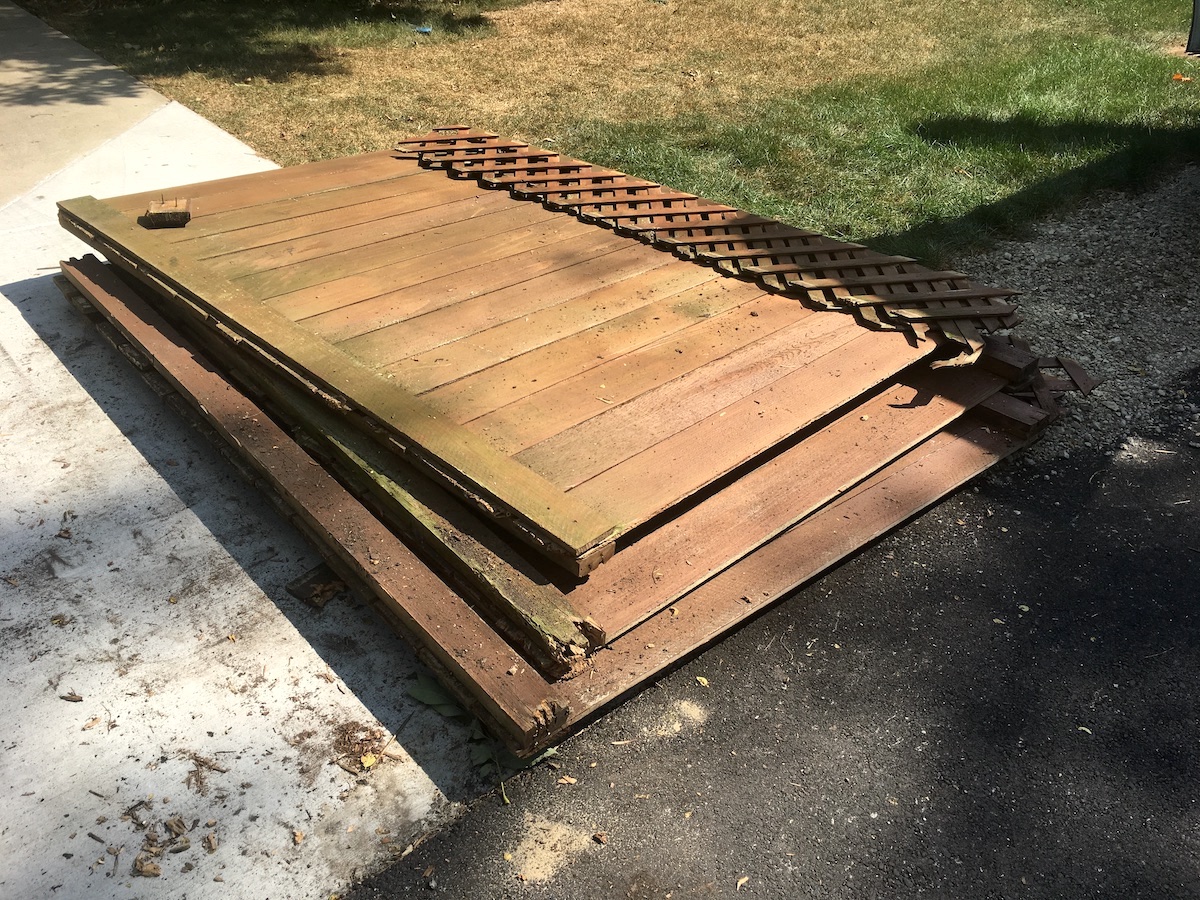
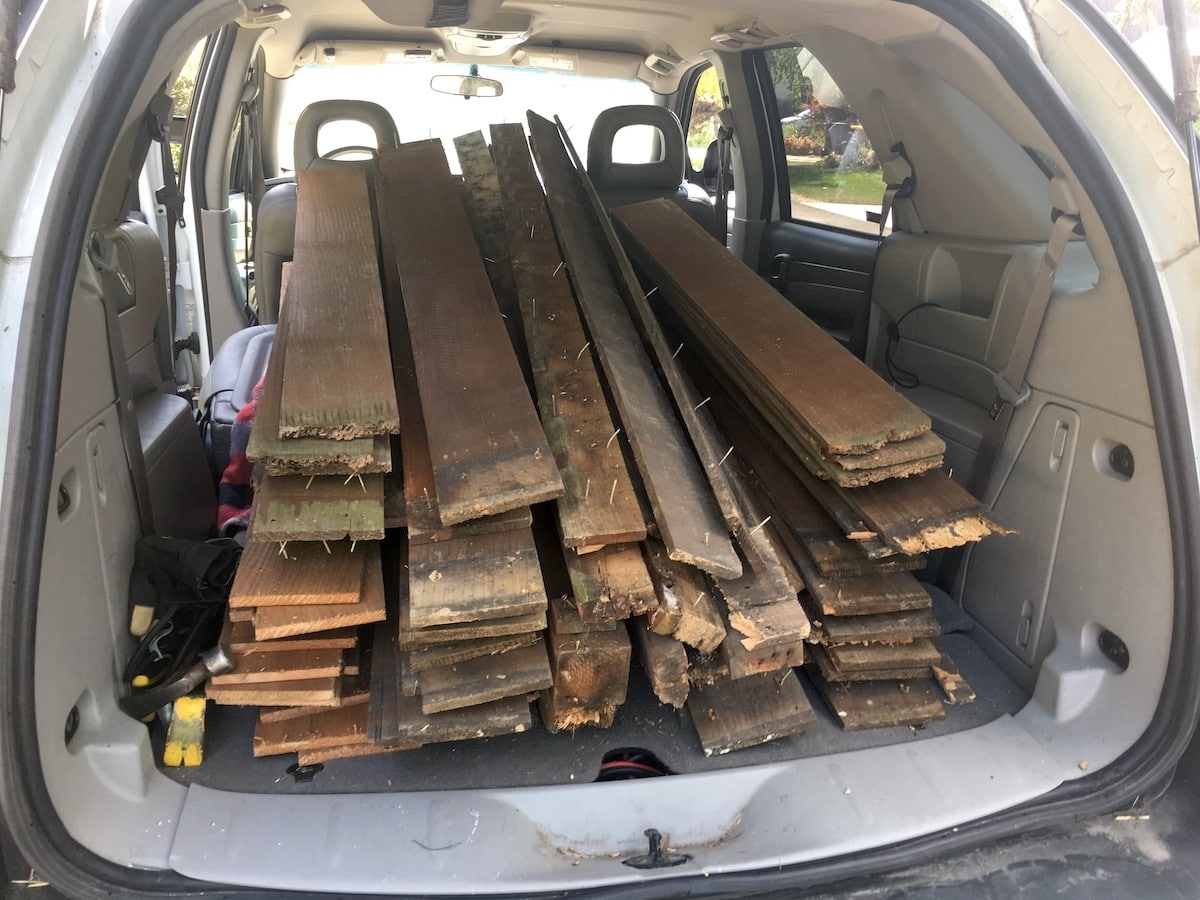
Roofing – If the playset doesn’t already have roofing, you’ll need to come up with a material option for roofing. We found used cedar fencing that someone had listed for free, removed the pickets, and lapped them as roofing. You can also use metal or PVC panels, asphalt shingles, or any other waterproof material that will stand up to outdoor use.
Siding – Some playsets may give you the siding you need for the enclosed coop section and nesting boxes. Ours did not. So, I picked up a 4×8 sheet of 3/4” exterior plywood that I used for the enclosed coop area and laying boxes.
After tracking down those main materials, you’ll need a few other things.
Here’s a more complete materials list:
Lumber from playset
Roofing
Siding
Chicken wire
Wire cutters
Hinges & latches
Wheels (optional)
Rope
Various sizes of exterior grade construction screws
Tools
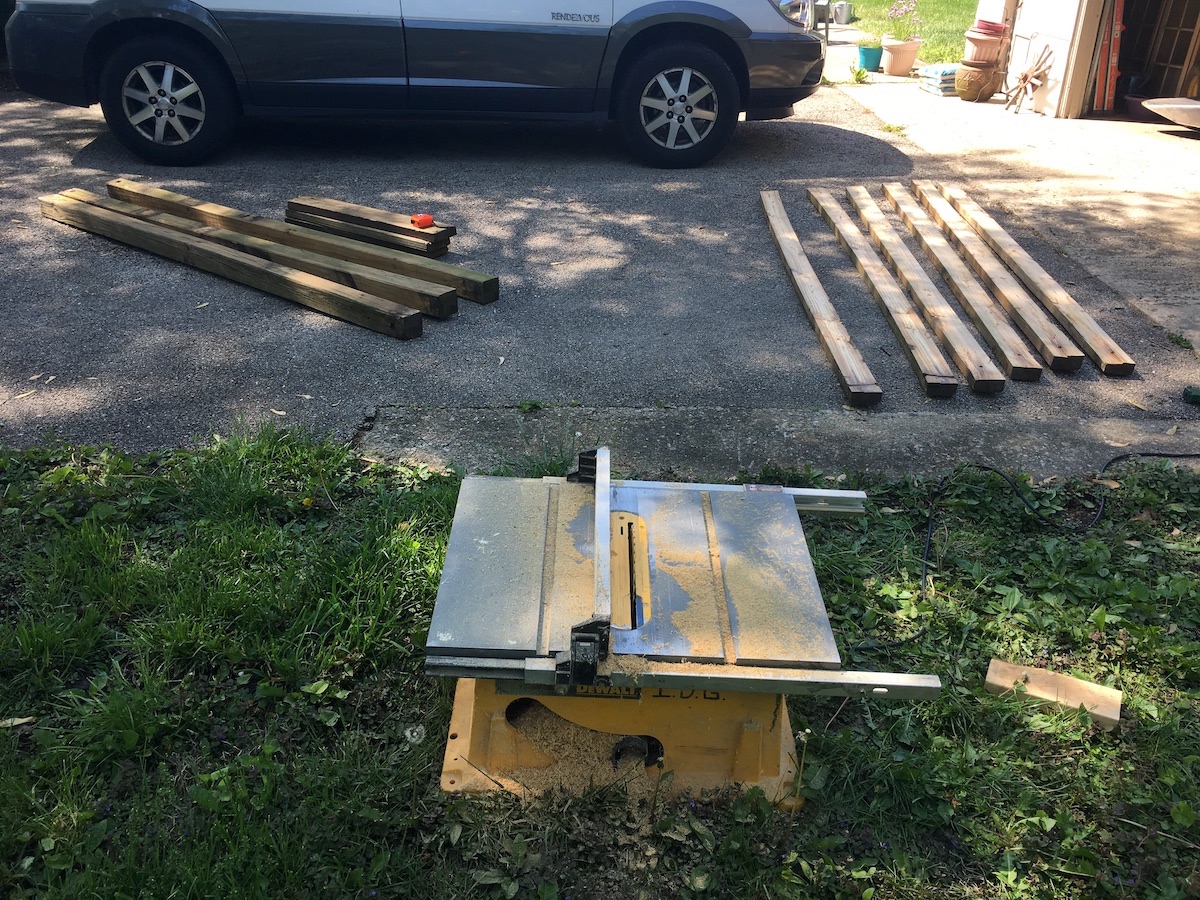
Most playsets will be made with 4×4 posts. These are beefy and will be too heavy to construct a mobile coop out of. Therefore, I took those 4×4’s and cut them lengthwise, or ripped them down to smaller sizes. A table saw makes this task so much quicker and easier. But, you can also do it with a circular saw if that is what you have. Likewise, a miter saw will makes some angled cuts easier. But they can also be achieved simply with a circular saw.
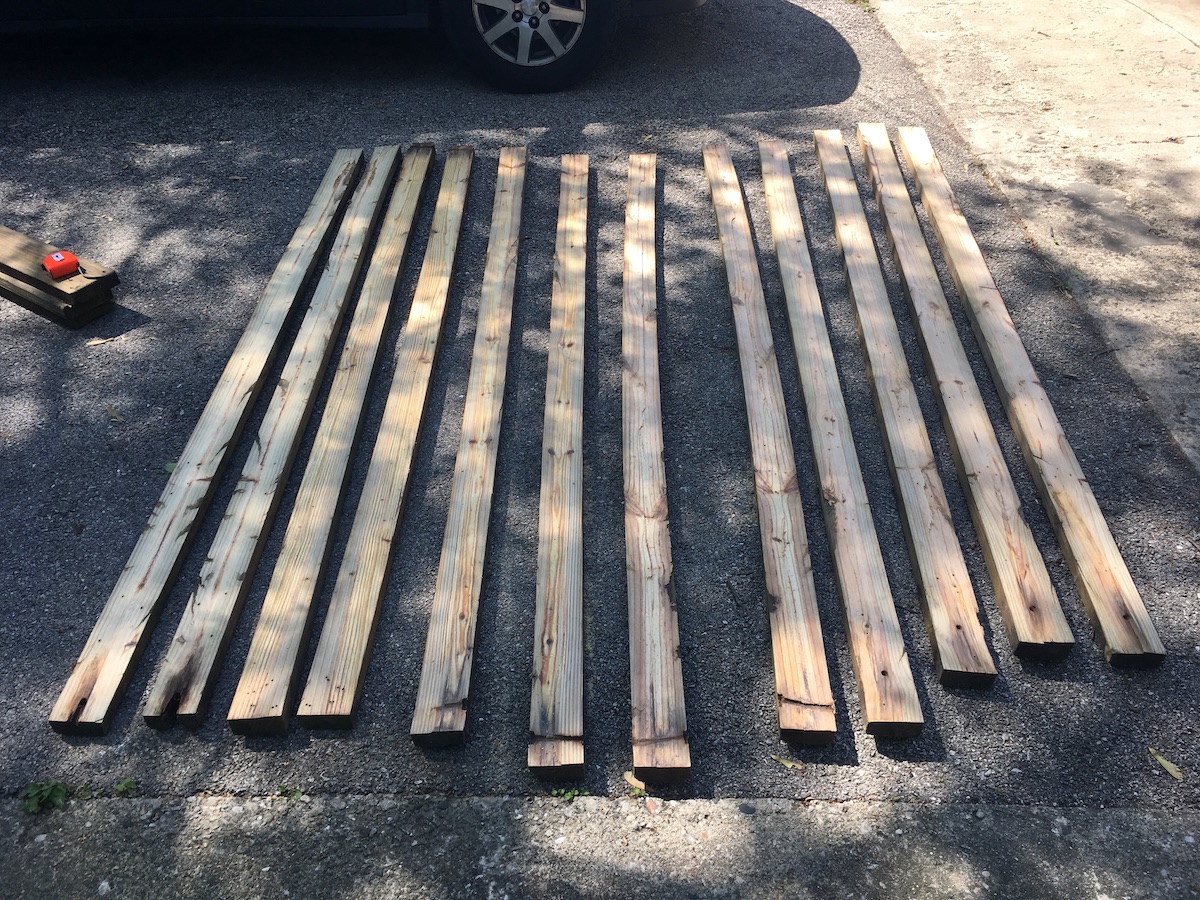
Here’s the tools to have on hand:
Circular Saw
Table Saw (optional)
Miter Saw (optional)
Drill
Impact driver (or drill if that’s what you have)
Stapler
Tape measurer
Speed square
Pencil
Quick clamps (if you have them)
Safety glasses
How To Build a Custom A-Frame Chicken Tractor
Step 1 – Build A-frame
As mentioned above, the 4×4 posts from your playset will need to ripped down to smaller dimensions. I ripped one in half to provide 2×4’s for the two bottom rails or skids the tractor will be pulled on. The rest of the 4×4’s I ripped into quarters (2×2’s) for the remainder of the tractor framing. The top spine of the A-frame was another 2×4 I had ripped down from the original 2×6 atop the playset.
Once the materials were cut to size, I laid out the dimension and footprint of the tractor size I wanted, cut the pieces to the appropriate sizes and angles, and screwed the frame of the tractor together. My tractor was roughly 7’x7’.

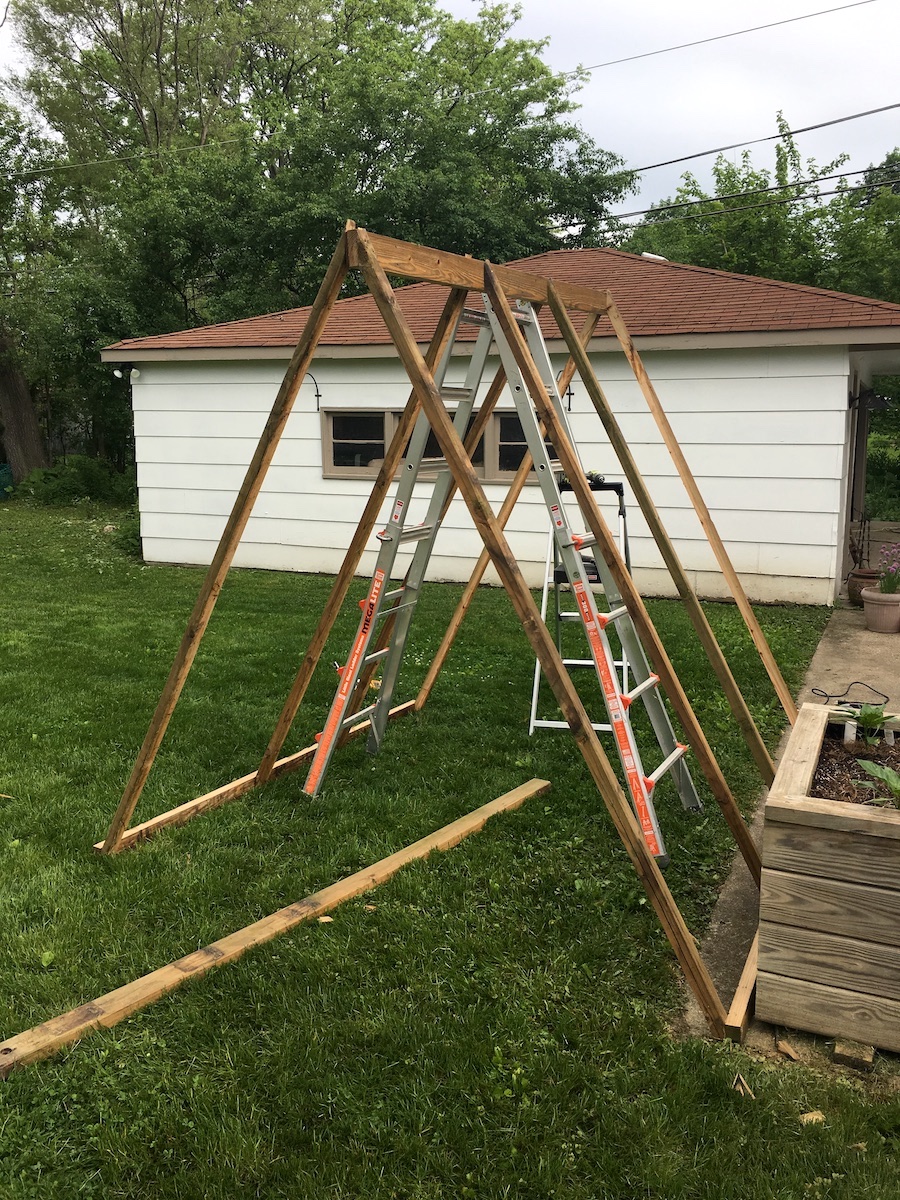
To tie a tow rope or add wheels (optional) on the tractor, it’s best to have the bottom rails of the tractor extend 4-8” out from the tractor. You can see I didn’t do this initially and just screwed on some shorter pieces of wood on the front and back. They held up fine.
The front of the tractor will need a door. I built a simple door and door frame out of extra 2×2’s that fit on the front A-section of the tractor.
I also added diagonal 2×2’s spanning the A-frame sections laterally so the tractor had more stability when being pulled.
Step 2 – Construct Enclosed Coop Area
The goal here is to create a triangle shaped, fully enclosed area where your chickens can roost, sleep, be protected from cold and rain, and go to lay eggs.
Here I was able to repurpose the bridge, or deck, from the playset I found. I spaced the upright A-frame sections from the previous step so the deck would fit between them. This will give your enclosed area a solid base.
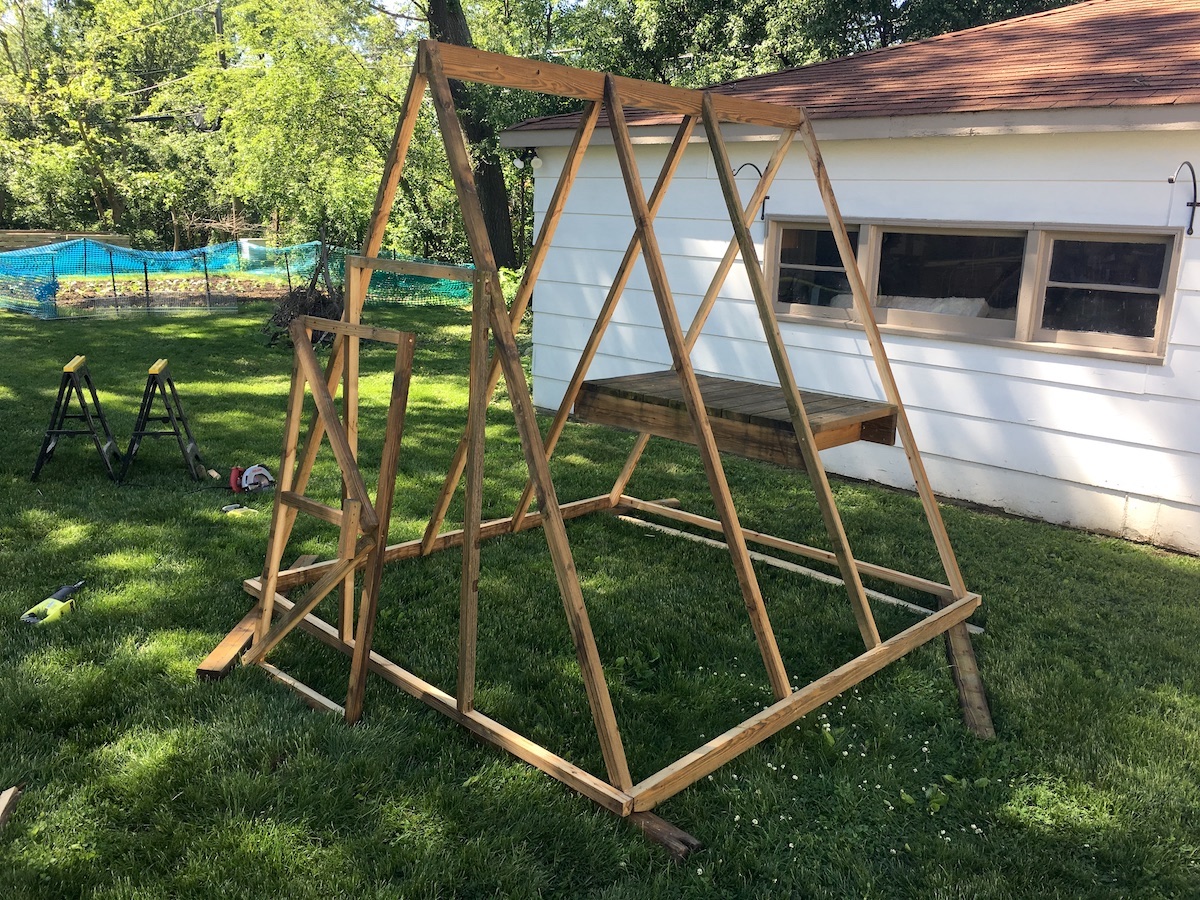
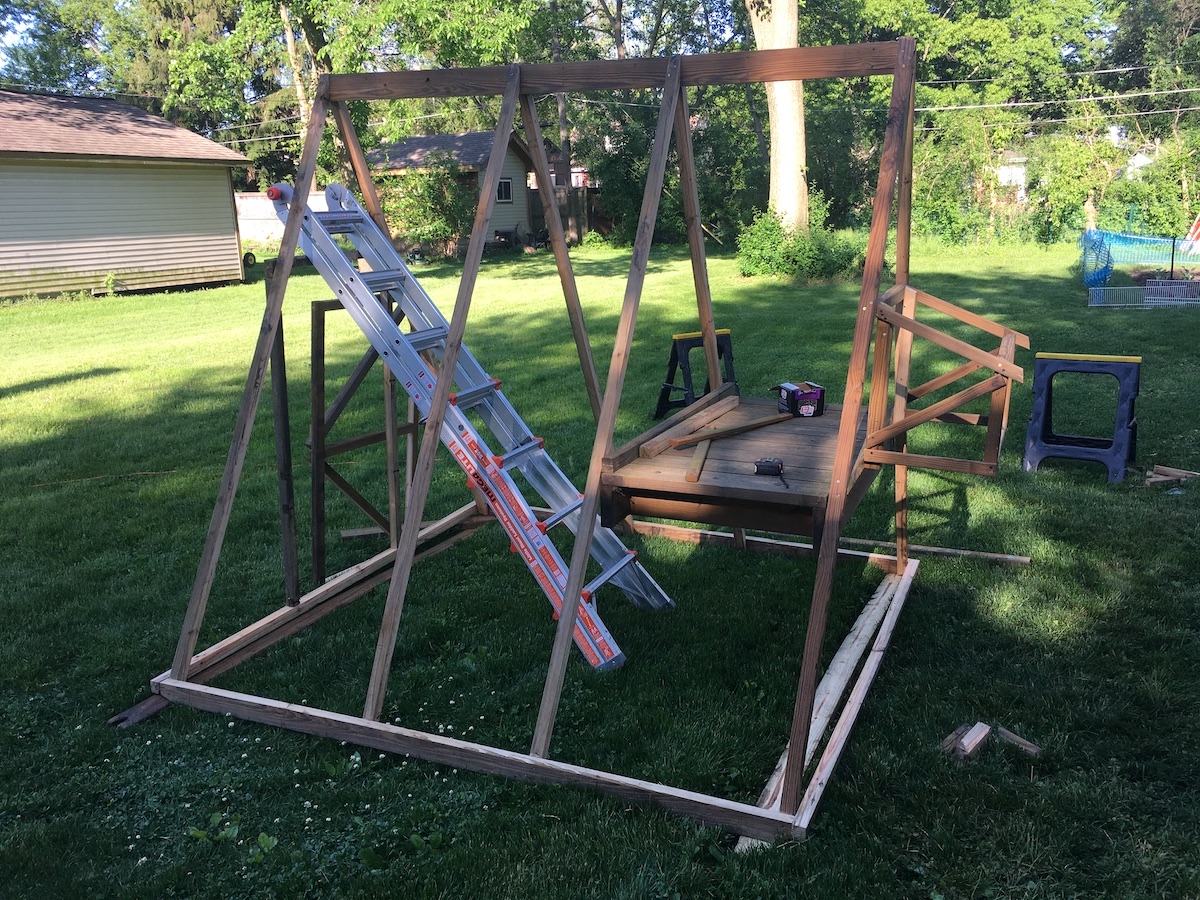
Next, cut your siding to fit on the horizontal sections of your enclosed area and install with screws
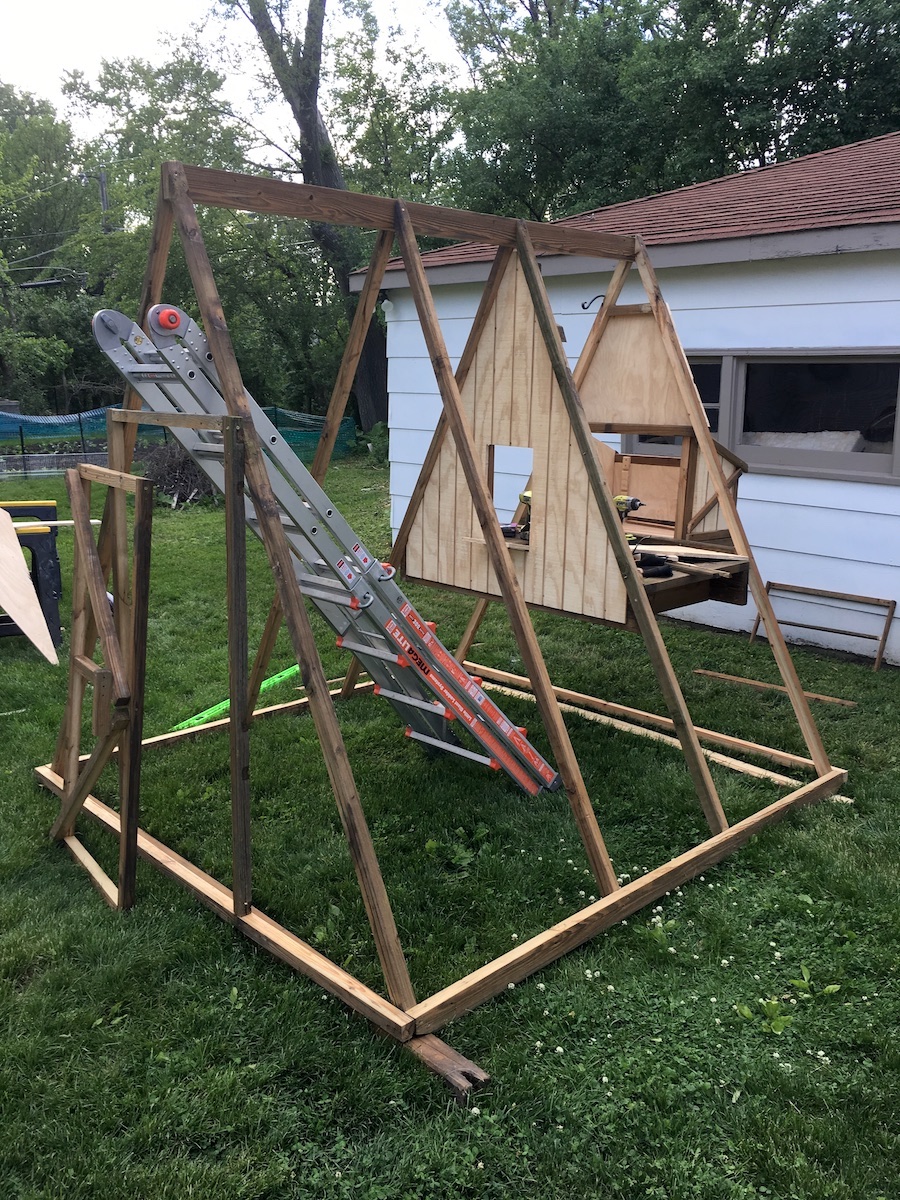
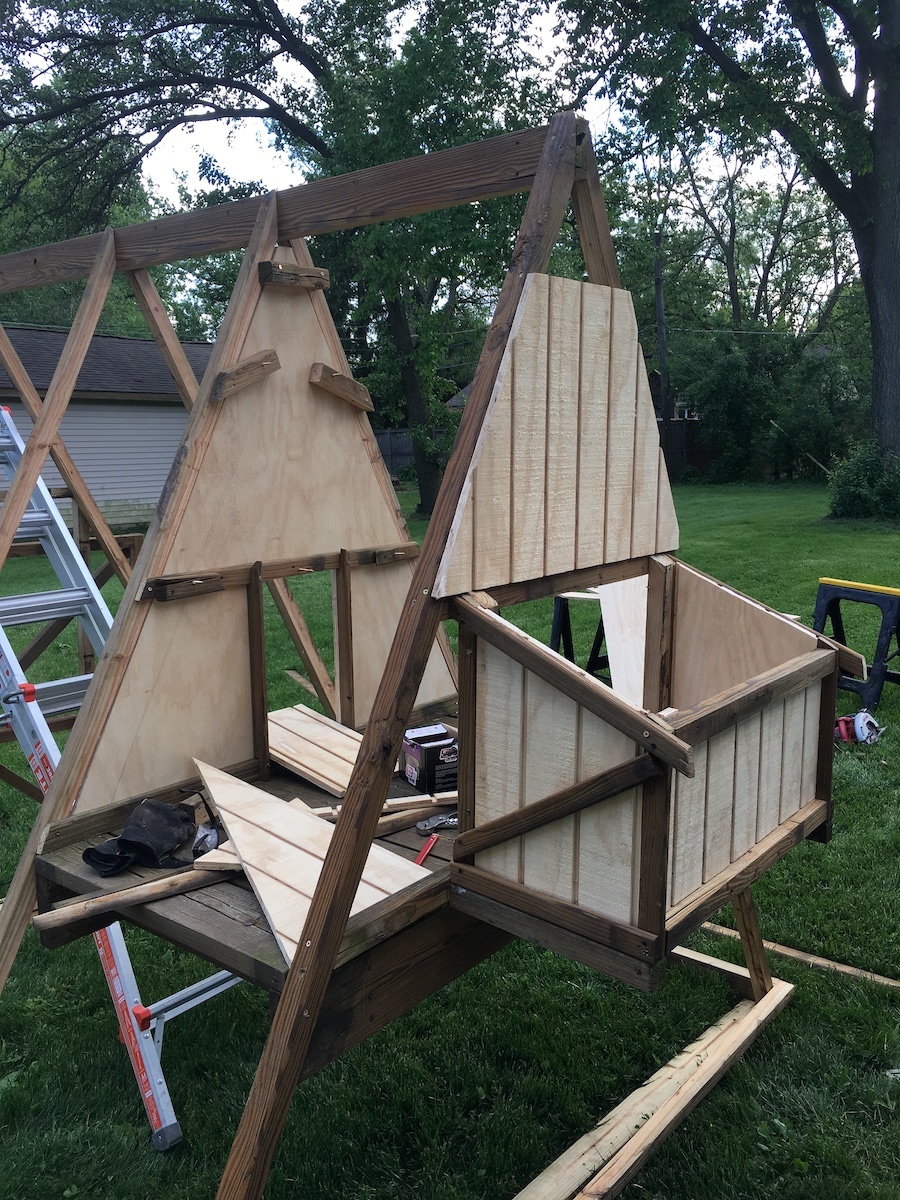
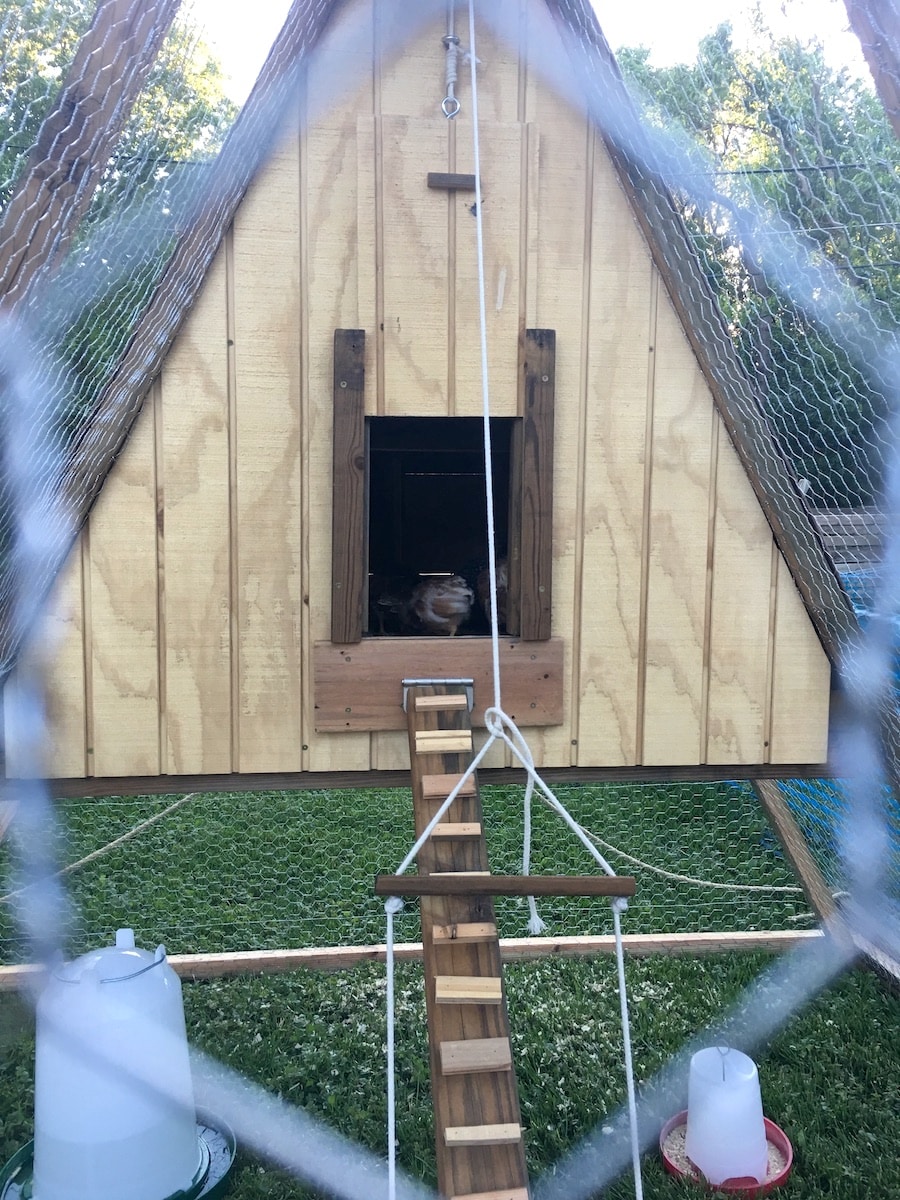
On the side facing the interior run, you will need to cut out a door that can be closed up tight at night. The easiest way I have found to do this is to make my own vertical rails out of 2×4’s for a door to slide up and down in. Simply notch out one of the corners lengthwise of a 2×4 section, mount them next to your door cutout, and slide a rectangular section of siding into those tracks as a door.
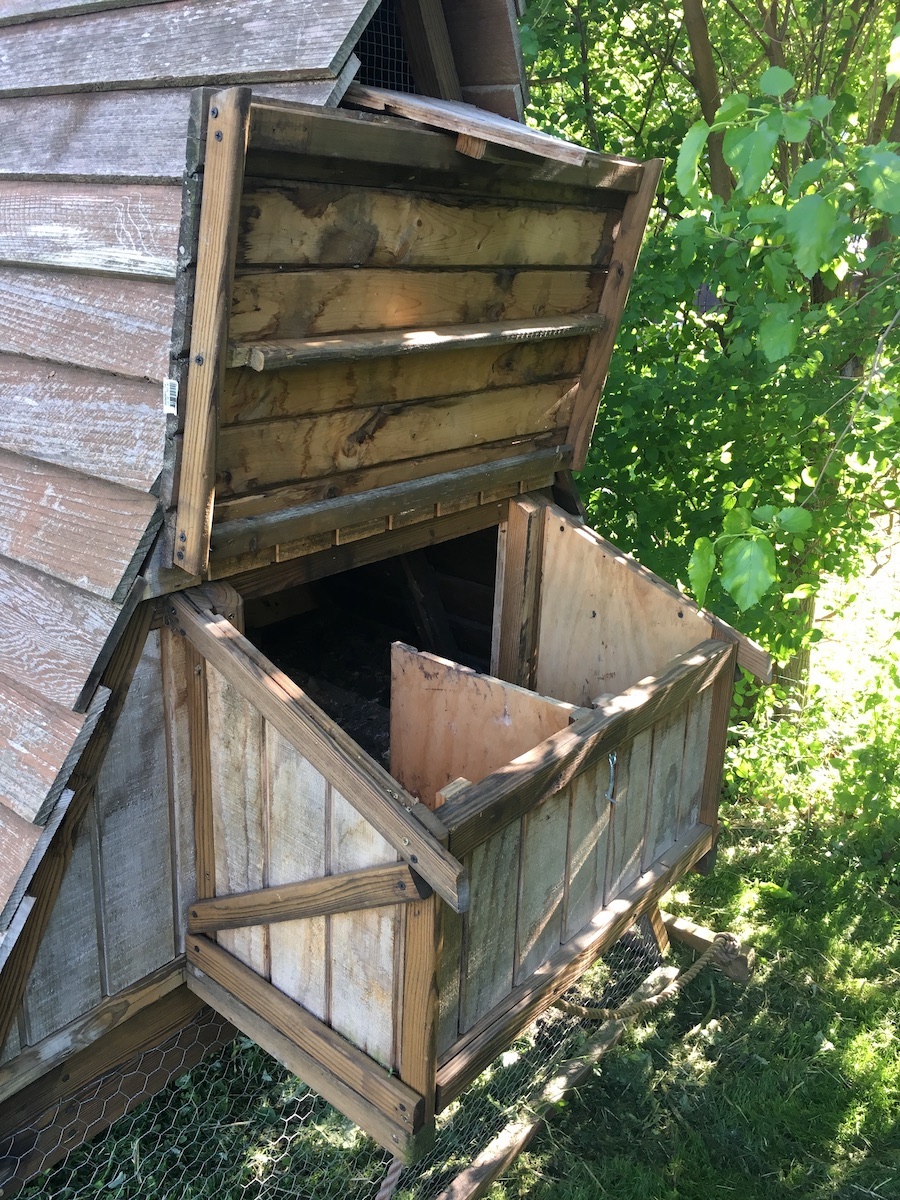
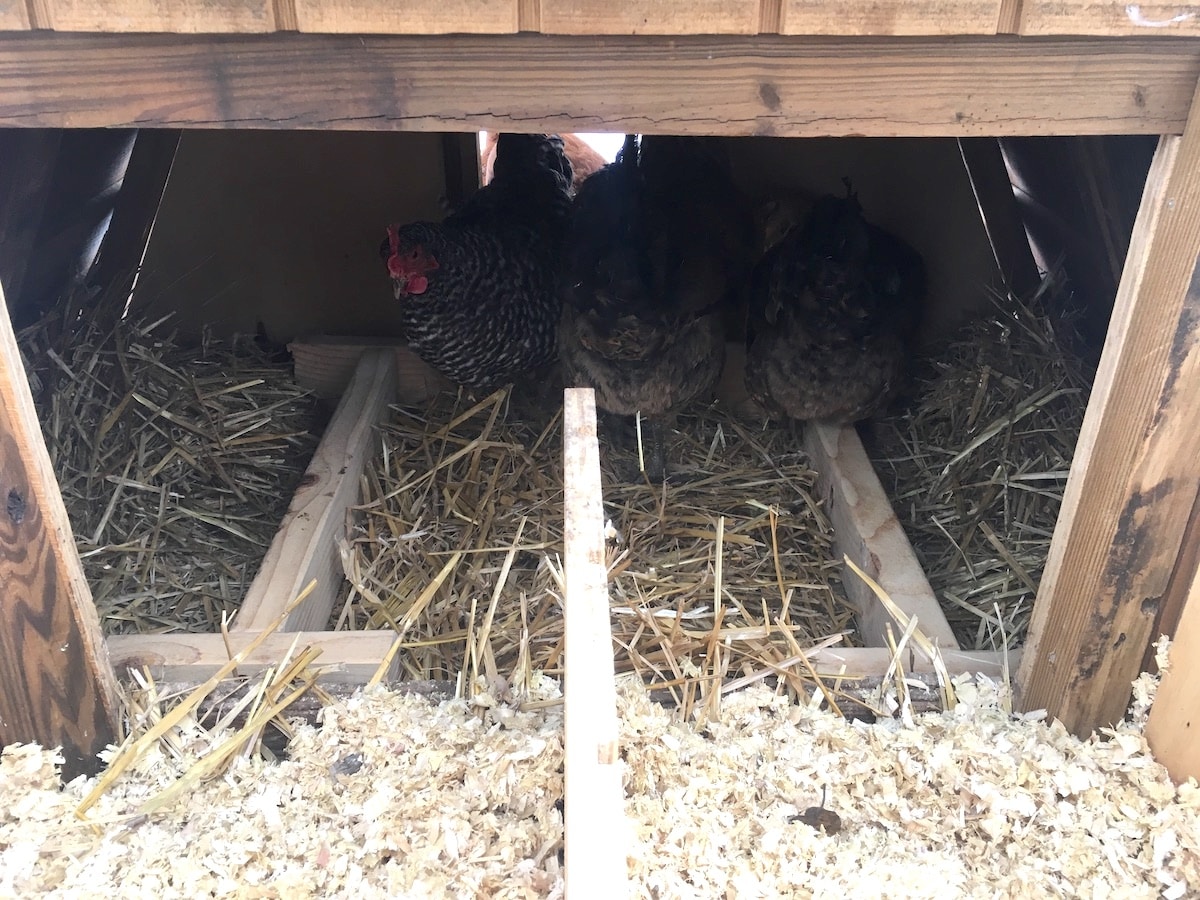
The backside of your tractor will fit a nesting box (or laying box). I used spare 2×2’s to build a nesting box frame and then used more of the siding board for the floor and walls of the nesting box. I then built a cover on hinges that can be easily lifted up to check for eggs or access the enclosed portion for cleaning.
And don’t forget ventilation! This is critical to provide airflow on warmer days. A the top of the triangle enclosed areas, I cut off the top of the triangle, put it on hinges, then lined the opening with hardware cloth so I could open and close it for ventilation as needed.
Note, the top of your enclosed area will still be open until roofing is added!
Step 3 – Install Chicken Wire (or Hardware Cloth)
Next, the run of your tractor will be ready for chicken wire! There is no easy way to install chicken wire. I recommend you wear long sleeves, pants, gloves, and eye protection to avoid getting cut up. Also, having a second set of hands makes it much easier.
I bought 4’ wide chicken wire and spaced the A-frame sections appropriately to accommodate. Cut the length you need with wire cutters (leaving a little extra never hurts and can always be cut off at the end). Fasten one side in place with your stapler. Stretch the chicken wire across to the other side and staple in place.
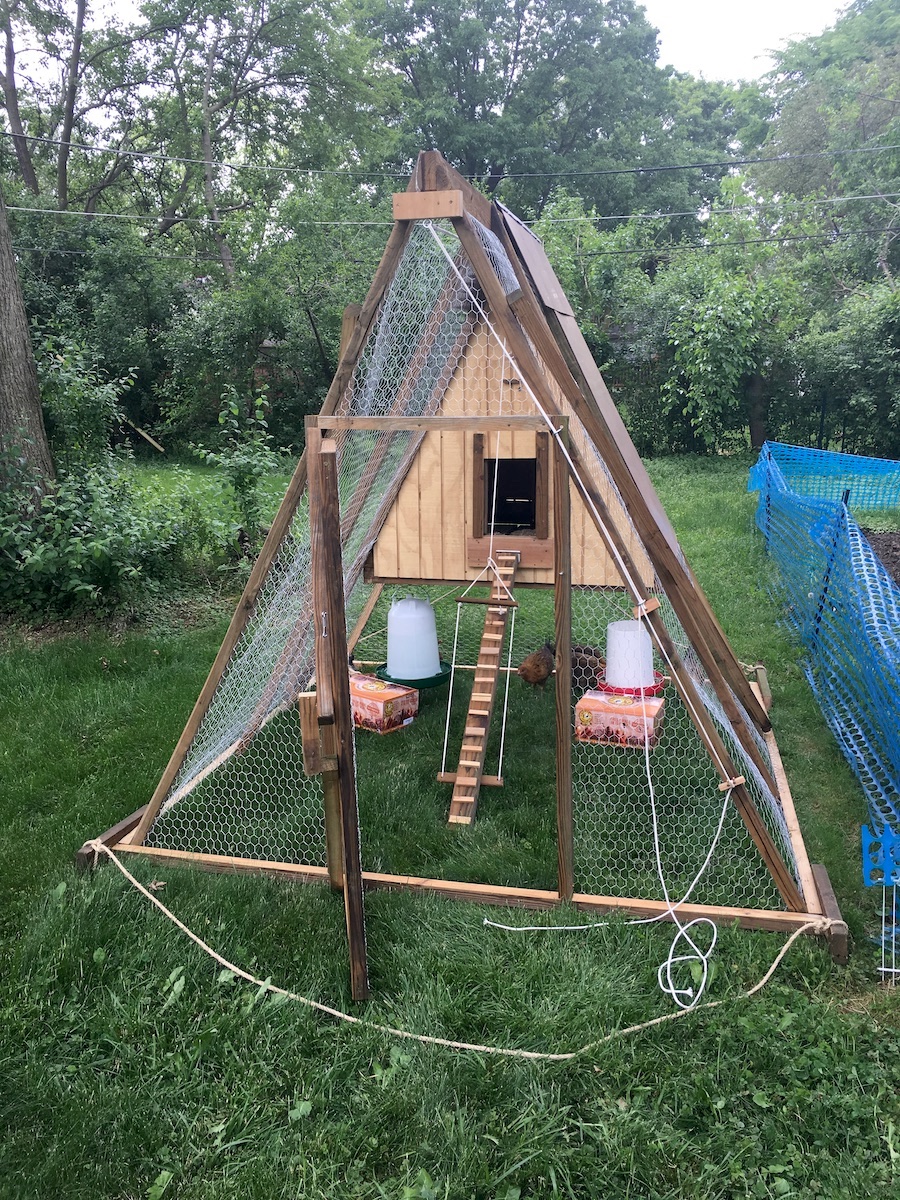
You want the staples to be continuous and spaced every 4-6” so the run is secure and nothing can get in or out. The door will also need to be backed with chicken wire. Working with chicken wire can be frustrating and require patience. But stick with it and you’ll get there!
Hardware cloth is chicken wires much stronger and more secure cousin. It’s also more expensive. My theory was that ground predators that could to tear through chicken wire are usually only out in the evening. Therefore, I built the enclosed area to be impenetrable from predators and made sure all our chickens were closed up there securely each night. This allowed me to use chicken wire on the run and save some cost. After a couple years of use, that theory proved true and nothing ever got to the chickens in the run or the enclosed area.
Step 4 – Add Roof
At this point, the only area still open on your A-frame chicken tractor is the top of your enclosed area where roofing needs to be added.

I discussed roofing materials above. The simplest and most commonly found solution is probably to use metal roofing sheets and fasten them with roofing screws. Often you can find these tin panels used for cheap or free. I found some cedar fencing that someone had removed and lapped the pickets like shingles.
The bottom line is that whatever you use for roofing, it needs to be fully enclosed and secure so nothing can pry into the enclosed area of your coop at night.
Step 5 – Install Wheels (optional)
I never installed wheels on our A-frame chicken tractor and got by alright. However, they would not be that hard to install and would likely make it significantly easier to move the tractor.
We’ve since built a couple of John Suscovich chicken tractors for raising meat chickens that have wheels and they do pull very nicely. His design involved using lawnmower wheels, 1/2” carriage bolts, locking nuts, and washers to get the spacing of the wheel right.

This is where extending the bottom rails comes into play. Drill a 1/2” hole in the rails on the back of the tractor, install your carriage bolts, washers, lock nuts, and wheels, and you’re all set.
Step 6 – Add Finishing Touches
There’s a few extra steps needed to finish off your tractor.
First, drill 1/2” holes where the bottom rails overhang on the front side of your tractor. Tie a section of heavy duty rope through each end. Adjust the rope as needed to get the right fit for pulling your tractor. The thicker rope you buy, the less it will bite into your hands. Note, you might also consider adding a pull rope on the backside of the tractor. I did this, and it helps with maneuvering, especially if space is tight.
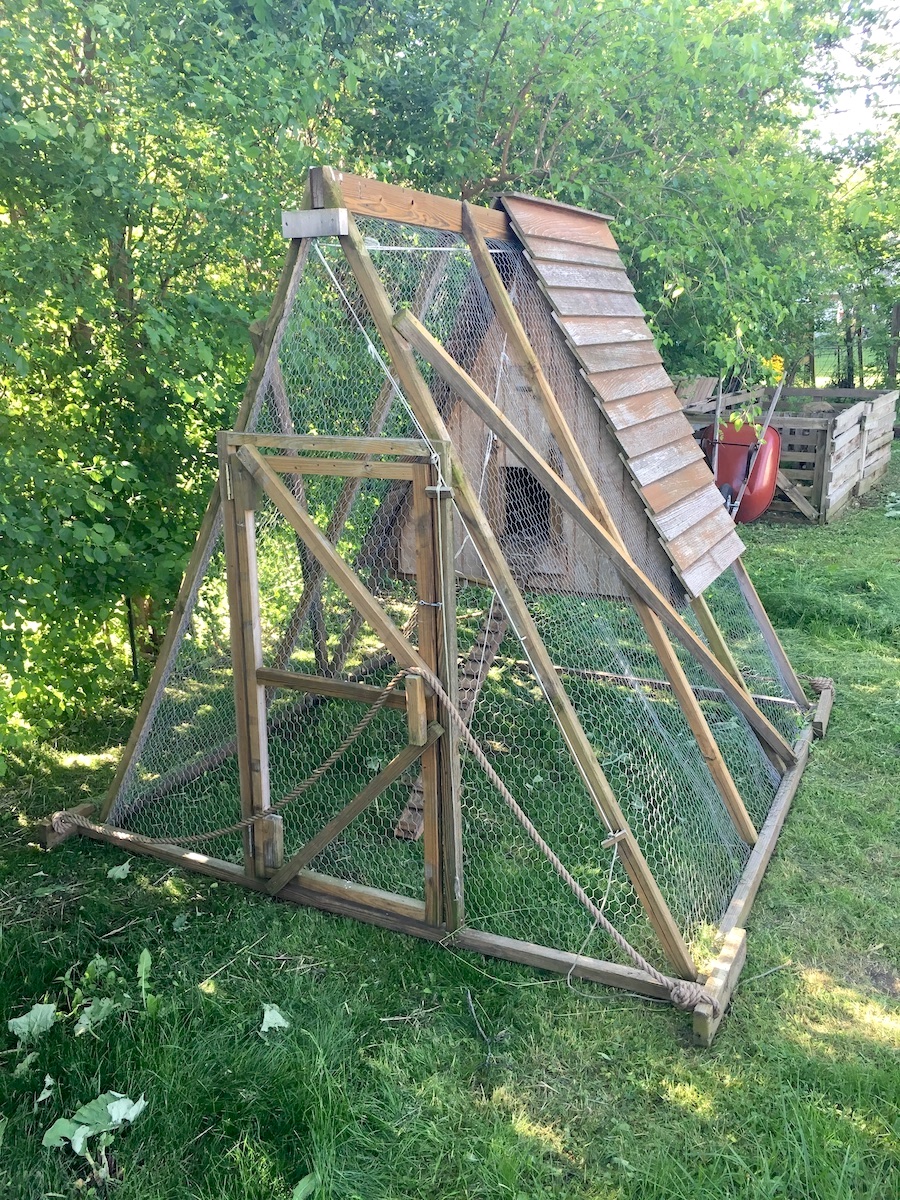
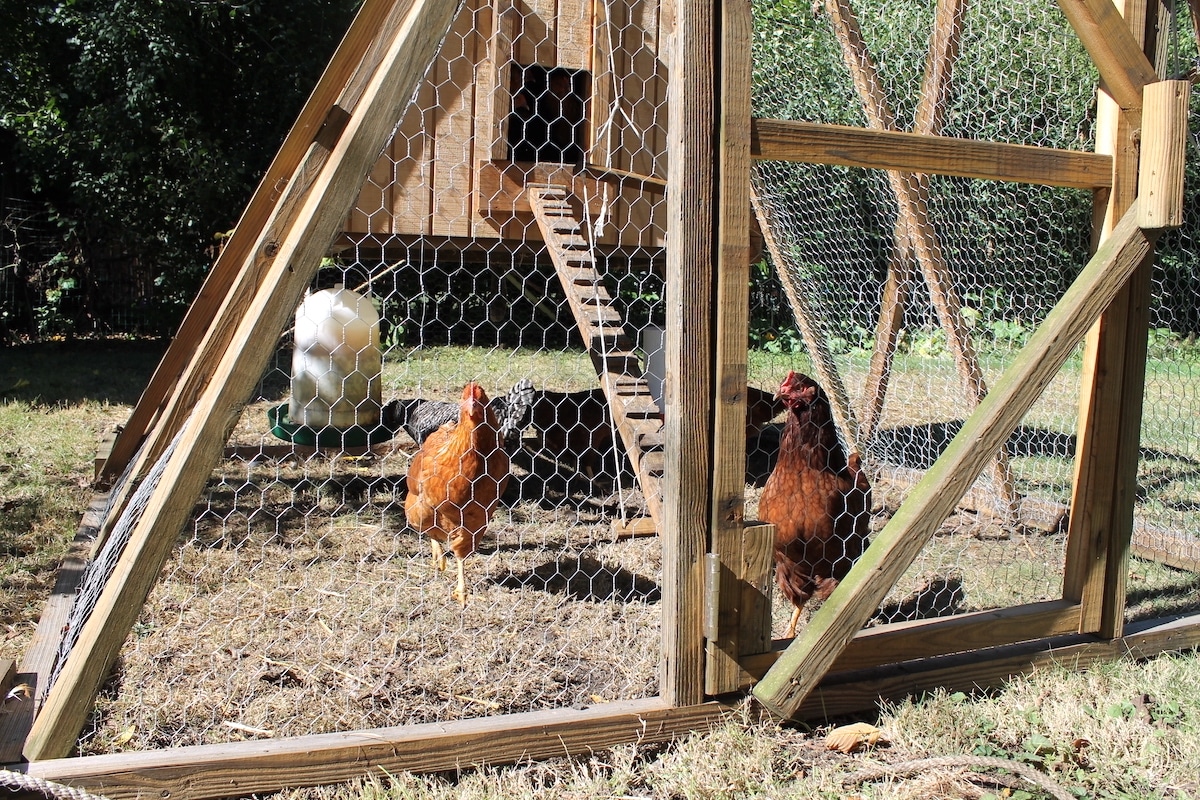
Second, build a ladder to the entrance of your enclosed area. I used a 2×4 and added small steps for traction. I also put this ladder on a hinge so I could lift it off the ground, tie it up, and keep it out of the way when moving the tractor.
You’ll also want to set them up for food and water. I bought a hanging feeder and waterer, added hooks below the enclosed area, and hung both in the tractor. Having them hanging also makes moving your tractor much simpler.
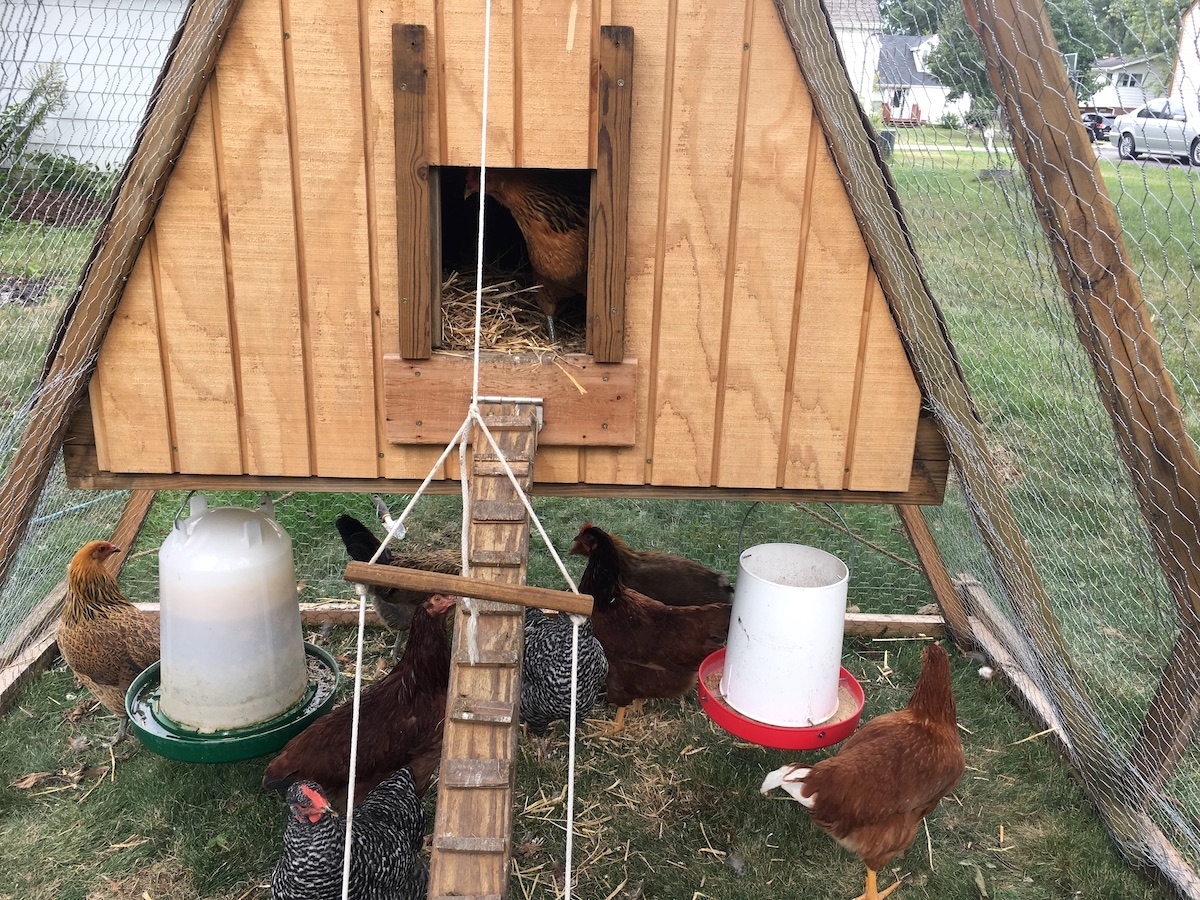
And finally, add any hinges or latches needed. This includes the doors, nesting box, vent holes, ladder, or anywhere else. Make sure any and all points of entry fasten securely and close up tight!
At this point, you’ve probably got yourself the coolest custom chicken tractor on the block!
Moving and Managing Your A-Frame Chicken Tractor
Managing your chicken tractor will vary a lot based on:
- The size of your tractor.
- How many chickens you have.
- How much land you have.
- The health of your soil and grass.
Moving your tractor
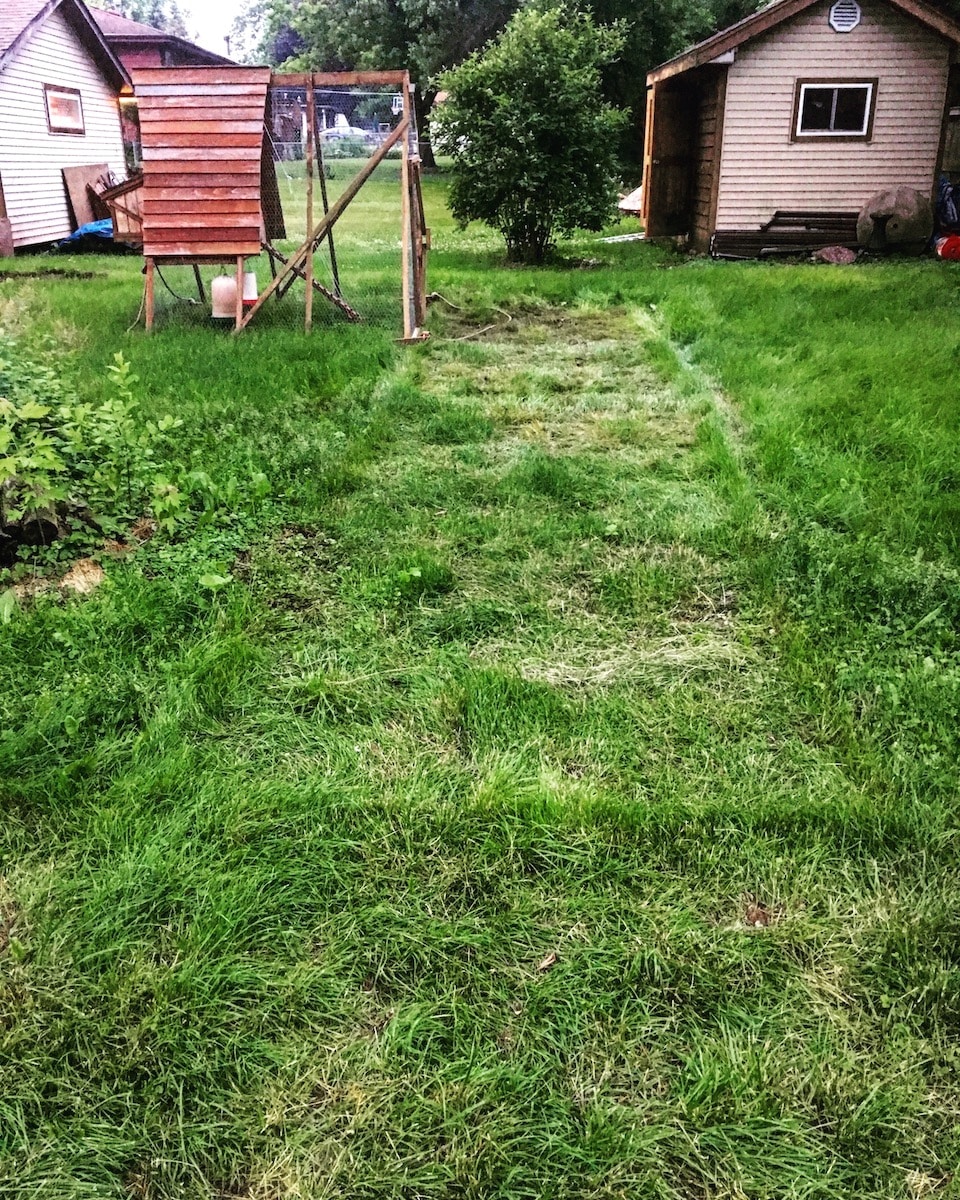
Most chicken tractors are moved once a day. But you can do this more, or less, depending on your needs. For instance, if you only have a couple chickens, they might be able to stay in one spot for multiple days. If you have lots of chickens, they’ll really appreciate being moved more frequently and will tear up your lawn less. With our Suscovich chicken tractors that we raise 25 birds at a time in, that many chickens will tear through a patch of grass in no time, so I move them twice a day.
Chicken tractors in the winter
The question also comes up of what to do with your chickens in the wintertime. Grass stops growing, so is it really necessary to keep moving your tractor?
Our solution has been to park our chicken tractor over our garden area for the winter. We’ll typically utilize the “deep litter method” where we’ll continue to add layers of dry straw as manure builds up. The straw and manure will compost down and give your soil tons of natural fertilizer to plant into for next growing season. Plus, come spring as the ground begins to thaw, your chickens will scratch, dig, and help prep your garden areas for planting!

We would move the tractor during the winter to a new spot every couple of weeks to avoid too much buildup in any one area. But it was much less moving than during the growing season.
Dust bathing
Something else that comes up is that chicken tractors generally limit a chickens innate desire to dust bathe, which they use to clean themselves. If not given access to loose soil or sand to dig into and dust bathe in, chickens will get stressed out over time. Or, they’ll start digging holes in your lawn!
To resolve this, we found a bin and filled it with some dirt and sand. The chickens in the tractor took to it instantly and were happy campers afterward! The only tricky part of the bin system was moving it around with the tractor.

Roosting
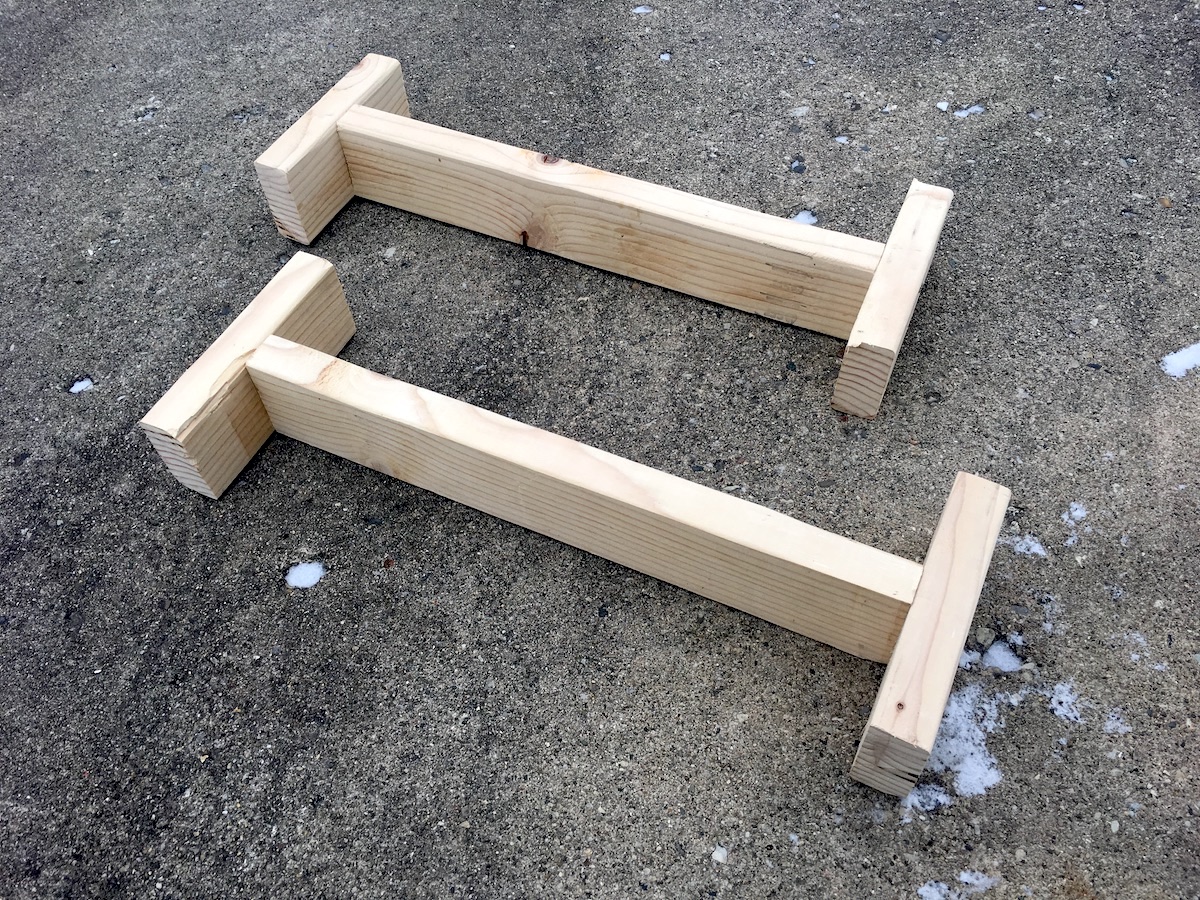
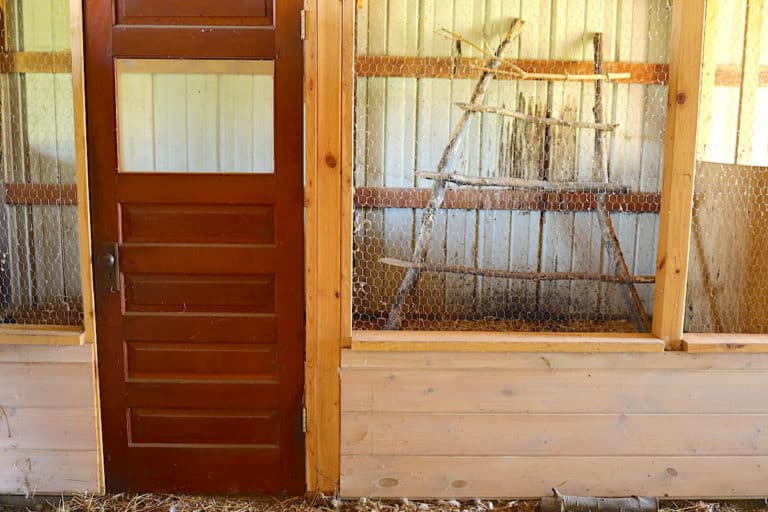
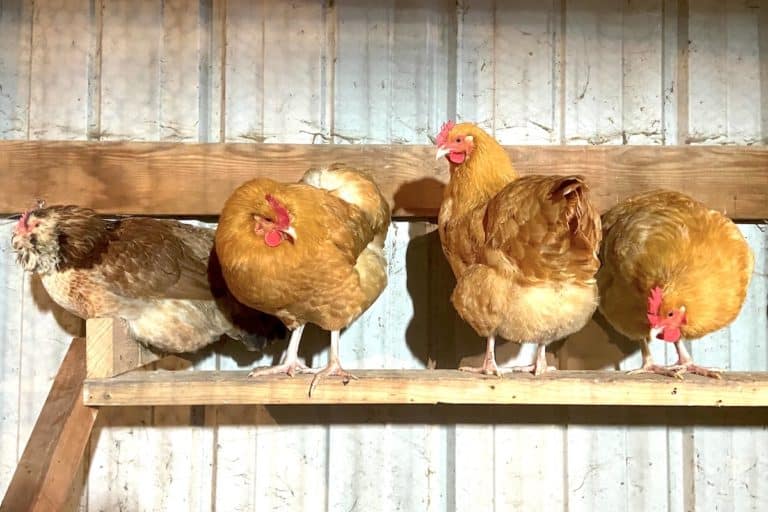
Another quick fix for the tractor was figuring out how to best give the chickens roosting space in the enclosed area. I didn’t want anything permanently fixed in there because it would make cleaning out the coop tricky. So I made some really simple portable roosting bars out of 2×4’s and those worked great!
Another A-Frame Option – The Suscovich Chicken Tractor
I’ve referenced the John Suscovich chicken tractor multiple times. It is another great A-frame chicken tractor option. His book, Stress Free Chicken Tractor Plans, gives you the full step-by-step instructions of how to build one. And we also made a supplemental post about how to add a metal roof on top of it.
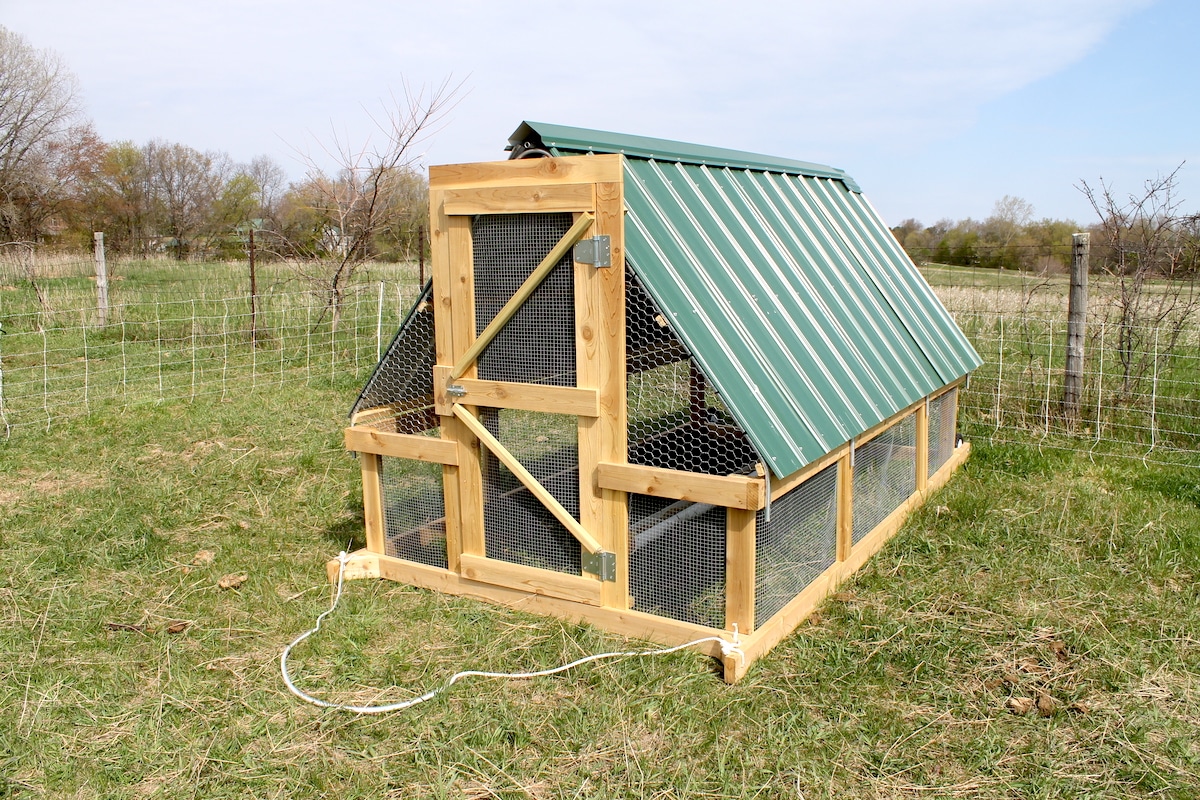
Keep in mind this is a big chicken tractor. The footprint is 6’x10’. And it’s designed for raising pastured meat chickens, so some of the elements necessary for laying hens are missing. But, others have gotten creative with the design and figured out to retrofit it for laying hens.
The A-Frame Advantage
Both mobile and stationary chicken coops have their pros and cons. You need to weigh out which chicken coop style is right for you. But hopefully this post has given you an idea of the advantages of a mobile A-frame chicken coop and how they can benefit your chickens, yard, and ultimately you through healthy pastured eggs.
And, we hope you also have the inspiration and guidance you need to build your own chicken tractor—on a shoestring budget at that!
We’d love to hear how your own chicken tractor adventures go and any questions you have in the comments!
Some of the above links are affiliate links. This means we earn a small commission on qualifying purchases at no cost to you. We are so appreciative of your support!
Looking for more on backyard chickens? Check out these posts:
- How To Care For Baby Chicks
- Simple Outdoor Chicken Brooder Ideas
- How To Care For Chickens In The Winter Basics
- Chicken Roost Designs | Two Simple DIY Ladder Perch Ideas
- Farm Fresh Eggs | What’s the Difference and How to Use Them Safely
Pin it for later!




How do you clean out the enclosed area??
I go in through the laying box with a shovel and scoop it out with a shovel. A small flat bladed edging shovel worked best. It’s tight, but not too bad. I made the divider in the laying box removable which gives a lot easier access with a shovel. The ideal would have been to build a door in one of the roof sections, or to build it so that one of the entire roof panels came off for easier access. Hope that helps!