Homemade Dulce De Leche without Sweetened Condensed Milk
This dulce de leche without sweetened condensed milk is our favorite way to use up extra milk you may happen to have on hand. All you need is milk, sugar, baking soda and salt, to make the most delicious sauce for all of your apple dipping and ice cream topping needs.
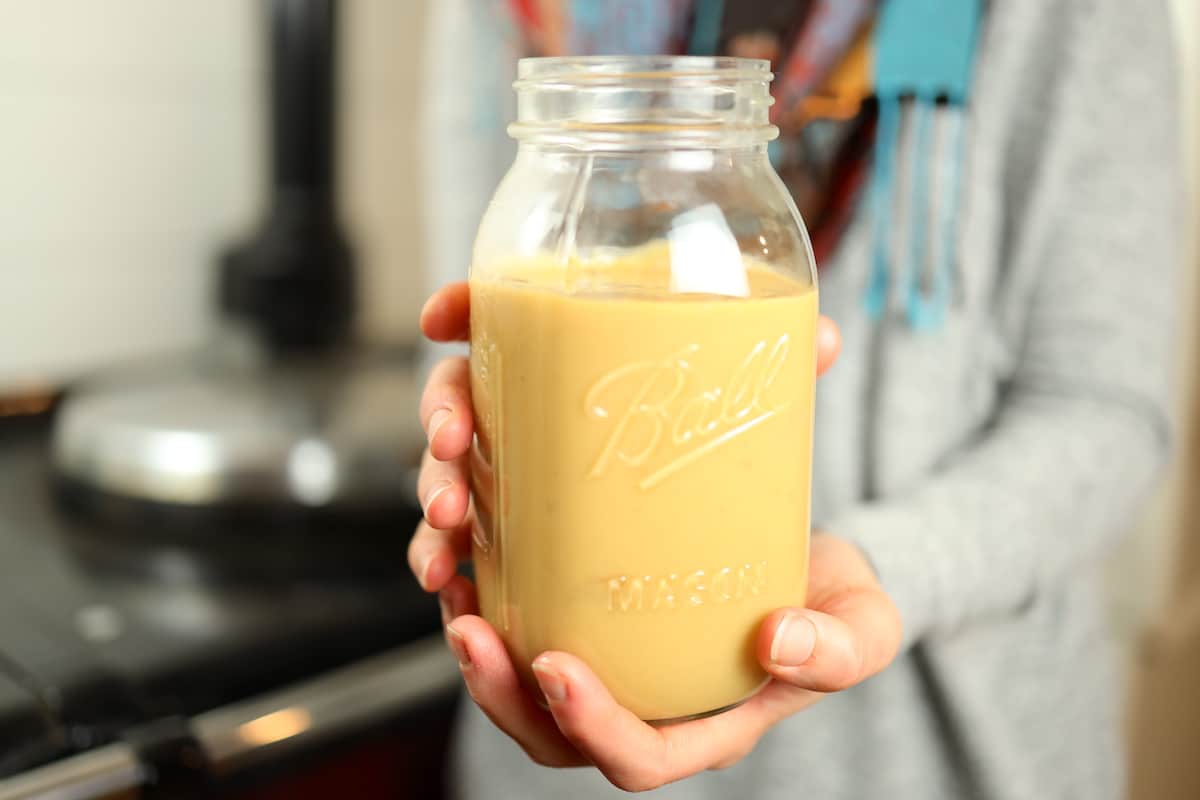
When you have a milk cow, milk can pile up quickly! In a desperate moment of needing to figure out a way to put to use all of the milk we had, I discovered the beauty of cooking it down to make this delectable dulce de leche. Win, win. Typically, recipes for dulce de leche uses canned sweetened condensed milk. But I much prefer to have control over the milk and sugar that is going into our bodies and opt for our fresh milk with organic cane sugar vs the conventional varieties in a can.
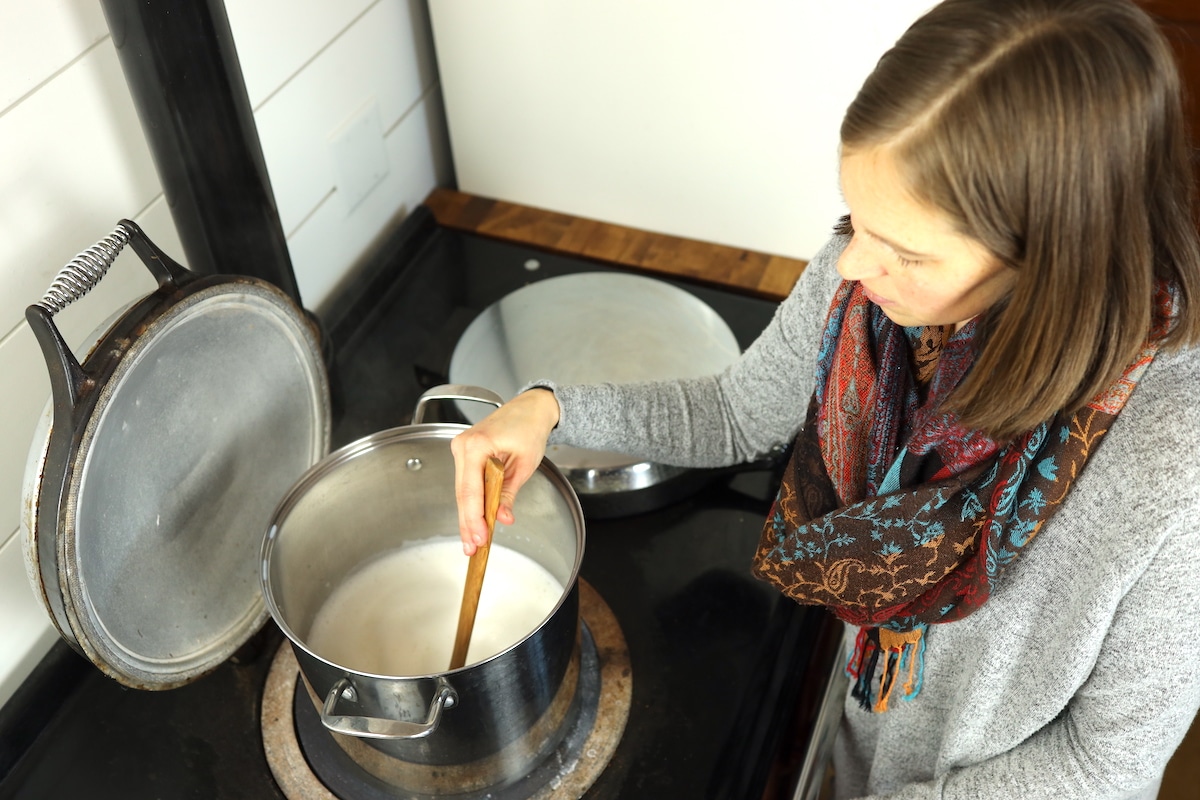
Dulce De Leche without Sweetened Condensed Milk Basics
The ingredients in this recipe are super basic items that we always have on hand. However, it is a good weekend project as it does require a few hours of time. Thankfully, most of this is completely hands-off time. Just waiting, with some occasional stirring because it will take a couple of hours for the milk to cook down enough to give your dulce de leche without sweetened condensed milk the perfect texture.
The trickiest thing about this recipe is determining exactly when your dulce de leche is finished. If it’s not cooked enough, you will have a super liquidy sauce that will disappear when spooned onto some ice cream or drizzled over a cheesecake. Cook it for too long and the result will be too thick, more like a caramel candy, which while delicious can be too firm for all intended purposes.
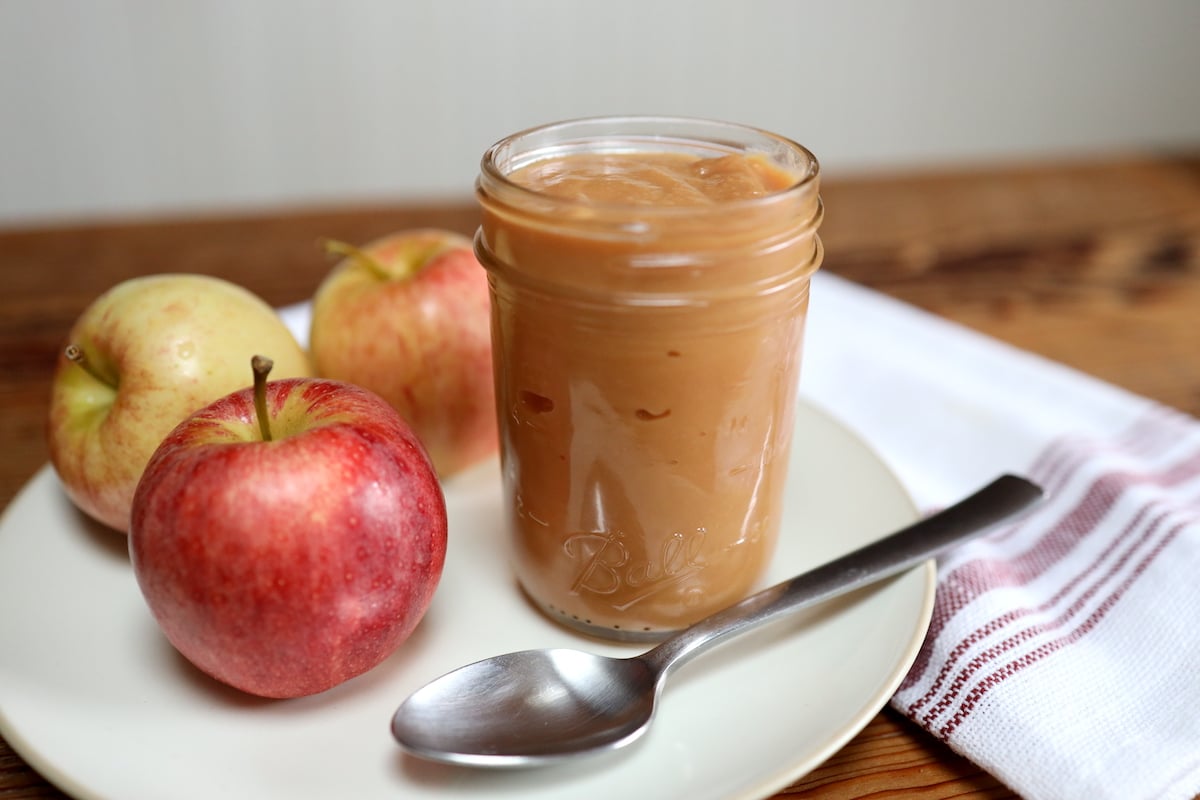
It may take some trial and error to determine exactly the time and temperature needed for your stove. But I promise, this experimentation is worth it. Even if it doesn’t turn out perfect the first time, this dulce de leche without sweetened condensed milk is delicious no matter what!
What exactly is Dulce de Leche?
Literally meaning sweet milk, that’s exactly what dulce de leche is. It is more popular in South America and commonly used in Spanish desserts. When milk and sugar are mixed together and then heated, it causes the milk to be cooked down and the sugar to brown giving you dulce de leche.
Are Dulce de Leche and Caramel the same thing?
Technically, no. While they are very similar and often used interchangeably the main differences are in how they are made and their consistency. Caramel translates to “burnt sugar” and is made by heating sugar until it is browned. Cream or butter are often added in to create more of a sauce. Dulce de Leche tends to be thicker in consistency than caramel and is made by cooking down milk with sugar.
The Perfect Gift
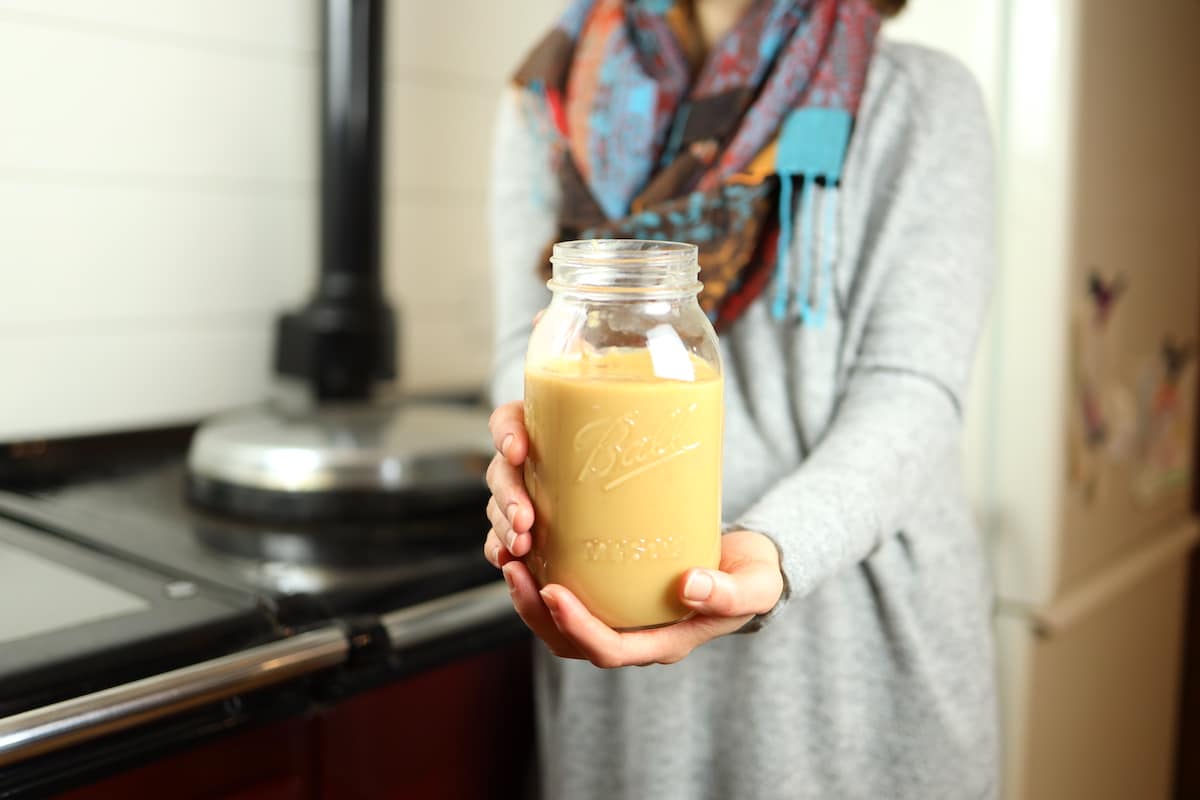
We always make a few batches of this dulce de leche without sweetened condensed milk around Christmas time. It is perfect for pouring into 4 or 8 oz mason jars, tying a decorative ribbon around, and giving as gifts to friends and neighbors.
Homemade Dulce de Leche Frequently Asked Questions
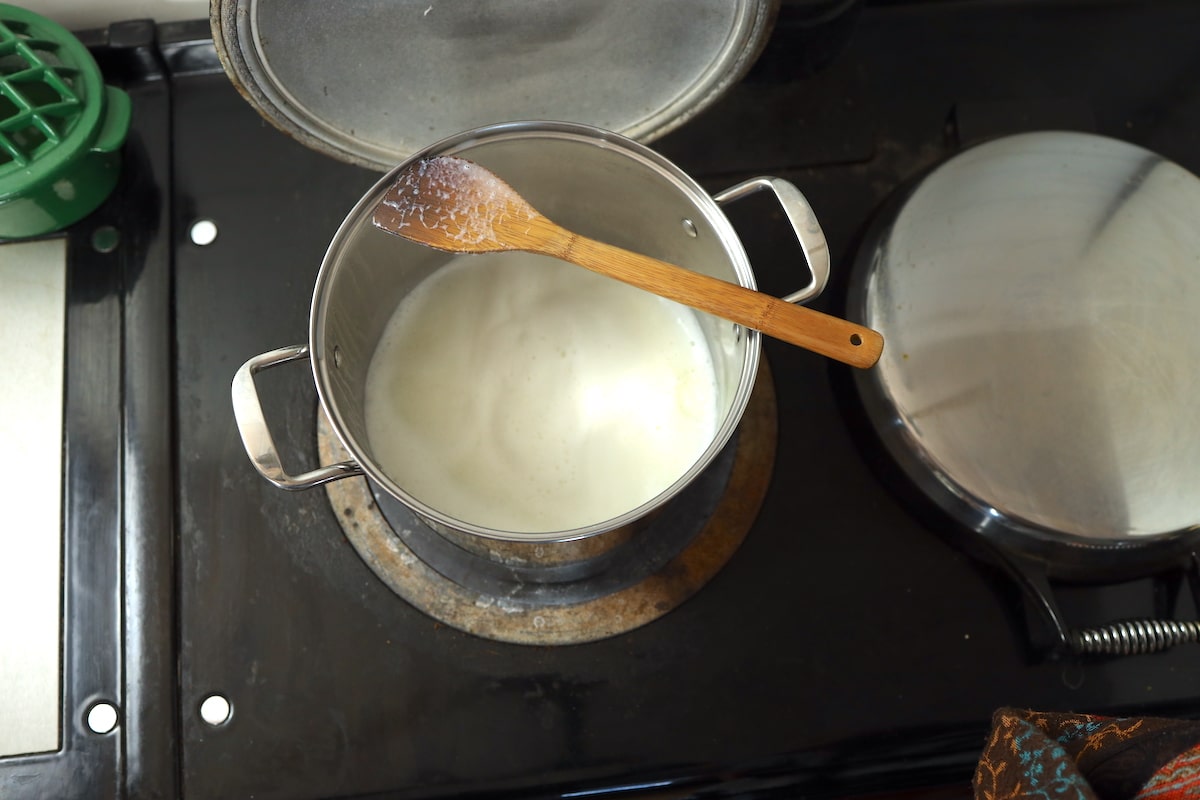
What’s the deal with adding baking soda? Baking soda is totally not critical to this recipe and can easily be omitted. The purpose of adding it is to help prevent the dulce de leche from forming clumps and to give it a smoother consistency. It can also aid in giving it a nice golden-brown color. Additionally, it should be noted that adding baking soda will cause your milk to foam up quite a bit. Therefore, it’s important that you are using a big enough pot to allow for this expansion and not have a huge mess on your hands.
Can I use non-dairy milks for this? I have heard of people having success making a similar version with goat milk and coconut milk but I haven’t tried it myself.
It’s taking forever and doesn’t seem to be getting there? I’ve totally done this before, turn up the heat a bit and the process should go more quickly.
Does the texture change after it’s refrigerated? Yes! I do find that dulce de leche becomes significantly thicker after it is cooled and refrigerated.
How will I know when it’s finished? As you are approaching the end product, now is the time to plant yourself in front of your stove with your wooden spoon. Watch your pot stirring regularly until it gets to a thick enough consistency to coat the back of the spoon. Remember that it will continue to thicken once cooled. So I find that I need to remove from heat a little before it’s at the final consistency that I want. This takes observation and experimentation. I am definitely still not perfect at getting it exactly the right texture every time.
How long does the process take? That will depend on how hot you have your stove. The warmer it is, the quicker it will go. I like to set it at a medium heat and start-to-finish it will generally take around 2 hours.
Enough talk, let’s get cooking!
Dulce de Leche Recipe
Ingredients:
– ½ gallon of whole milk
– 2 cups organic cane sugar
– ½ tsp baking soda (mixed in a few teaspoons of water) *
– ½ tsp salt
*The baking soda is optional but the purpose is to keep the caramel from clumping together. It can also help give the caramel a lovely caramel brown color.
Directions:
- Pour milk, organic cane sugar, and salt into a stock pot. Make sure that the stock pot is large enough to handle the milk bubbling up after the baking soda is added.
- Stir and begin heating on medium-high heat until the mixture begins to boil.
- Once boiled, remove from heat and stir in baking soda/water mixture.
- Place back on heat and bring to a steady simmer. I prefer a medium heat for this. If it’s too low, it will take forever to cook down.
- Let it cook down and do its thing. I like to check in every 10-15 minutes to give it a quick stir.
- After an hour or so, begin checking and stirring your dulce de leche more regularly, every 5-10 min.
- When the color is looking golden and it’s beginning to coat a wooden spoon, keep a careful eye on your dulce de leche and stir regularly.
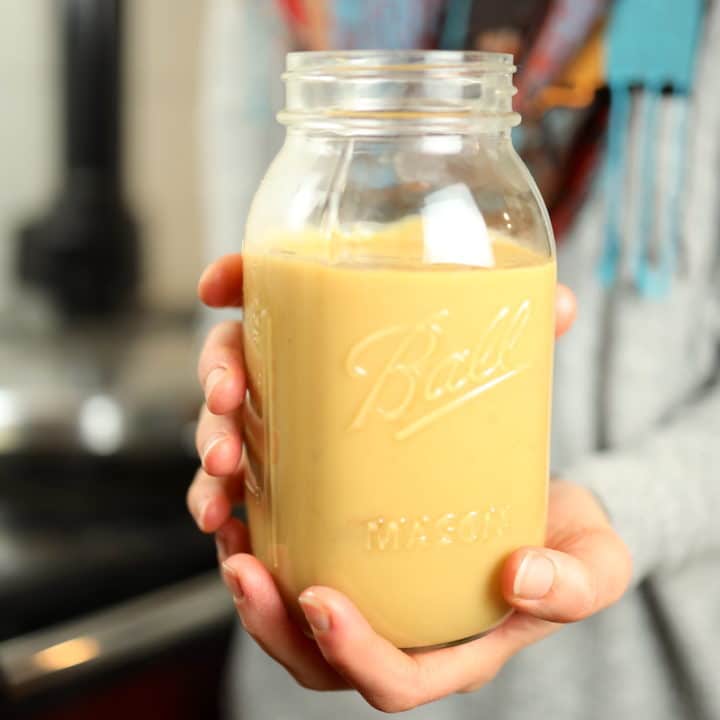
- When it has reached the desired consistency, coats the back of a wooden spoon and is nice and golden. Remove from heat, pour into mason jars, and once cooled, store in the fridge.
Serve alongside your favorite treat, and enjoy!
For more of our favorite desserts from our home dairy check out our:
- Raw Milk Vanilla Ice Cream
- Chocolate Pudding without Cornstarch
- How to Make Crock Pot Yogurt
- How to Make Butter from Raw Milk in a Blender
- Easy Farmhouse Cheddar Cheese
- Quick & Easy Mozzarella Cheese with Vinegar
Homemade Dulce De Leche without Sweetened Condensed Milk
This dulce de leche without sweetened condensed milk is our favorite way to use up extra milk you may happen to have on hand. All you need is milk, sugar, baking soda and salt, to make the most delicious sauce for all of your apple dipping and ice cream topping needs.
Ingredients
- ½ gallon of whole milk
- 2 cups organic cane sugar
- ½ tsp baking soda (mixed in a few teaspoons of water)*
- ½ tsp salt
- *The baking soda is optional but the purpose is to keep the caramel from clumping together. It can also help give the caramel a lovely caramel brown color.
Instructions
- Pour milk, organic cane sugar, and salt into a stock pot. Make sure that the stock pot is large enough to handle the milk bubbling up after the baking soda is added.
- Stir and begin heating on med-high heat until mixture begins to boil.
- Once boiled, remove from heat and stir in baking soda/water mixture.
- Place back on heat and bring to a steady simmer. I prefer a medium heat for this. If it’s too low, it will take forever to cook down.
- Let it cook down and do it’s thing. I like to check in every 10-15 minutes to give it a quick stir.
- After an hour or so, begin checking and stirring your dulce de leche more regularly, every 5-10 min.
- When the color is looking golden and it’s beginning to coat a wooden spoon, keep a careful eye on your dulce de leche and stir regularly.
- When it has reached desired consistency, coats the back of a wooden spoon and is nice and golden, remove from heat, pour into mason jars and once cooled, store in the fridge.
Pin it for later!



Just curious, does this “have” to be refrigerated?
I’ve always stored it in the refrigerator. When we’ve served it at a party or gathering it’s definitely sat out for several hours and been fine but long term, we’ve stored in the fridge.
Can you can this?
We haven’t tried it since you’re not technically supposed to can dairy. But there are definitely rebellious canners that do 😉
How long will this keep in the fridge?
It should keep for several weeks in the fridge! If it lasts that long 🙂
Have you tried doing this with a higher percentage fat? Like coffee cream (18%)?
Actually, update: I tried it with 1L 18% cream and 1L Milk, and it worked great – until I burnt the bottom. I quickly transferred the rest through a sieve into my double-boiler, where it simmered until it reached the right consistency. No burnt taste – success!
Will definitely do again.
Yay!! Thanks for sharing your experience and I’m so glad it worked out for you!!
Made a batch with my raw milk and it’s delish, never tried it before! Have you ever tried putting it in the slow cooker after the baking soda goes on? I’m wondering if that would work. Thanks for sharing!
Hi! Awesome – I’m so glad you like it! I haven’t tried it in the slow cooker but that’s a great idea. If you give it a go, let me know!!
I followed the recipe precisely and it’s on the stove for at least three hours now … slightly thicker, a lot reduced but still not there … where can you even go wrong in this simple task? Any idea?
It sounds like you’re on the right track, it just needs to go longer. Can you turn up the heat on your stove at all to speed it up? Hope it turned out for you!
What is your favorite way to use this sauce?
Drizzled over ice cream sundaes! 🙂