How To Care For Baby Chicks
Our first year keeping baby chicks didn’t go so well. Here are the top 5 lessons we learned on how to care for baby chicks and what we are doing differently now.
But we stuck with it, made adjustments, and have seen SO much better results.
How to Care For Baby Chicks the WRONG Way
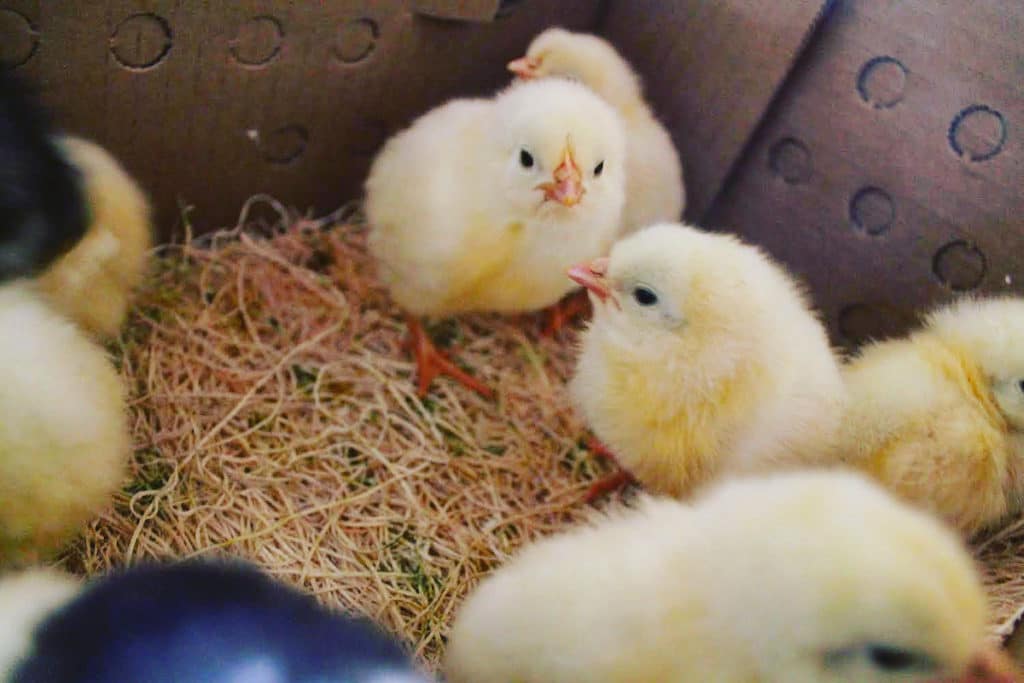
Our first spring on our homestead we were new to raising day-old baby chicks. We previously had a backyard flock of chickens that we raised from chicks, but they were already a couple of weeks old when we got them. Newly hatched baby chicks, as we found out, are a totally different ballgame!
We ordered around 60 baby chicks from our local feed store. About 2/3 were laying hens and 1/3 were meat chickens. Anxious to have feathered friends roaming our yard again we opted for the earliest date the hatchery offered – the end of March.
Unfortunately, there was no fairy tale ending. We got them in the brooder, but the next morning was like a scene out of a horror movie. When I opened up the brooder I found about 10 dead and the loss continued as the days went by. We ended up losing around 1/3 of them as chicks.
After that initial experience, we were determined to learn how to care for baby chicks properly to never repeat that experience again.
What Went Wrong Our First Year Raising Baby Chicks
Looking back, there were a lot of conditions not working in our favor. Atop that list, the late March day we picked up our chicks was brutally cold – biting wind and below freezing temps.
We also waited a while for a call from the feed store telling us that the chicks were ready to be picked up. We later found out that was hours after they arrived and the seasoned chick picker uppers knew to come earlier in the day.
Then we got the chicks back home and we certainly could have had our act together better. We were running around frantically getting last minute preparations done in the brooder and kids bundled and out the door to welcome our new friends.
It was all so exciting! We took pictures with the chicks. Our kids held them and petted them. Amidst the excitement we just didn’t realize how cold those chicks really were and how badly they needed to bring their body temps back up in the warmth of the brooder.
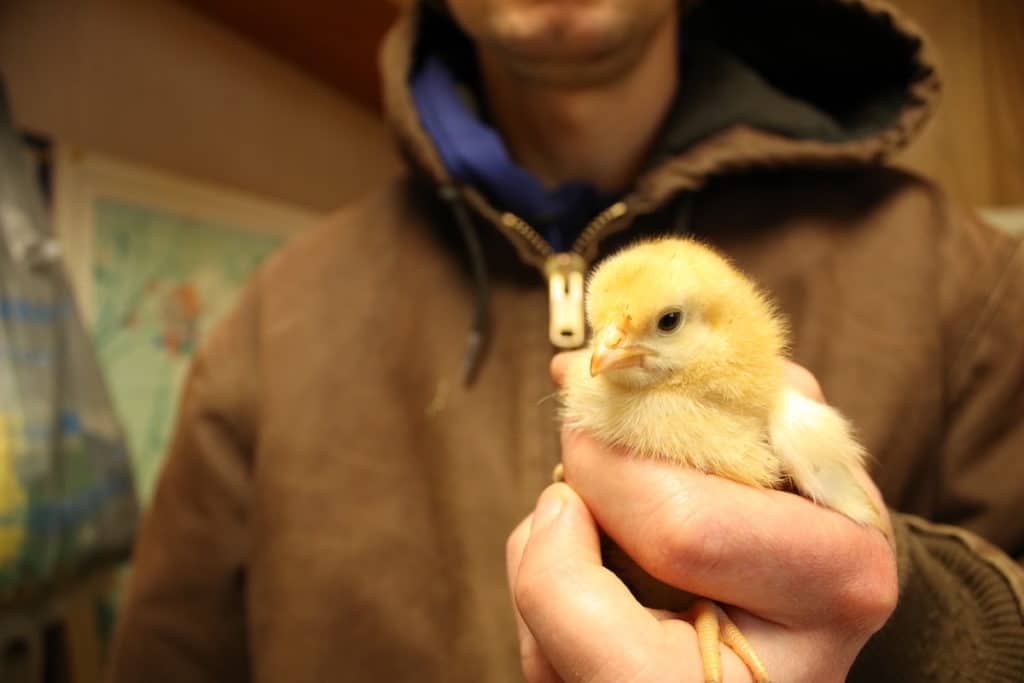
After that long, cold, stressful day, the chicks just seemed off. They weren’t very active. We tried to help them get water and food, but many were losing strength.
We learned some hard lessons that first go around. But, we’ve learned so much about how to care for baby chicks and have had much more success since! Here’s our top lessons learned and what we changed for better results!
Top 5 Lessons Learned Raising Baby Chicks
1. Move quickly getting them into the brooder
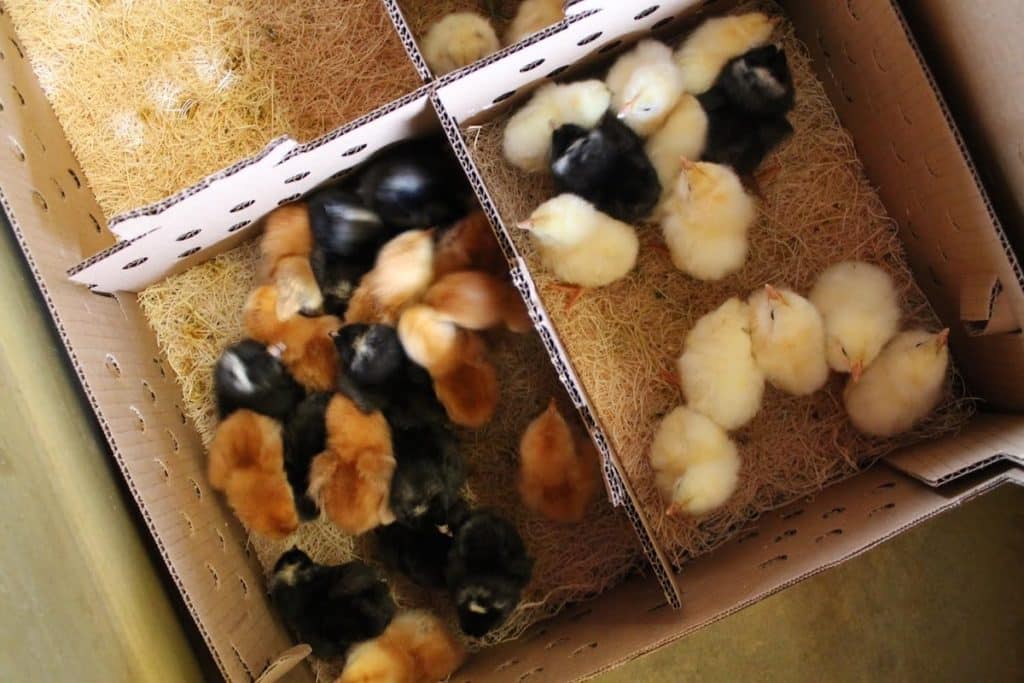
After getting those chickies home, place them in the brooder as quickly as possible. The petting and pictures can wait! Let them warm up and get acclimated to their new surroundings. Observe for a bit. Once you see that they are active, getting the water and food they need, and feeling comfortable, then you can get all the cute pictures of kids holding baby chicks!
We also learned to be proactive when picking up your chicks. This year, instead of waiting, we called the store early for an update and got there shortly after the chicks had been delivered. This helped eliminate hours of needless sitting in a box and stress buildup for those chicks.
They were SO much more active and happy when we brought them home that second time around.
2. Temperature can make all the difference
Chicks will tell you if they are at their ideal temperature or not. But it takes some knowledge of what to look out for.
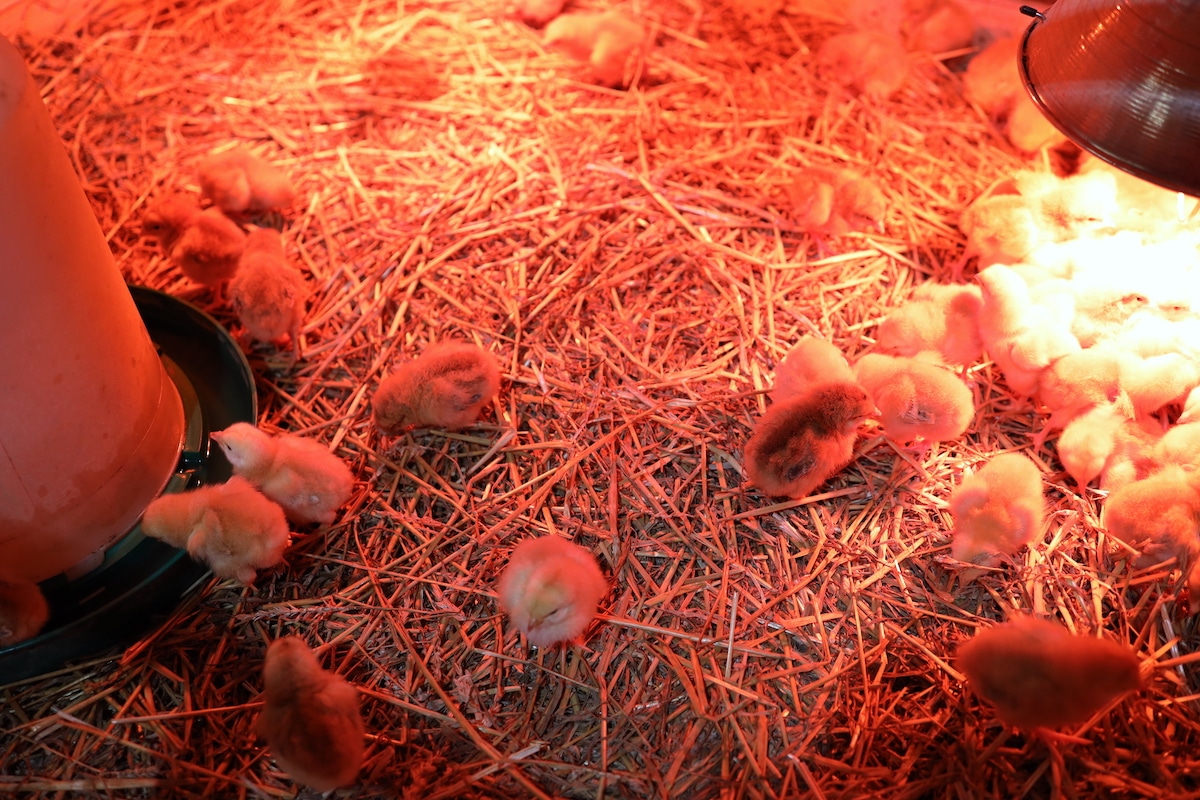
Cold chicks will huddle close to your heat lamp to soak up as much heat as possible. They might also appear shivering or lethargic. If too many chicks are crowded around one heat lamp you may need to add another lamp to spread the chicks out more. We’ve found 1 heat lamp per 20-25 chicks to generally be a comfortable ratio.
When chicks are too hot they will spread out away from the heat lamp. You may also observe them panting or dazed from dehydration.
We learned to not wait when these signs are observed. Take time to adjust those heat lamps right away when something seems off. Raise the lamps to lower the heat, or lower them to raise the heat.
Comfortable chicks will be evenly spread out throughout the brooder, have plenty of energy, and not be displaying other signs of stress, like our next lesson.

3. Beware of the poop butter
The technical term is ‘pasty butt’ but we have come to refer to these backed up babies as poop butters.
A poop butter chick is one that has poop crusted over its back vent where they poop out of. And I think we all can agree that not being able to poop is a problem! Bacteria and discomfort build up and, if not dealt with in the first day or two, can be fatal for your chicks.
Poop butting or pasty butt is caused by stress. They may be too hot or too cold. They may have had too traumatic of a trip from the hatchery to the brooder. Their diet or hydration might be off.
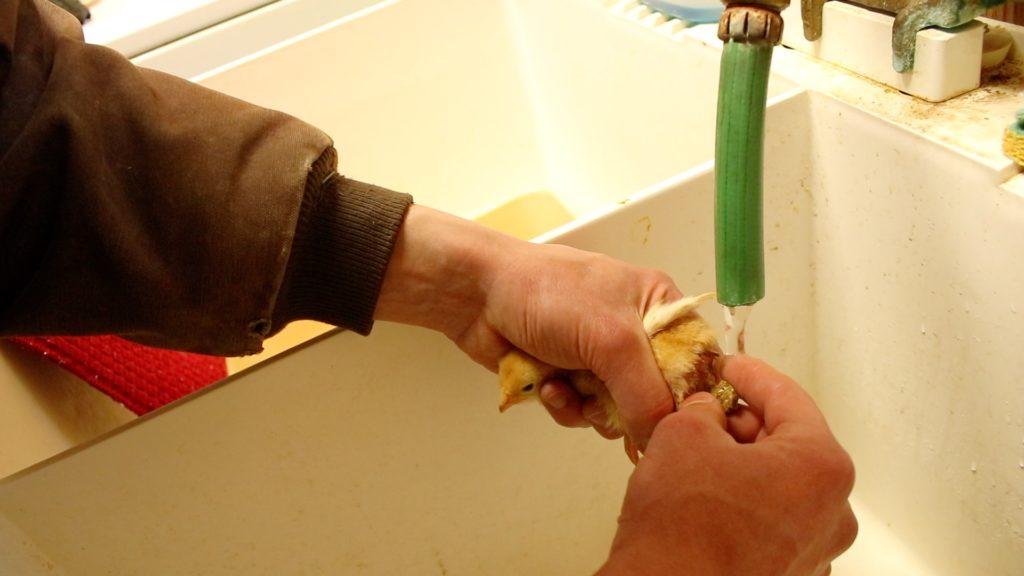
Once you observe a poop butter, the good news is that you can remedy it easily. If there’s not much poop crusted on, you can use a damp rag to moisten their back end and wipe them clean. Our preferred method is to bring them to our utility sink inside and run their rump under warm (not hot or cold) water.
Let the warm water loosen things up for a bit. The next step is to get in there with your fingers and pull the poop free. There’s nothing glamorous about this, but your chicks will experience instant relief; sometimes even thanking you instantly with a nice hearty poop right in your hand!
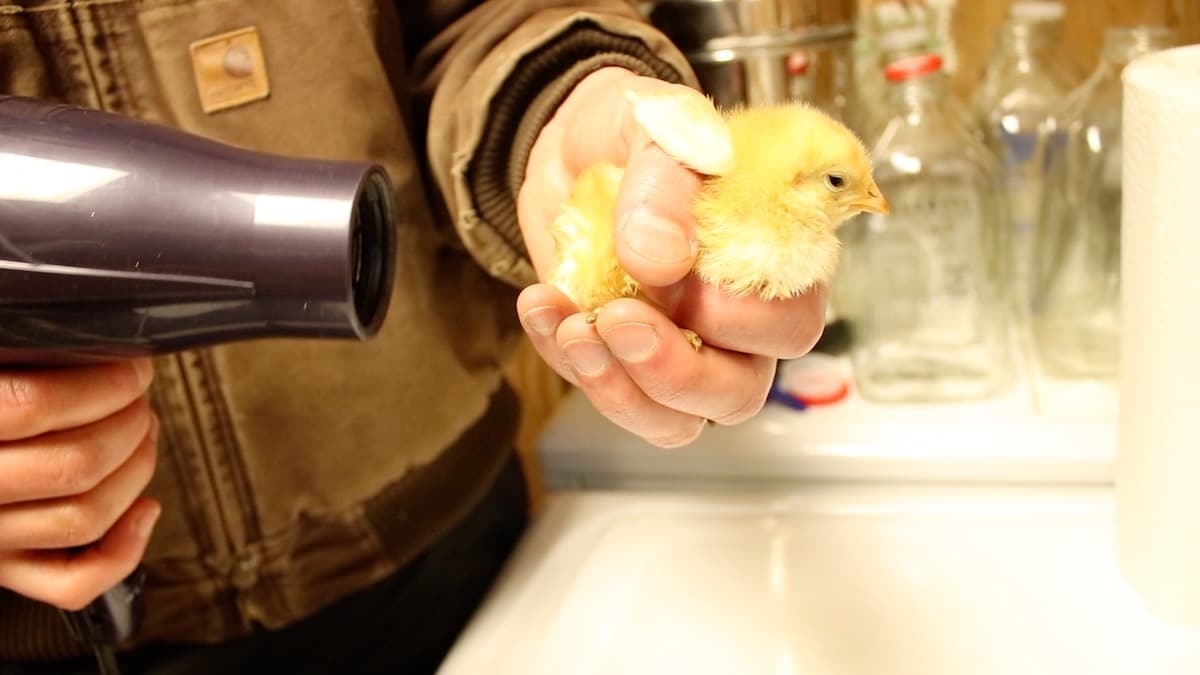
Before bringing them back out to the brooder, be sure to also take the step to dry them down with a hair dryer on the low setting. They’ll be soothed by the light heat and it will also help bring their body temps back up.
4. Fresh bedding is important
Babies of any variety are much more susceptible to infections or diseases. Their gut health and immune system are still being established. Two of our own children have had hospital stays at young ages for random yet serious things that attacked their young immune systems.
Chicks are no different. Their lives are fragile those first 6 weeks in the brooder, but especially that first week or two. Keeping their environment clean can really help them thrive and prevent bacteria from spreading.
Their bedding helps absorb excess moisture from their poop and water spills. And moisture breeds bacteria. Pine shavings or straw are the standard bedding used. We’ve used both and liked both.
Chicks are poop machines! That first year I probably didn’t add fresh bedding enough, which didn’t help their cause. Now, I am adding fresh bedding every day or every other day to cover up the old bedding. Fresh bedding will keep your chicks happy and healthy!
5. Budget time for your chicks
Our lives were full that first spring on our homestead. I was working two jobs, we just had our 3rd child, and we were building our homestead from scratch. Time was limited.
We’ve since learned that chicks take time. Time to observe, make the necessary adjustments, and keep them worry free. Our goal now is to check on them in the brooder several times a day. Do they have food and water? How are they behaving? Are they too hot or too cold? Do the lamps need adjusting? Do they need fresh bedding? Any poop butters?!?!
Budgeting around 1 hour per day has been the appropriate amount for our setup.
You may not need that much time. They may be fine and have all they need. But then when something does come up, you can slow down, observe your chicks, tend to them, and give them what they need without feeling like you need to be somewhere else.
Others Tips for Raising Happy & Healthy Chicks
- Avoid the mail – If possible, avoid ordering your chicks through the mail. There are so many unknowns with this – jostling around, delayed deliveries, uncontrollable temps. I couldn’t imagine a more stressful start to a young chicks life. Our local feed store gets deliveries directly from a hatchery and that has worked out great for us.
- Make sure your brooder is ready – Mark the day your chicks are arriving on the calendar and double check your brooder is ready to go before they arrive. Turn on the heat lamps that morning or the night before so it’s heated thoroughly. Our Simple Outdoor Chicken Brooder Ideas post can give you inspiration for building your own low cost brooder.
- Dip their beaks in water – As you introduce each chick into the brooder dip their beak into their water. This will both show them where their water is and refresh them after a long trip with no source of water.
- Minimize time out of the brooder – Even when we are transporting them to and from the house to clean a poop butter we try and make it quick. If it’s really cold out their body temps can drop quickly, especially in that first week of life.

- Give more than just water – We add a little bit of apple cider vinegar and salt to their water every time we refill it. This will help build up their gut health and give them the electrolytes they need.
- Let the chicks tell you the right temperature – You’ll find charts out there telling you exactly what temperature baby chicks should be at each week of their life. Those are a good guideline, but we like the simplicity of just observing the chicks and letting their mannerisms tell you when they’re comfortable and when they’re not.
- Get the right feed – Chicks require a higher protein content with their feed along with a finer texture, especially in those first days. We start them on a high quality organic starter feed with 22% protein.
Happy Chick Parenting!
We hope our not so successful first experience has helped you learn how to care for baby chicks.
Even with all the perfect conditions, not all chicks make it. It’s part of life. But hopefully you can learn from our mistakes and avoid the major heartbreak we had early on.
So don’t let intimidation hold you back! Chickens are the perfect addition to any backyard or homestead to bring more self-reliance and joy to your world. Start with a manageable amount of chicks, a basic brooder setup, and spend time observing those chicks daily giving them a happy and stress free start to their life!
Do you have your own successes or failures raising baby chicks? We’d love to hear your own lessons so we can all learn how to care for baby chicks better.
Learn more about how to raise chickens on a budget:


